If you're attempting to personalize branding materials or impress a client with a unique design, you might want to consider creating your own font.

It's easier than it sounds. I have limited (read: none) design talent, and I was able to create a font in ten minutes using Prototypo.io, a Typedesign software. There are plenty of alternative tools you could also consider, such as Fontself, Yourfonts, and Metaflop. To quickly learn how to create your own font, follow these ten easy steps.
Disclaimer: With Prototypo.io, you cannot export your font to use on marketing design materials or documents unless you pay for Prototypo's Pro subscription. However, if you want to create your own fonts to use for personalized branding purposes, it might be worth the money. The Pro account is only $8.25 a month, and if you sign up for one year, you get four months free.
How to Make Your Own Font
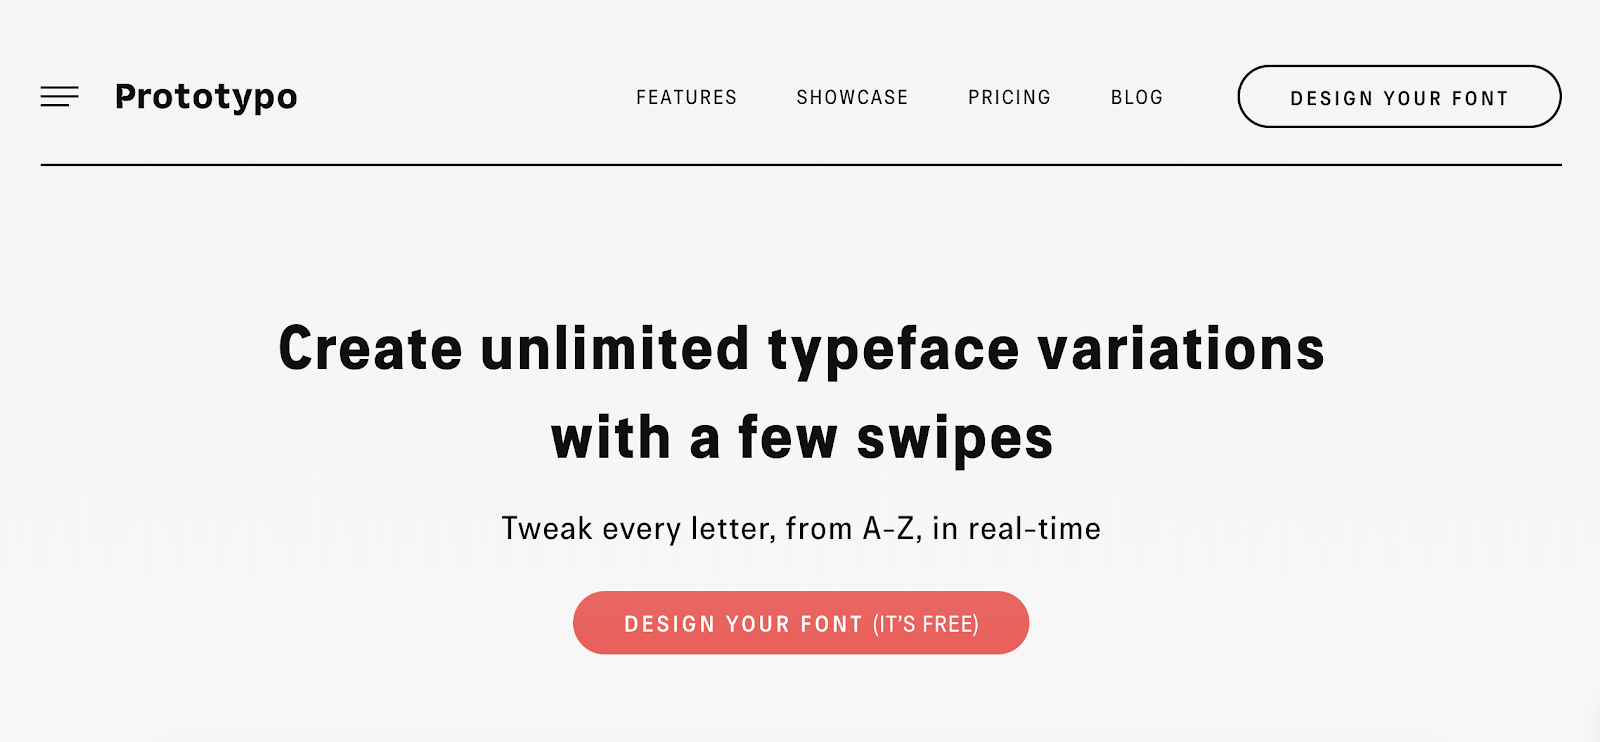
1. Go to Prototypo.io, and click the "Design Your Font" button.
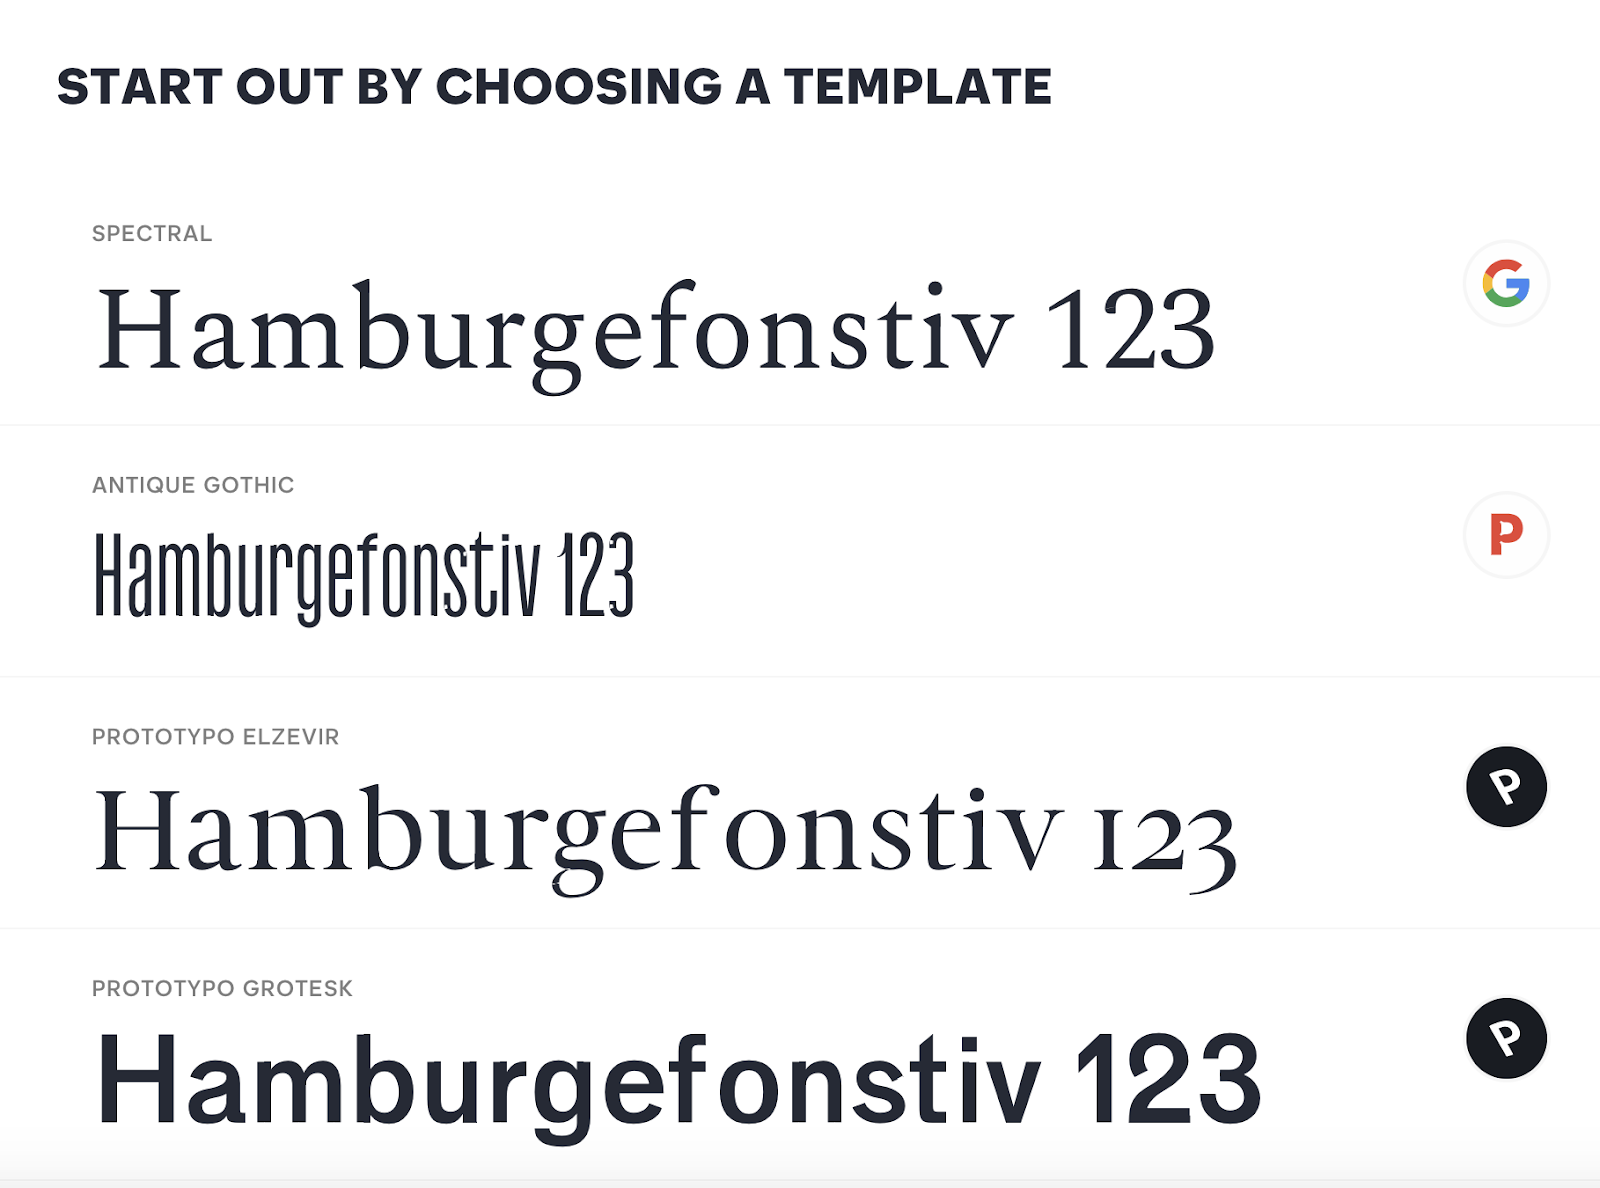
2. Once you fill out the sign-up form (You can sign up with your Facebook, Google, or Twitter accounts), you must choose a pre-made template. For my purposes, I chose "Prototypo Elzevir".
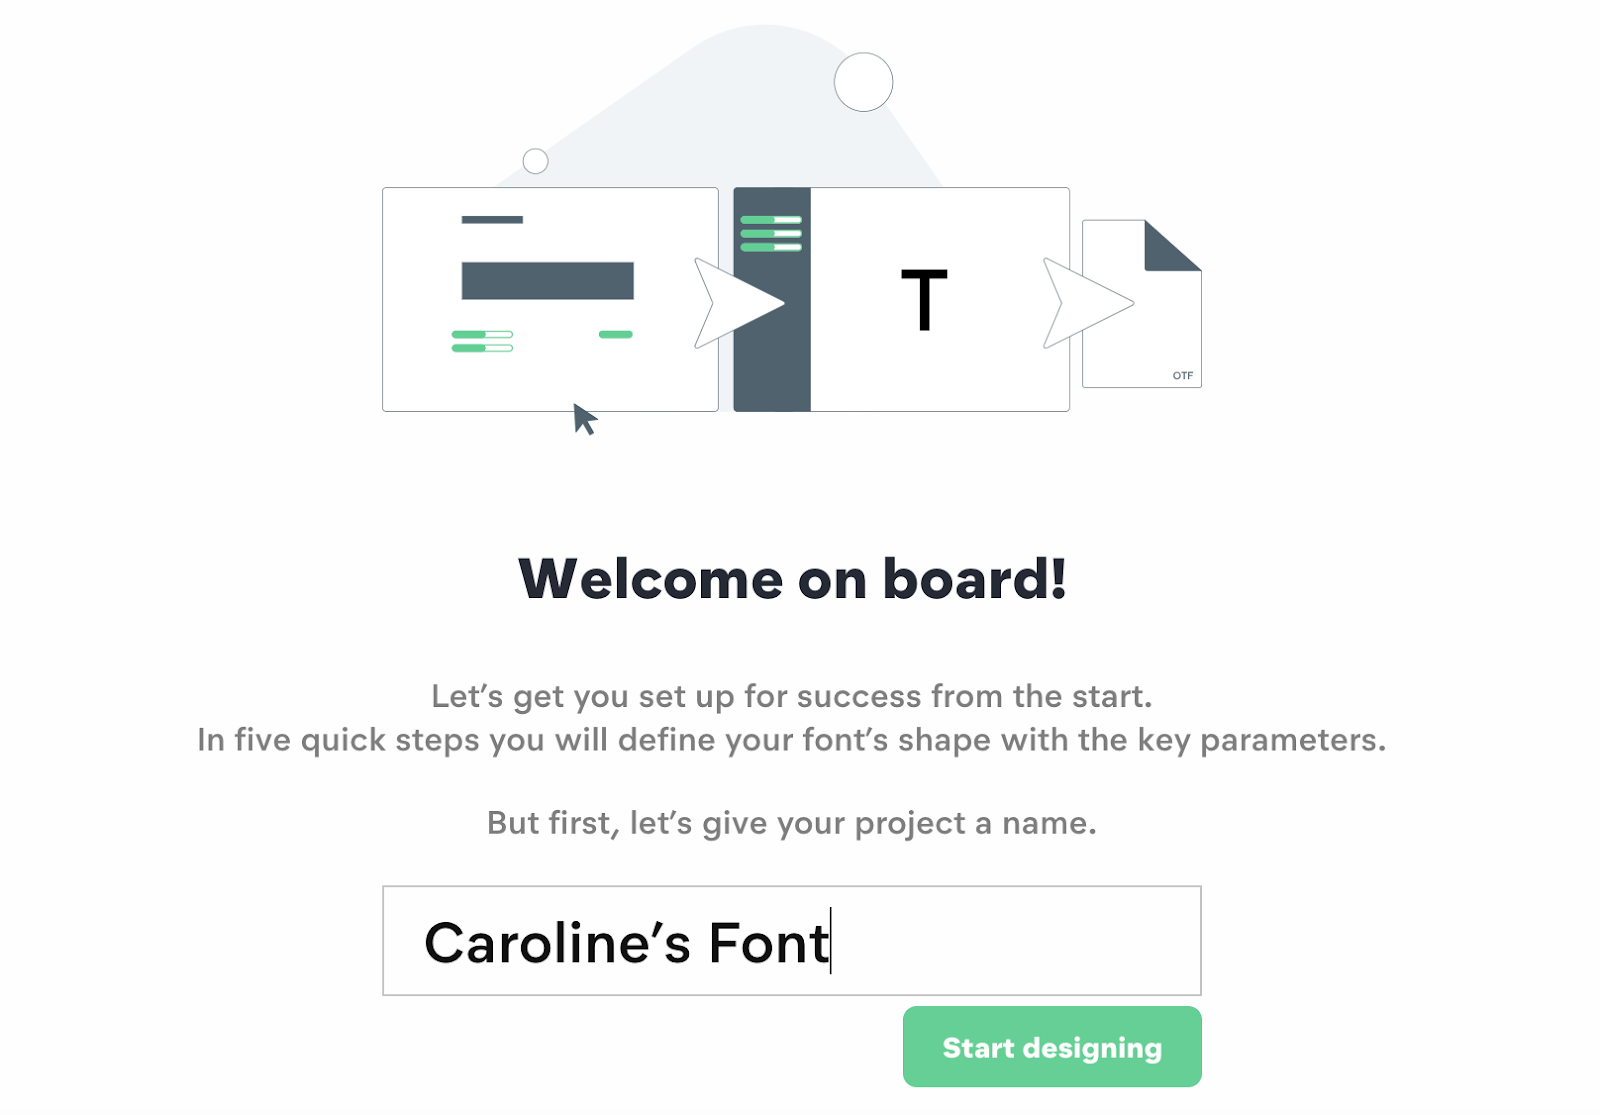
3. Next, name your project. Then click "Start designing".
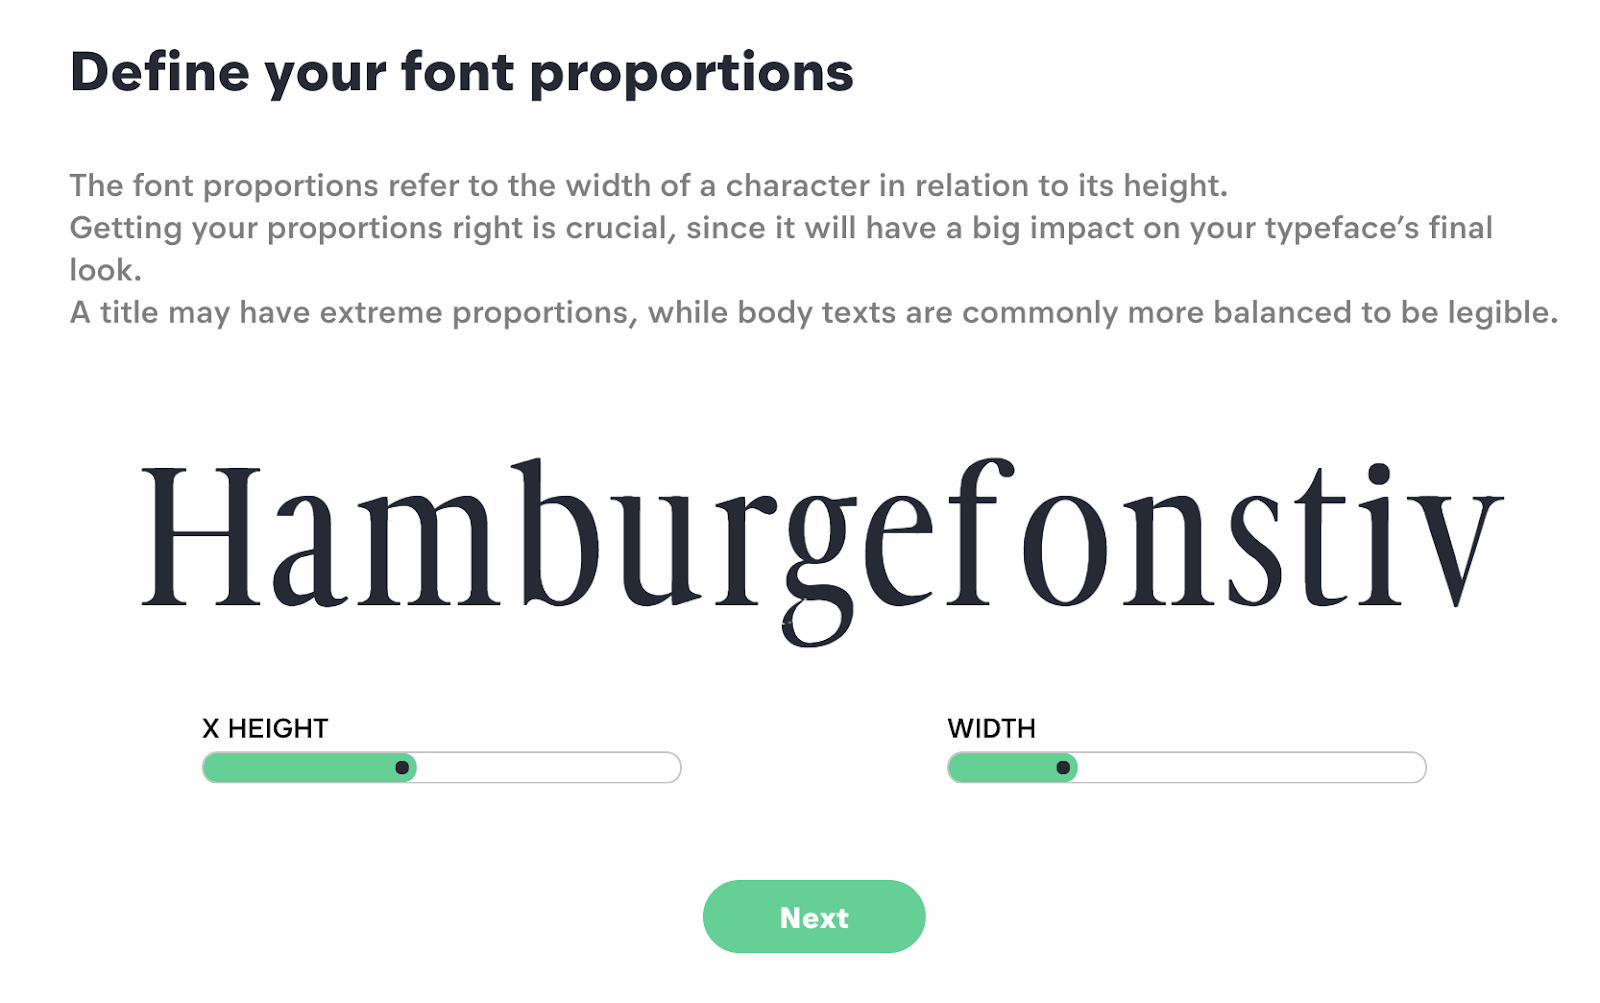
4. You're now instructed to change height and width dimensions of your font by moving the green bar to the left or right. When you're happy with the proportions, click "Next".
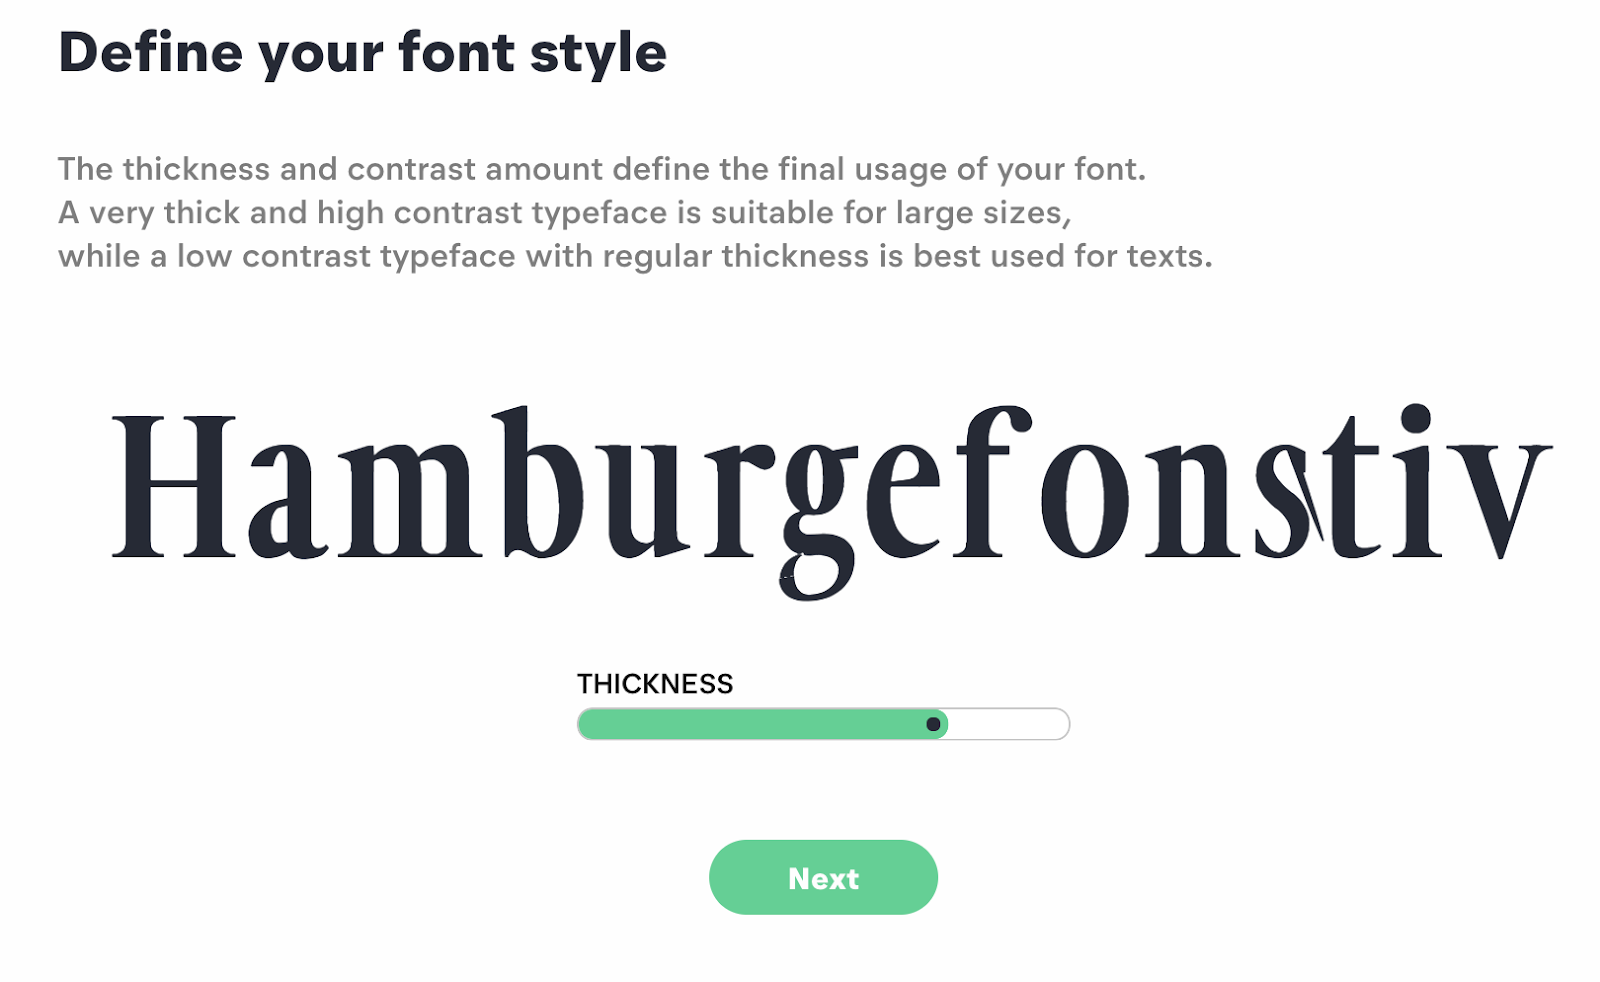
5. Now, adjust your font's thickness. When you're satisfied, click "Next".
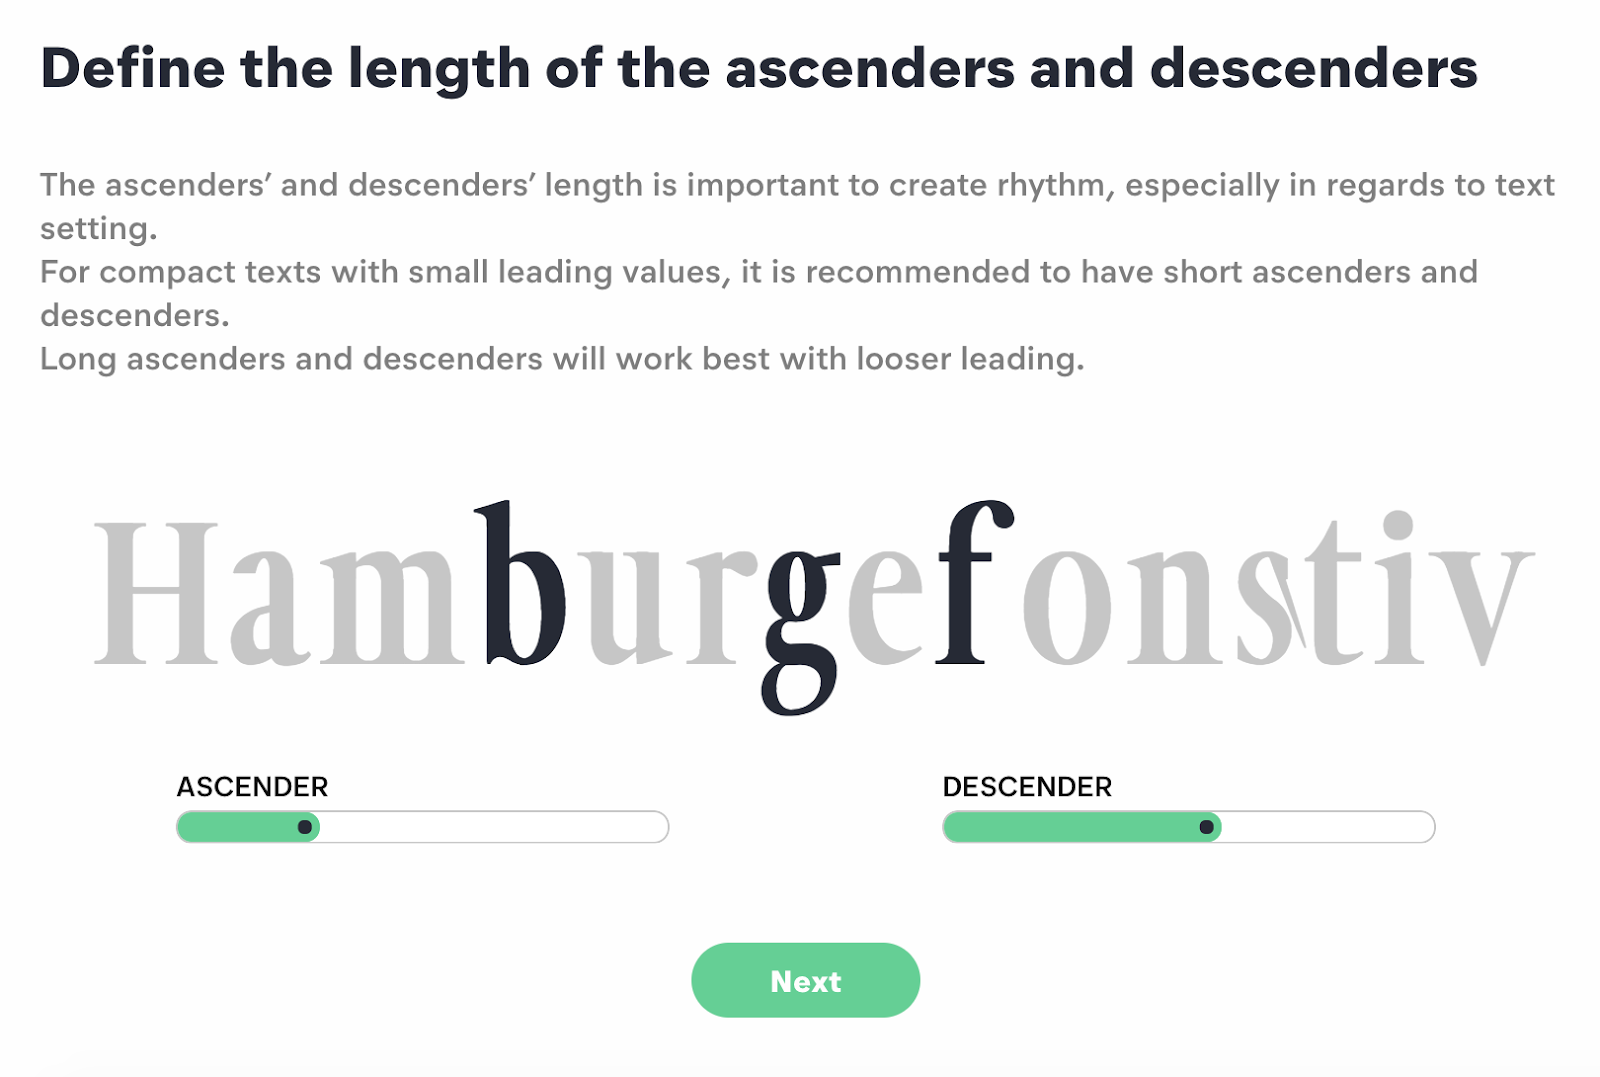
6. Move the green bar to the right or left to adjust "Ascender" and "Descender" of your font. When you're happy with it, click "Next".
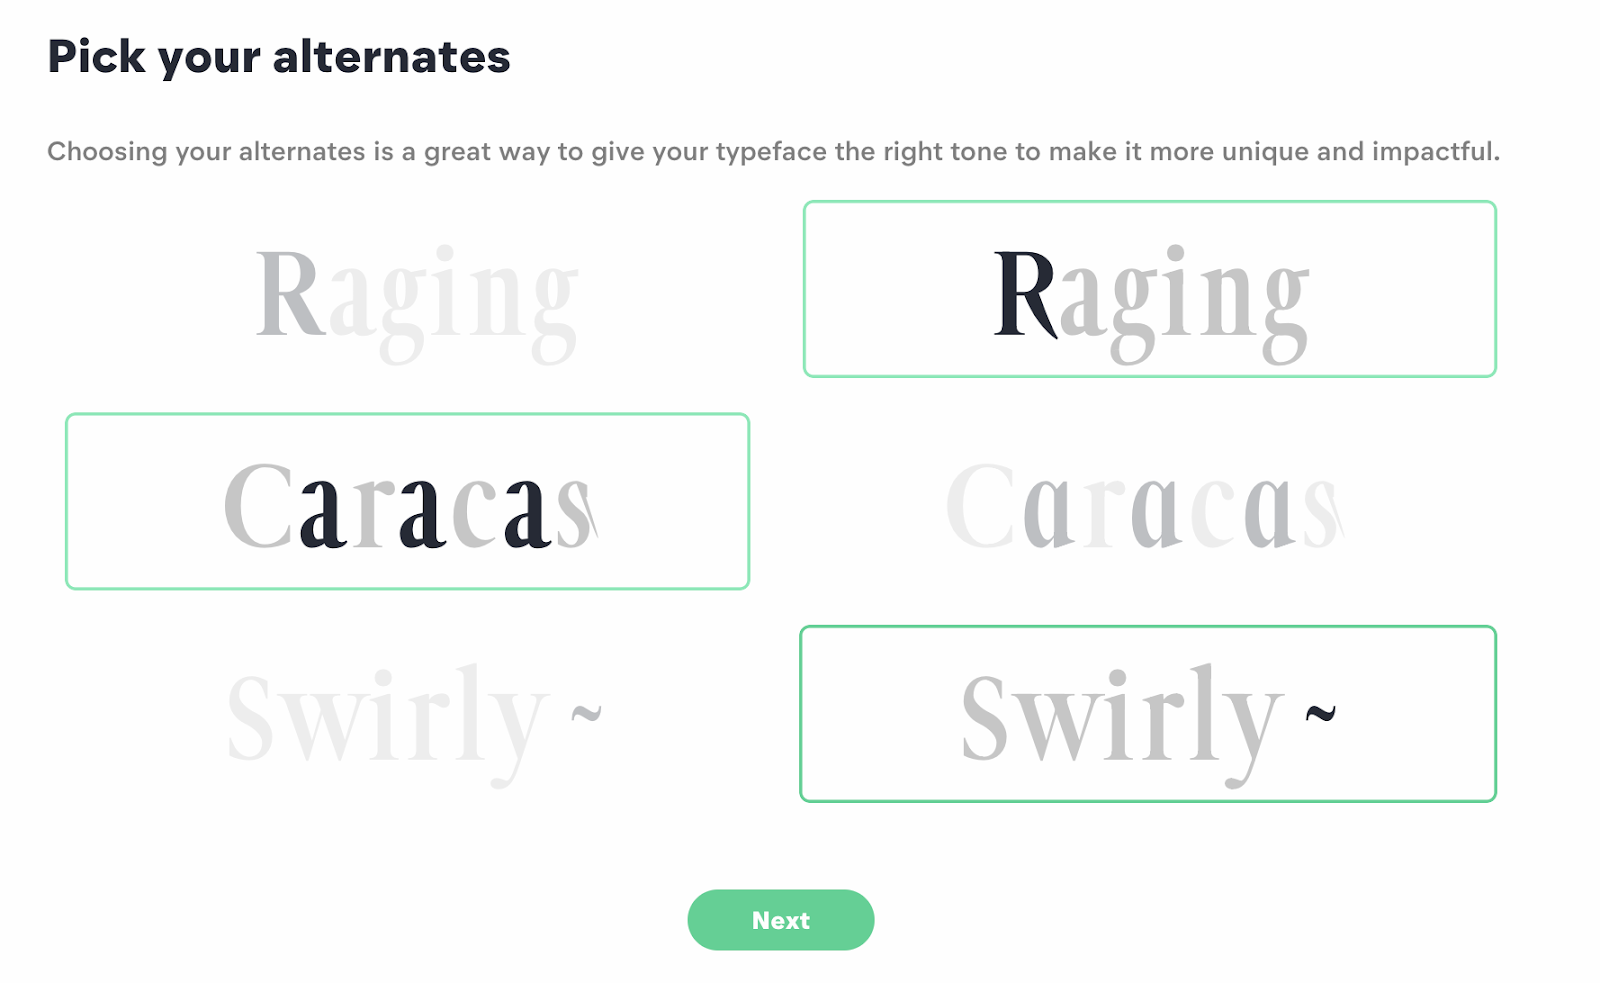
7. Now, choose one option in each row you prefer to solidify your font's uniqueness. For instance, I chose the "Raging" font on the right, the "Caracas" font on the left, and the "Swirly ~" font on the right to change how the "R" "A" and "~" will look in my font alphabet. When you're done, click "Next".
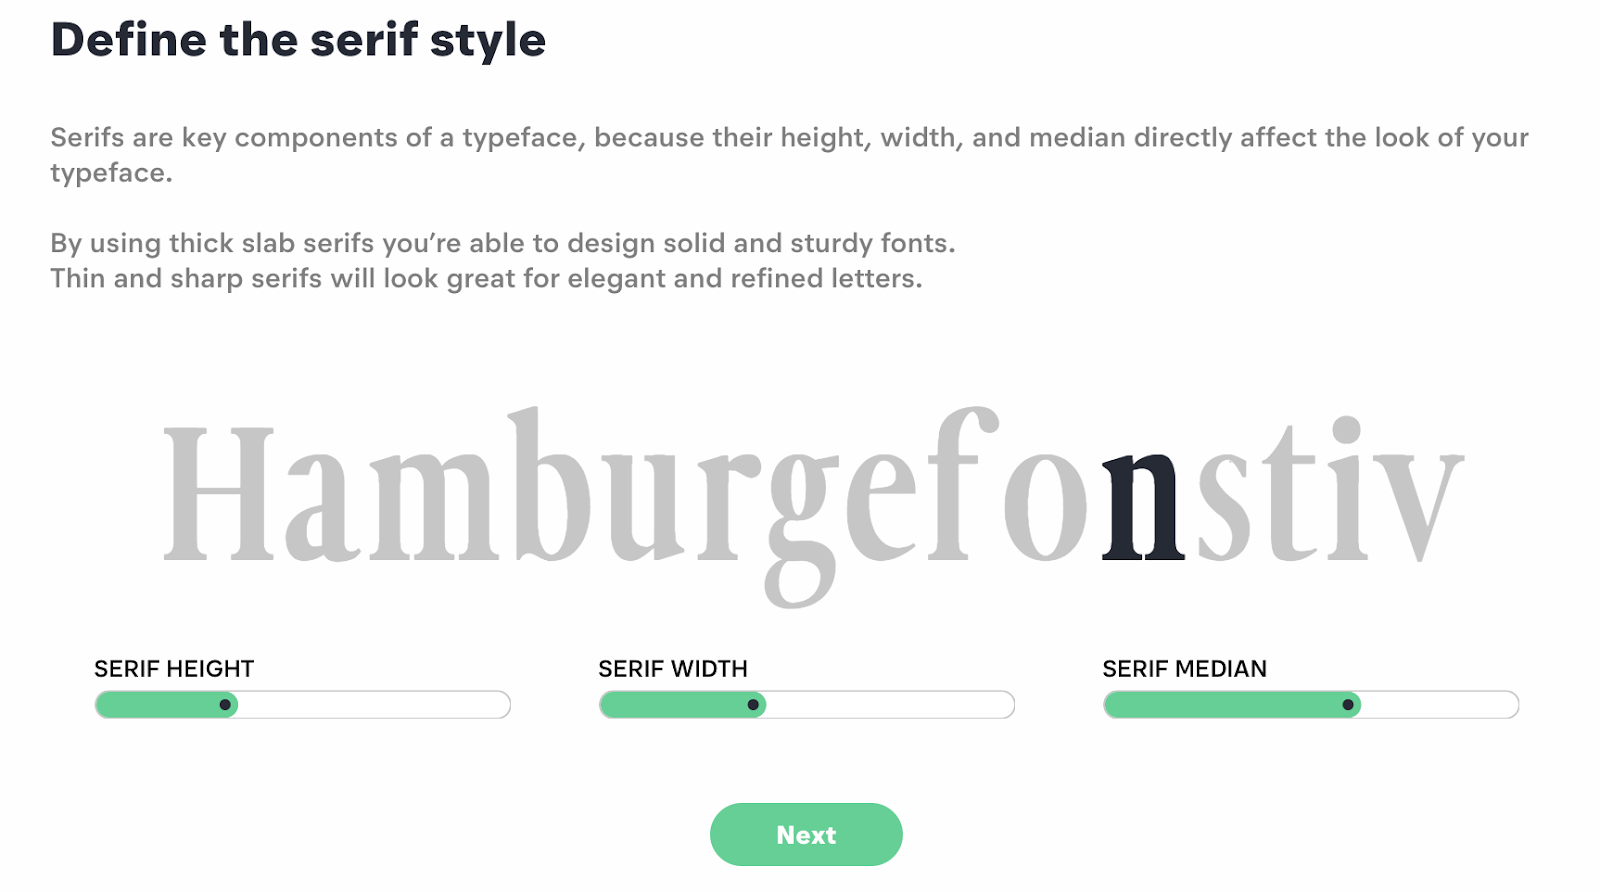
8. Move the green bar from left to right or vice versa to adjust your Serif height, width, and median. You'll see your font change on the screen, and when you're happy with how it looks, click "Next".
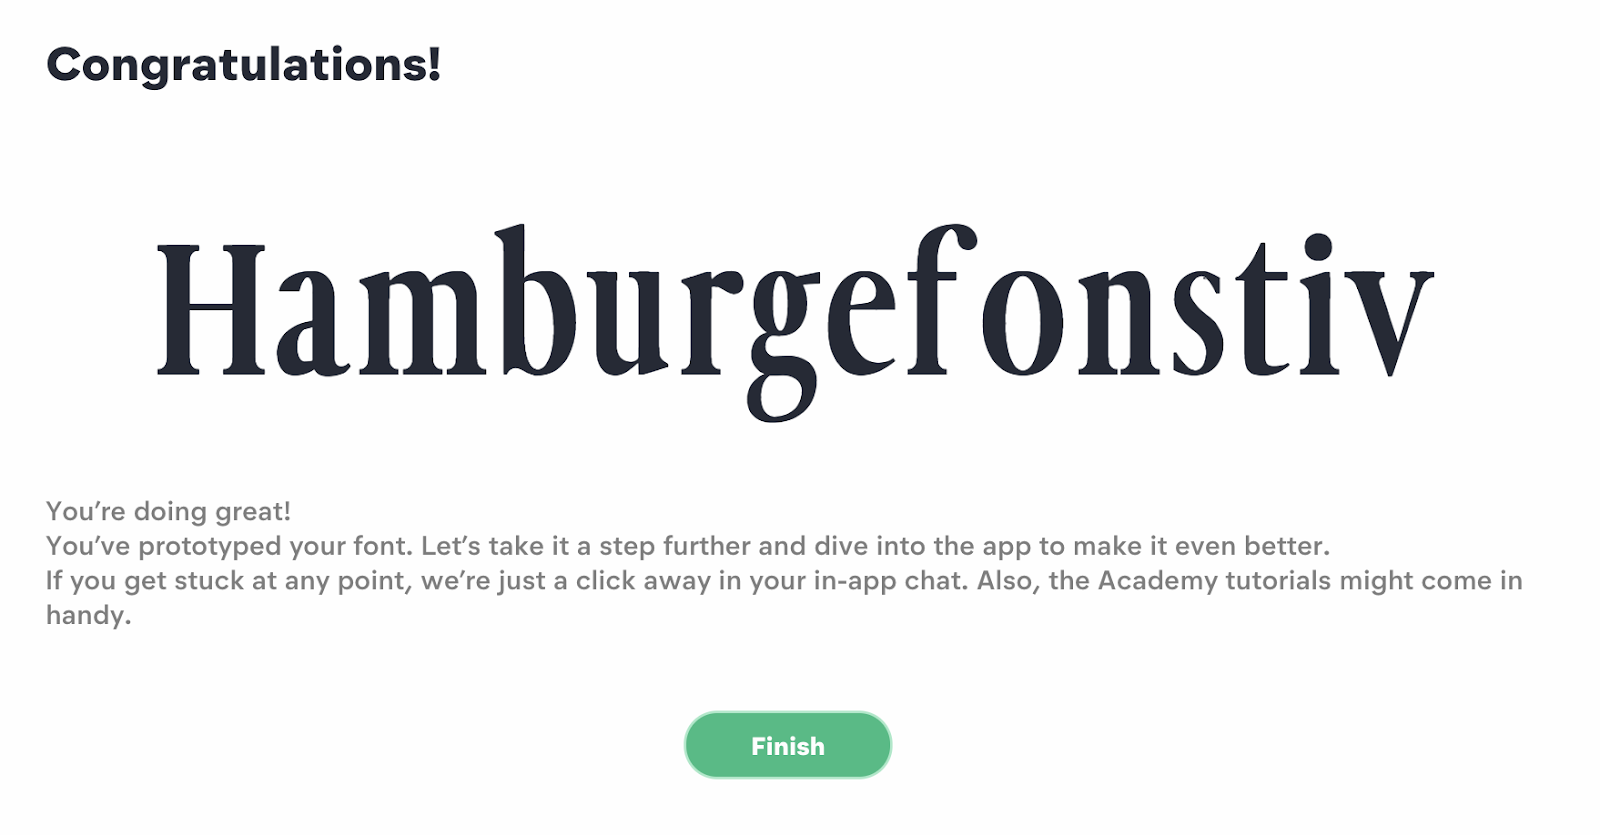
9. Now, you'll see the final result of your font. Click "Finish". You'll be given the option to watch a tutorial next, but you can skip the tutorial if you'd like to go straight to your dashboard.
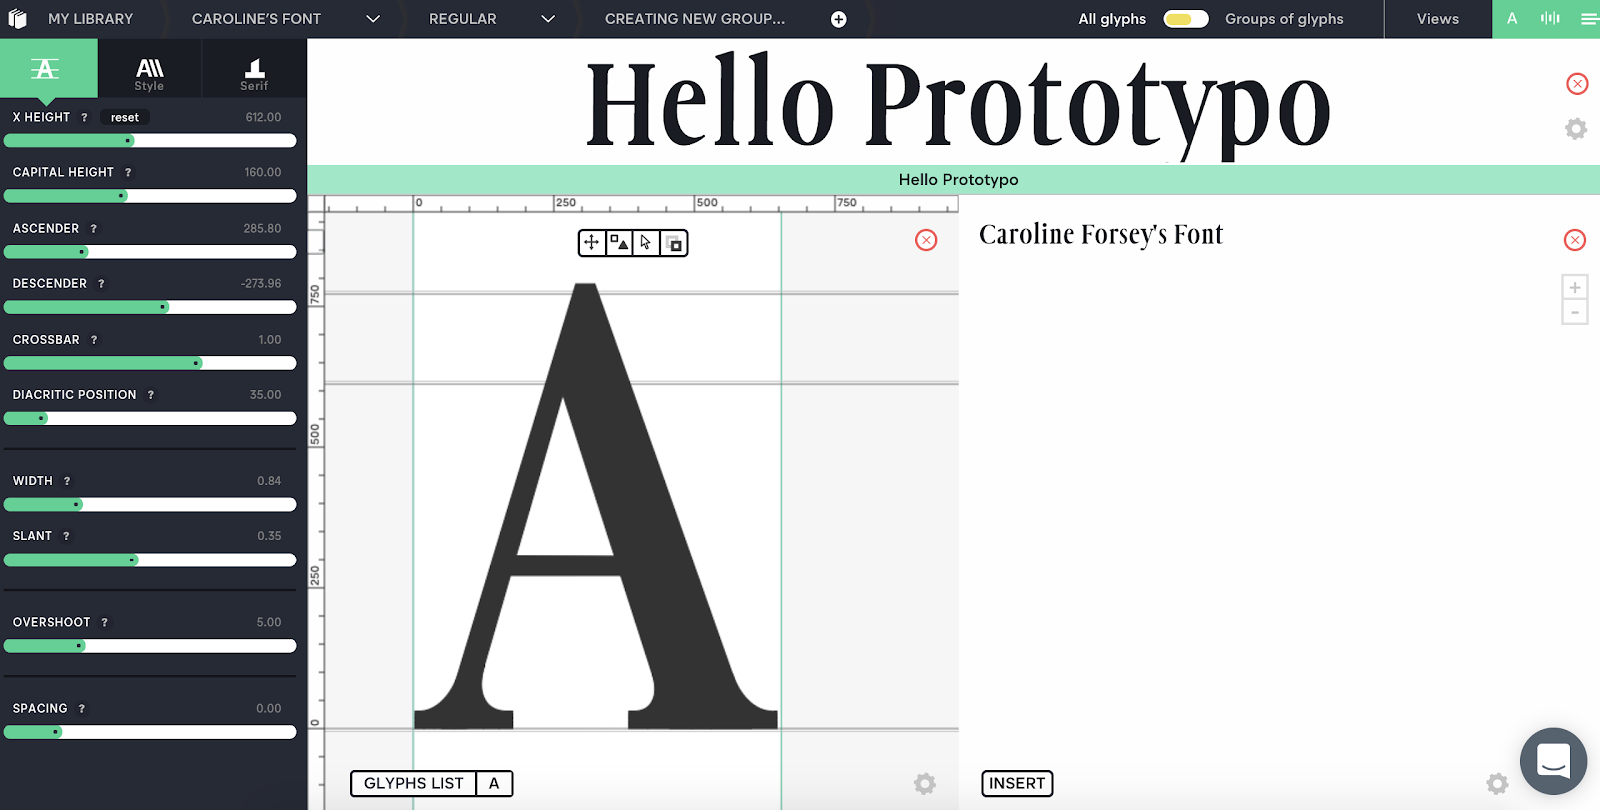
10. Here's your account dashboard. You'll see all the choices you selected for your font on the left, such as capital height, width, and spacing. You can still adjust if need be. Additionally, there's a text box on the right, where I typed "Caroline Forsey's Font". You can type a paragraph to see if you like how your font looks.
11. If you pay for a Pro subscription, you can click "File" --> "Export font" to use anywhere you'd like.