There are a few reasons you might need to export your WordPress media library. Maybe you used a backup plugin that backed up everything but your media files. Maybe you just created a new site and only want to transfer the images from an existing site to the new one.

Whatever the reason, there are multiple ways you can export your media library without having to download every image individually to a folder on your computer. Doing so manually would be tedious and virtually impossible on a media-rich site.
In this post, we’ll explore four ways you can export media from your WordPress website painlessly.

How to Export Your WordPress Media Library
There are four methods for exporting your WordPress media library. You can use the native export tool to move your media to another WordPress site. You can use an FTP solution to download your media files remotely, but this can take a long time. You can use cPanel’s File manager for a faster download. Or you can use a plugin to automate the process.
Let’s walk through each method below so you can pick the one that best suits your skills, file management tools, and media library.
How to Export Your WordPress Media Library Using the Native Export Tool
WordPress has a built-in export tool. This tool allows you to export your posts, pages, custom post types, comments, custom fields, categories, tags, custom taxonomies, users, and media. We’ll walk through how to use this tool to export your media library below.
1. Log in to your WordPress dashboard.
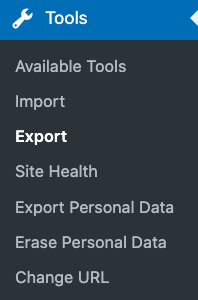
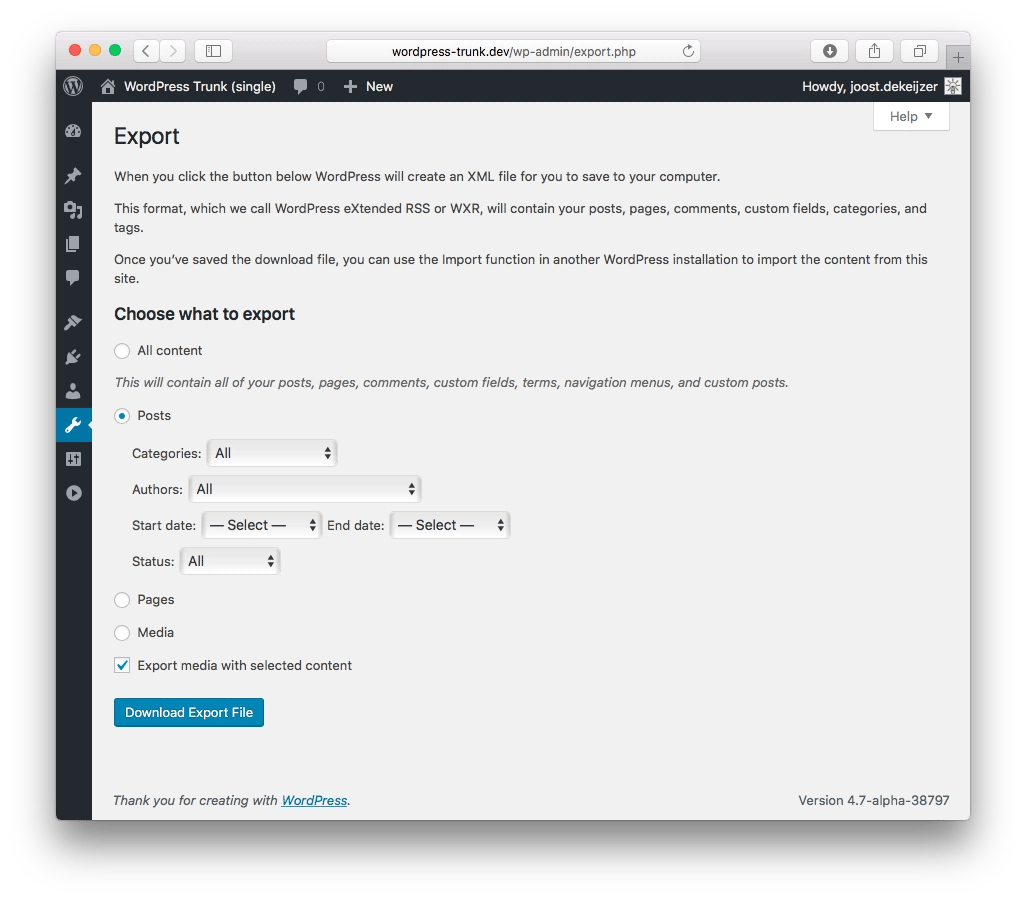
2. Click Tools > Export.
3. Select the radio button labeled Media.
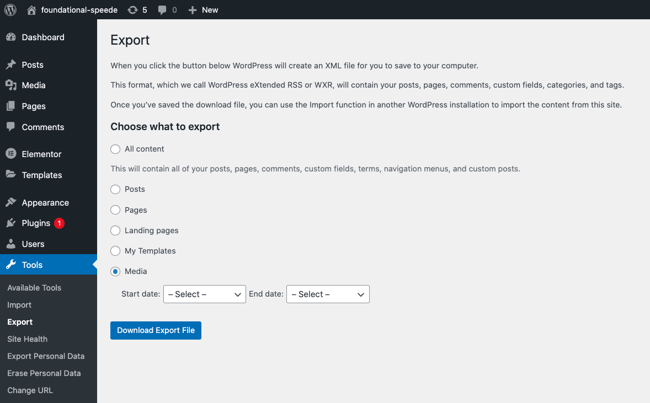
4. Select a date range if you only need to export files that were uploaded within a specific time frame.
5. Click the Download Export File button.
This will create an XML file for you to save to your computer. Once saved, you can log in to another WordPress site and use the WordPress importer tool to import the XML file.
This process is so incredibly simple that it seems like the obvious choice. If However, if your media library is very large or you have a slower connection, then the download might time out before it completes. If either is true for you, then try one of the methods below.
How to Export Your WordPress Media Library Using FTP
FTP, or File Transfer Protocol, offers users direct access to their website’s files from their computers, without the use of a browser. Since FileZilla is one of the most widely used FTP solutions and is officially recommended by WordPress, we’ll use it in this demo. If you’re using another FTP solution, the steps will be similar.
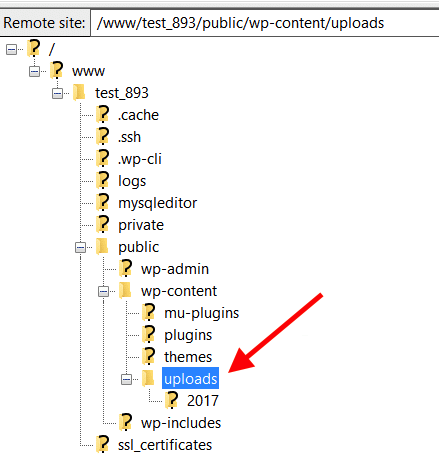
1. Open FileZilla. It should say Remote or Local Site in the top left-corner of your screen.
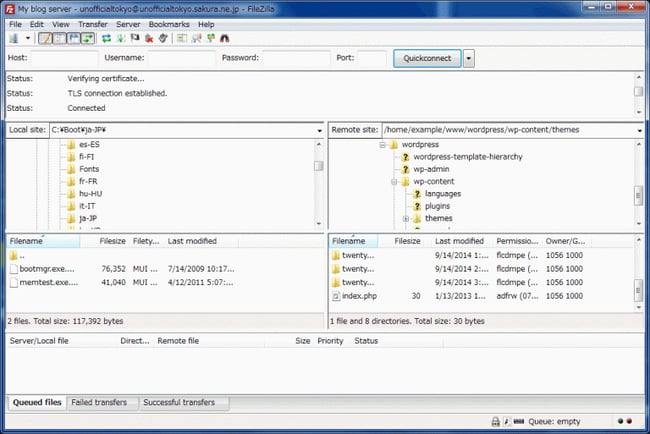
2. Click on the wp-content directory.
3. Find the folder labelled “uploads” and drag it to your desktop.
This is another incredibly simple option. However, the major disadvantage of using FTP is how slow the download process is. Each media file will be uploaded to the FTP queue and downloaded one-by-one.
If you have hundreds or thousands of files in your media library, consider one of the other methods below.
How to Export Your WordPress Media Library Using cPanel
cPanel organizes all the files on your WordPress hosting account into folders and lets you manage and edit them with File Manager. Since File Manager is a simple and popular tool, we’ll walk through how you can use it to export your media library. If you’re using another file manager, the process will be similar.
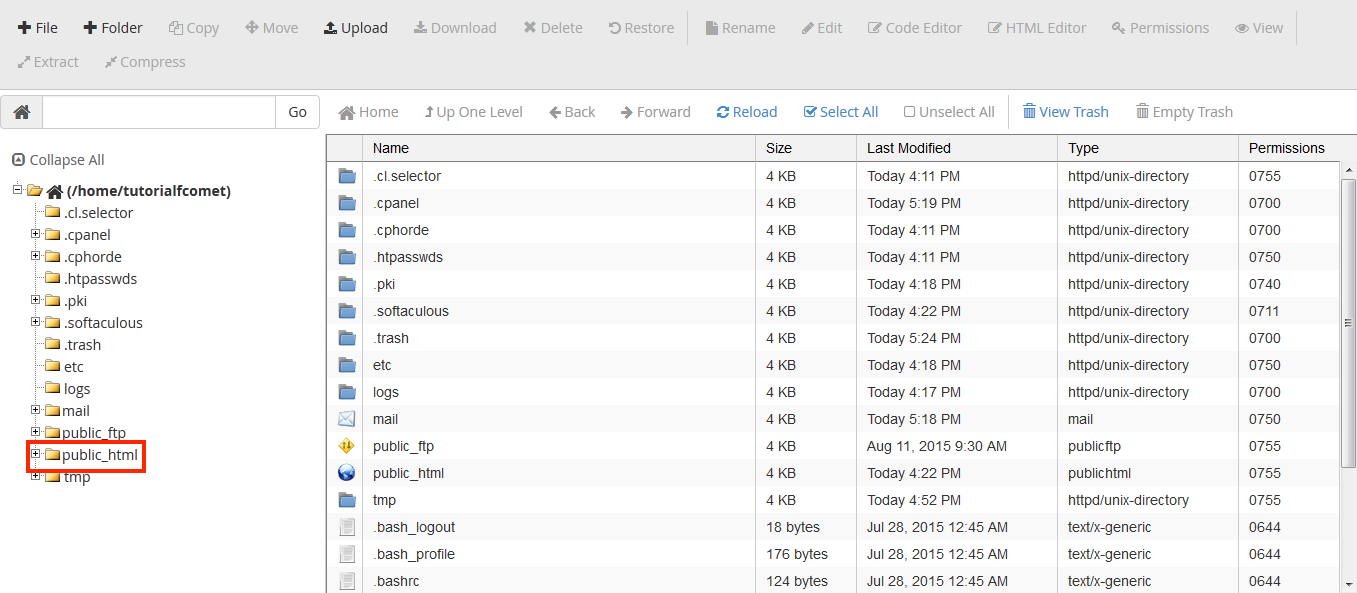
1. To start, log in to your control panel and open the File Manager.
2. Click the public_html folder.
3. Click the wp-content folder.
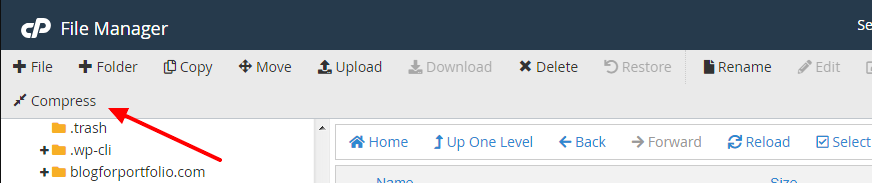
4. Find the folder labelled “uploads.”
5. Select it, then click the Compress button in the top toolbar.
6. Under Compression Type, select the Zip Archive option.
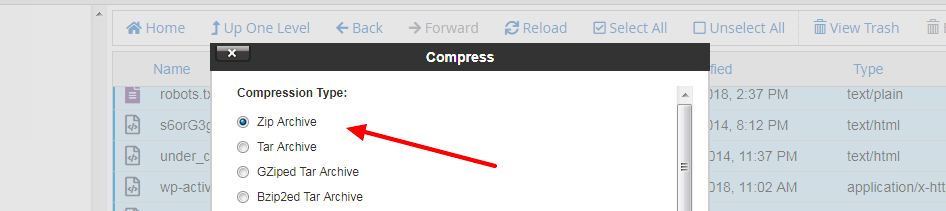
7. By default, it will be named “uploads.zip.” You can leave as is or rename it.
8. Click Compress File(s).
9. A new window will automatically open with the “Compression Results,” showing how much the compressed files were reduced in size. Click Close.
10. Back in wp-content, select the uploads.zip folder and click the Download button in the top toolbar.

11. Once the download is complete, you can move the file from your Download directory to your desktop or any folder you wish.
If you’d like to simplify this process further, you can use a plugin.
How to Export Your WordPress Media Library Using a Plugin
We’ll walk through how to export your WordPress media library using the Export Media URLs plugin. If you’re using another plugin, check out its documentation for exact steps.
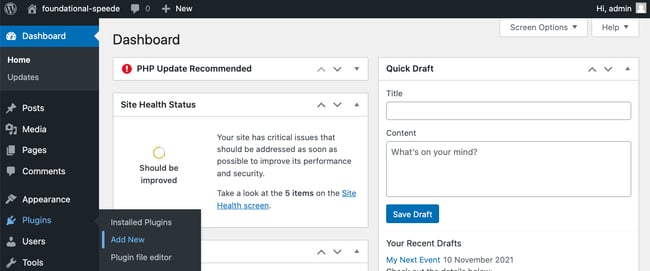
1. First, log into your WordPress dashboard.
2. Click Plugins > Add New.
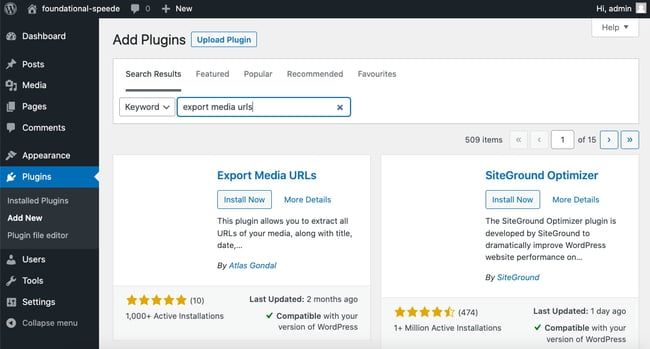
3. Search for “Export Media URLs.” When the search result appears, click Install Now.
4. Click Activate. You’ll automatically be redirected to Export Media URLs plugin page.
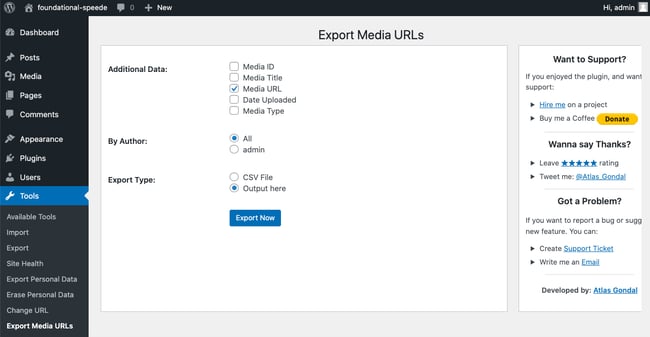
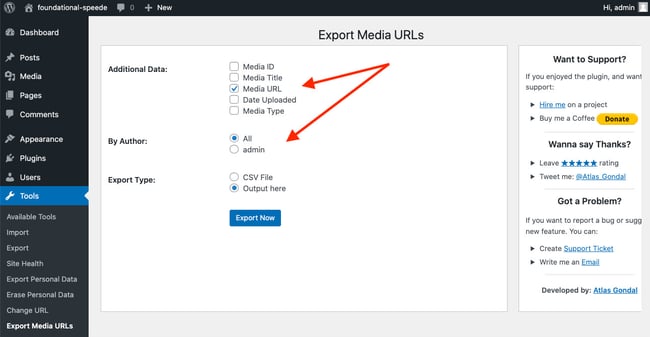
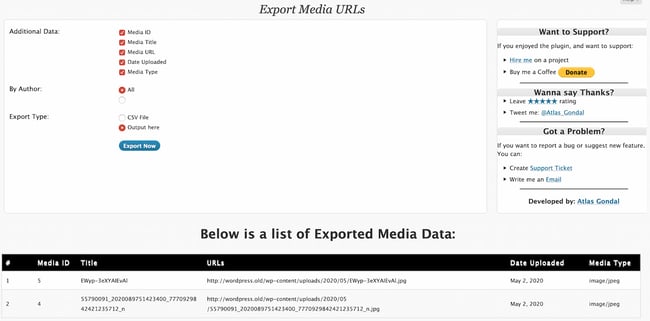
5. Now it’s time to configure the Export Media URLs plugin settings. Select the data you want included in the export, in addition to the file URLs. Also select if you want media files by all authors, or specific ones.
6. Then select CSV file for Export Type.
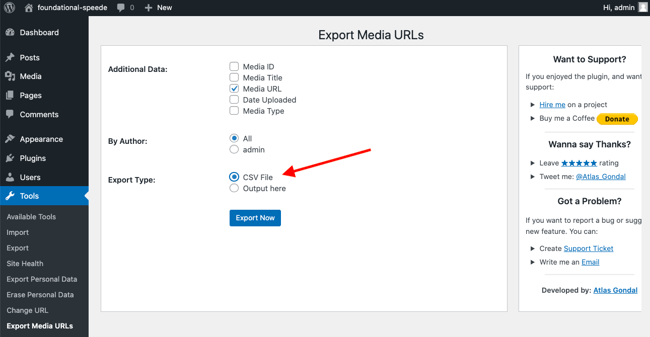
7. Once you’ve made these selections, click Export Now. Your entire WordPress media library will be downloaded as a CSV file into your Downloads directory.

WordPress Plugins to Export Your Media Library
While any of the methods described above will allow you to export your media library, WordPress plugins can automate the process to save you the most time. Take a closer look at the Export Media Library plugin and another highly-rated option below.
Export Media URLs
Export Media Library is a free WordPress plugin that allows users to extract the URLs of their media library files and export them as a CSV file (or view them within their dashboard). You can also choose to export the ID, title, type, and date uploaded of these media files.
Since this output format is more helpful for setting up redirects than the XML file format that the WordPress export tool uses by default, this plugin is ideal for exporting your WordPress media library when migrating web hosts.
Export Media with Selected Content
When you use the native export feature in WordPress to export a specific post type, any related media files are not exported by default. That’s where Export Media with Selected Content comes to the rescue. When installed, it will add a checkbox labelled “Export media with selected content.” When checked, this plugin will locate the featured image and attachments of a post and export them.
This plugin does have limitations. Since the plugin searches for “attached” media in the body of the post, if the theme or plugins on your site use different ways of referencing media, then the plugin will be unable to find and export them.
Exporting Your WordPress Media Library
If you are changing themes, hosts, or websites, you may need to download all images and media files from your WordPress site. You can do so in several ways: you can use the native export tool, an FTP client, cPanel, or a plugin. The method you pick should best suit your technical skills, file management tools, connection, and media library size.
Editor's note: This post was originally published in June 2020 and has been updated for comprehensiveness.