Leads are the fuel that keeps your sales engine running. Using HubSpot, you can convert your website visitors into leads—and eventually into paying customers.

Lead generation is the process of finding and converting casual browsers into potential customers. A lead is broadly defined as someone who has indicated interested in hearing more about your services. But not all leads are equal—as leads become more engaged, they are more receptive to a sales call.
This is what lead generation is about—getting to know your visitors. Learning more about them through online forms, grabbing their attention with helpful, relevant emails, and starting a conversation using live chat.
The good news? All of this can be done within HubSpot’s ecosystem of tools.
Let’s walk through how to generate leads with HubSpot’s online form builder, email marketing tools, and live chat software.
Capturing Lead Information with Online Forms
If a visitor comes to your site and doesn’t contact you — will they ever become a customer?
No, it’s not a theoretical question. Without a place to leave their information, visitors are free to walk out of your life forever. But if you do manage to capture their attention and they leave their information, then you have a direct line to continue the conversation.
Forms collect your customer’s contact details, along with other helpful information, so that you can follow up with them later. In the example below, we create a form to capture new sign-ups for our newsletter.
We’ll walk through an example of how to create a quick newsletter sign-up form.
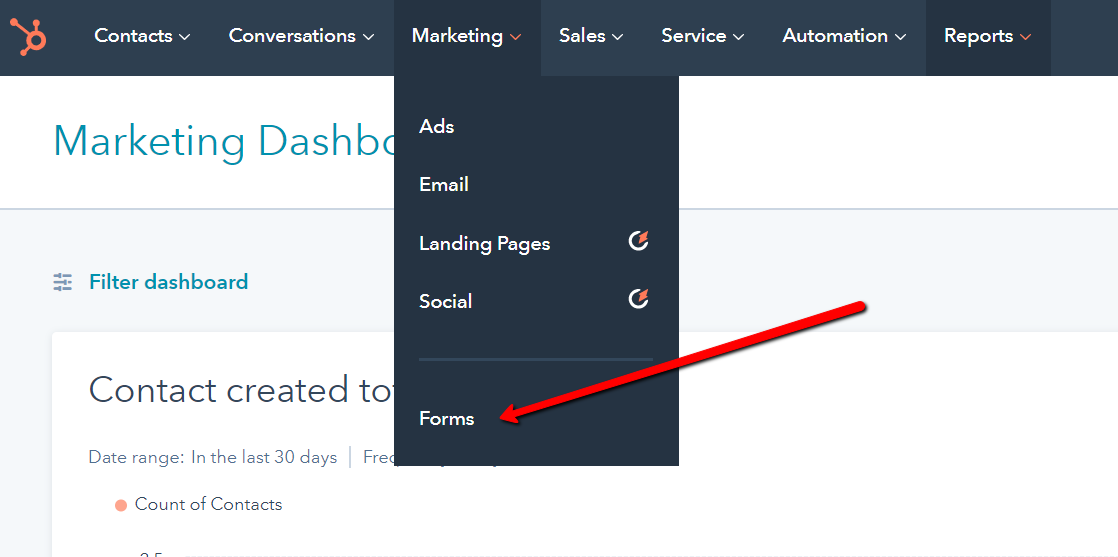
- From within your HubSpot account, navigate to Marketing > Forms and click Create a Free Form.
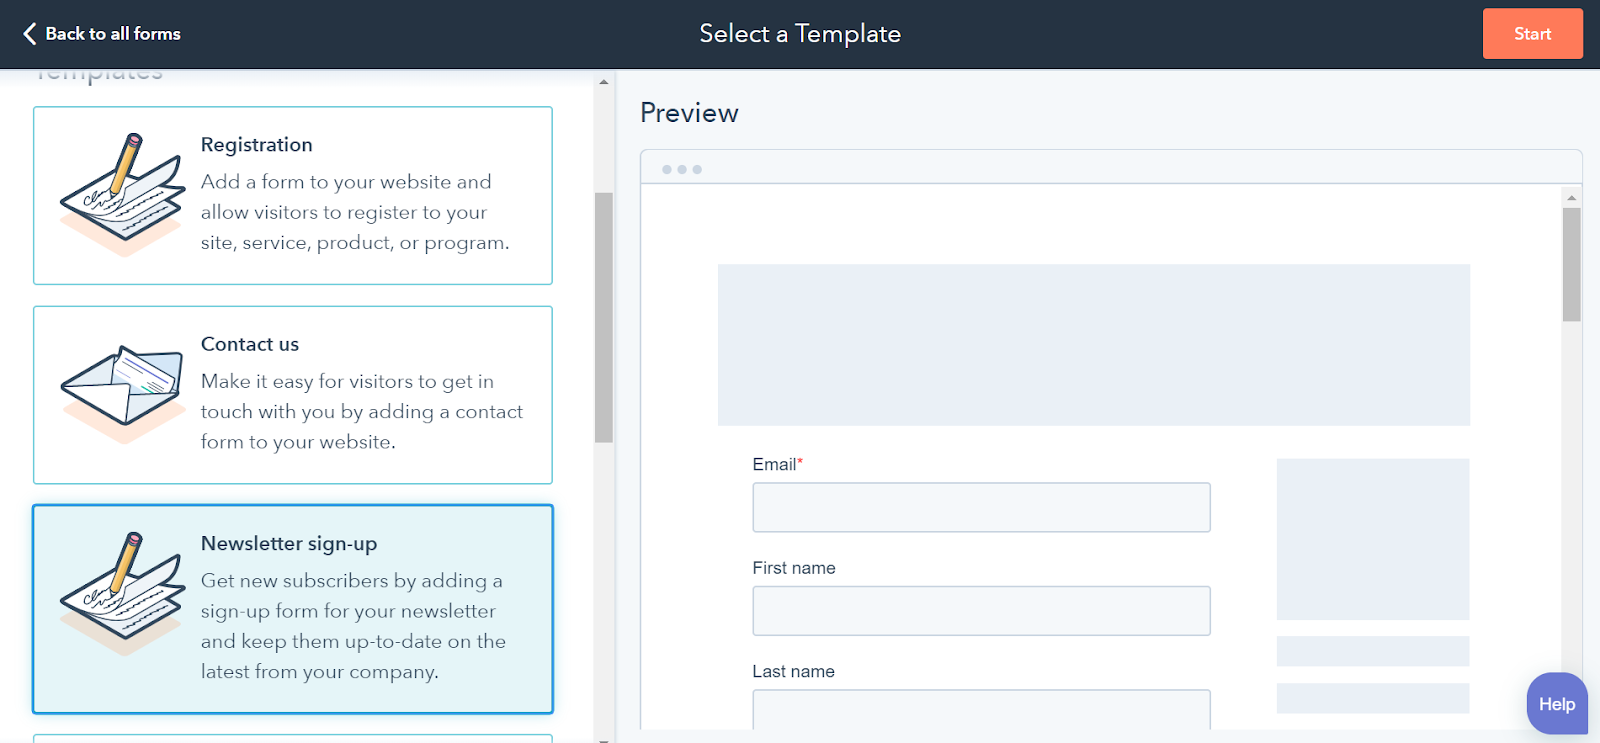
- Select the style and the type of form you want to create. Today we’re going to be creating a newsletter sign-up form that is embedded in our homepage.
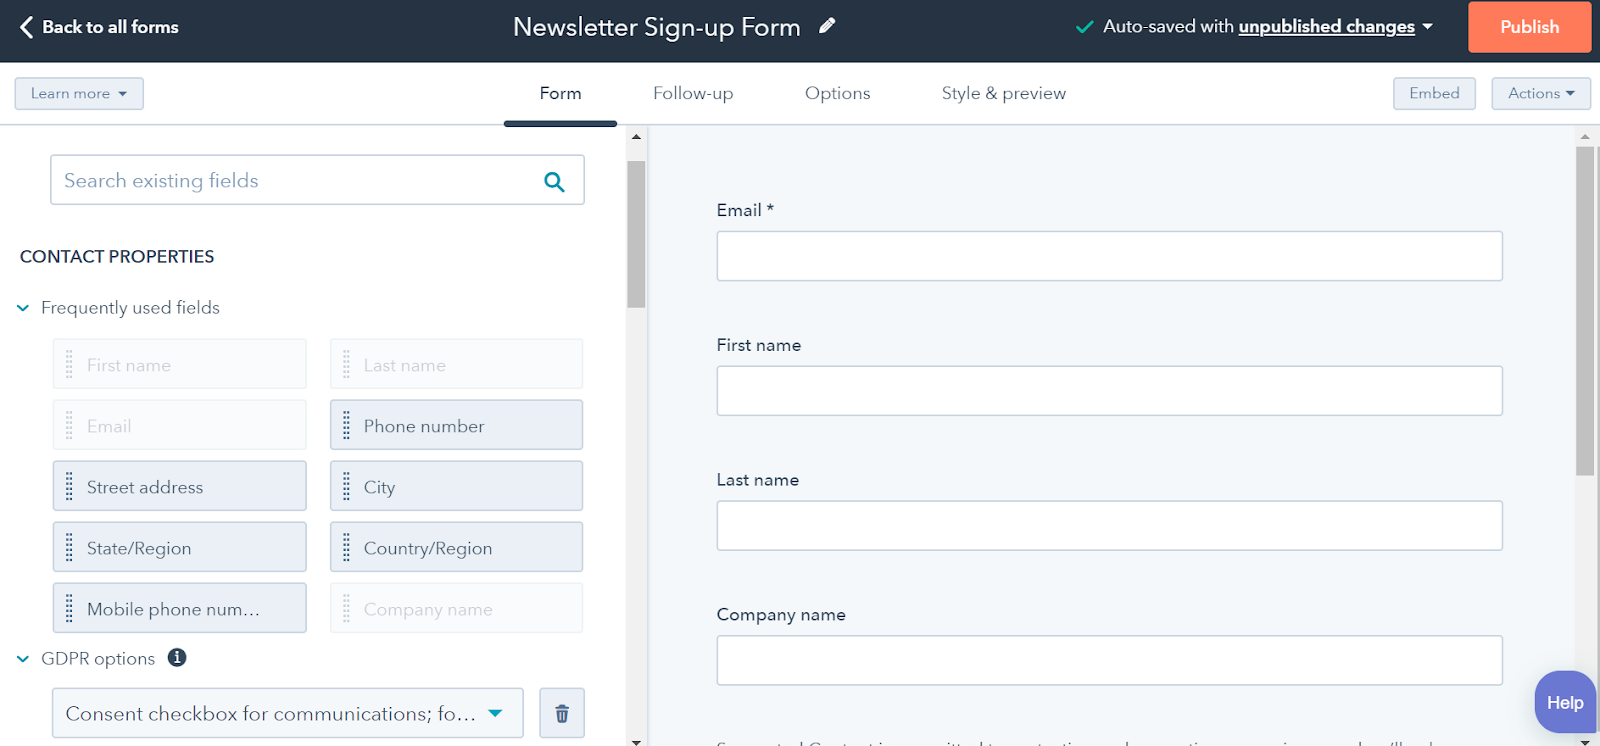
- Choose which fields you want to include in your form.
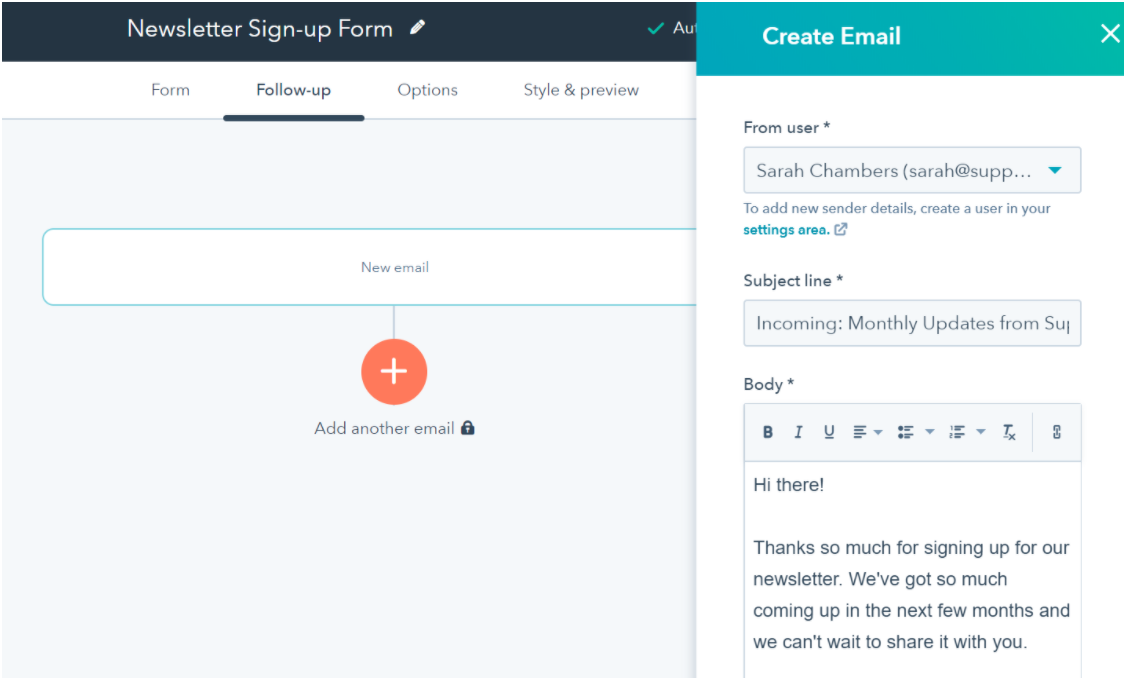
- Create a Follow-Up Email that will be sent immediately to the new contact. This is a great way to welcome customers to the newsletter they’ve signed up for.
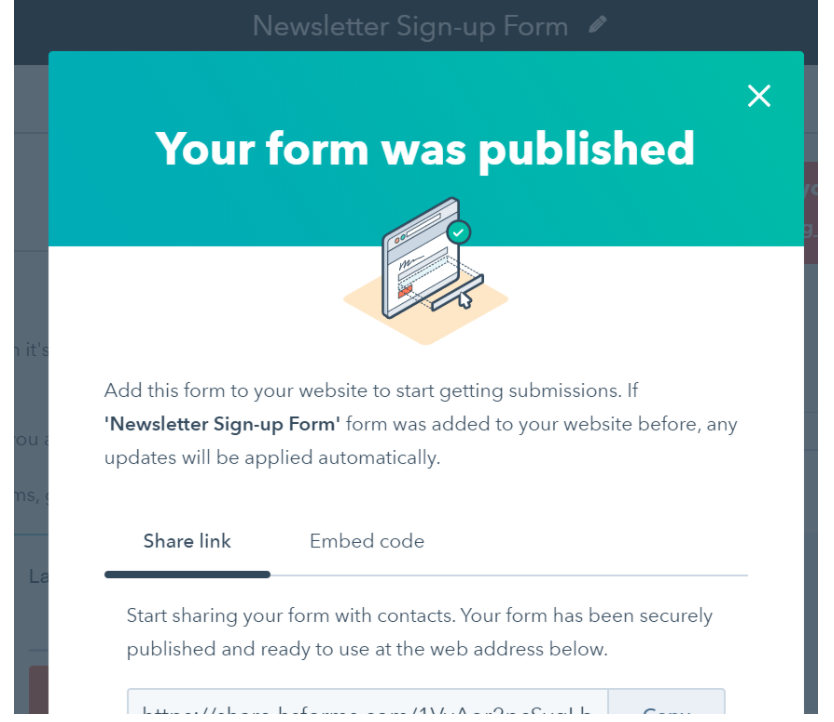
- Review other options such as creating a thank you page and where to send the form submissions, then finalize any additional style before clicking publish.
- Add this form to your site as a separate landing page, a pop-up, or an embedded form.
Customers using HubSpot Marketing Hub Starter can further customize their forms to match their brand’s look and feel, and add up to three additional follow up emails for customers that fill out the form.
Want to learn more about creating forms in HubSpot?
Check out this Knowledge Base article on creating online forms.
Quick Tip: With HubSpot, all data automatically flows into the free CRM tool. When you collect contact data like names and emails using an online form, it’s updated in the CRM so you can use it to send out emails and nurture your visitors into leads.
Next up, we’ll create our first newsletter to send to contacts that have been created through this form.
Create an email
Now that you’ve acquired contact information and permission to get in touch, it’s time to woo your contact. By sending them helpful, personalized, and relevant emails, you can convert that contact into a warm lead that’s ready to open their wallet.
First, we’ll need to create an active list that contains all the contacts who have filled out your form. With an active list, every new submission is automatically added to your list.
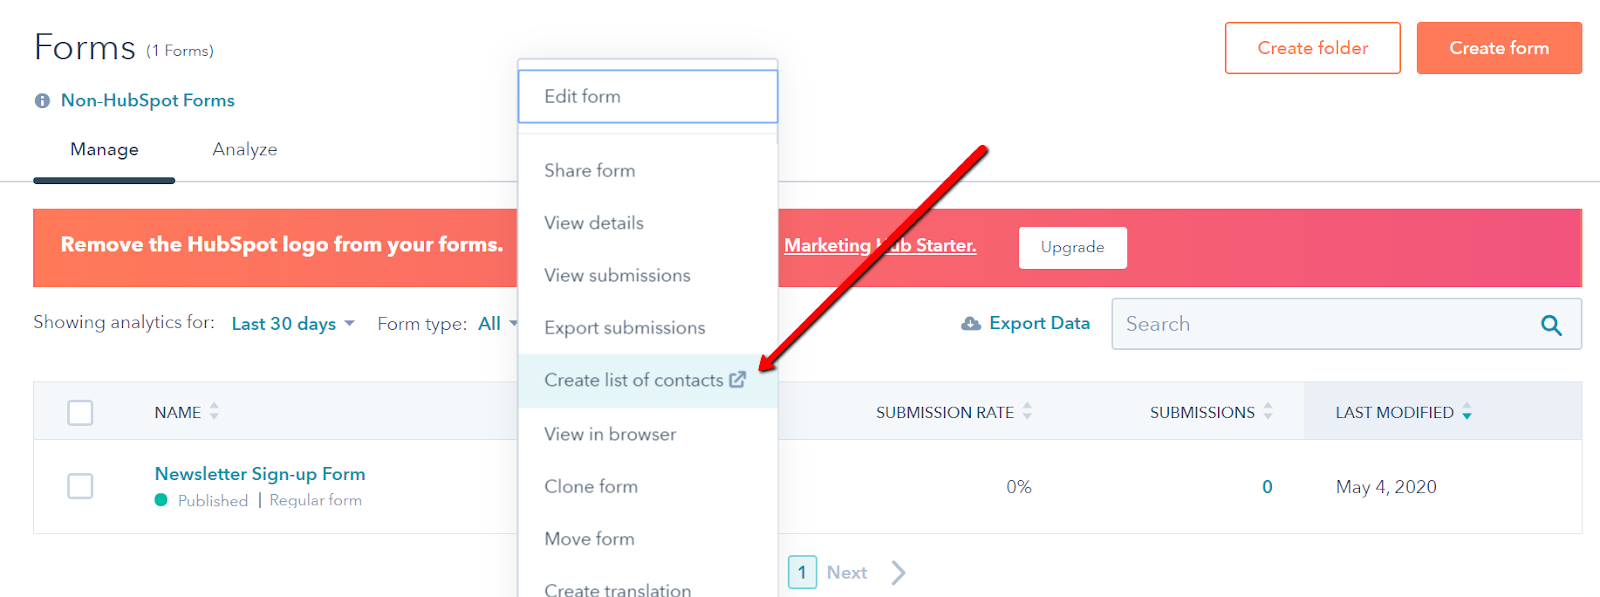
- From inside your HubSpot account, navigate to Marketing > Forms.
- Hover over the newsletter form to click on Actions > Create List of Contacts.
- Name your list and click Save.
Next, we’ll create our first newsletter email to go out to the contacts on this list.
- Navigate to Marketing > Email.
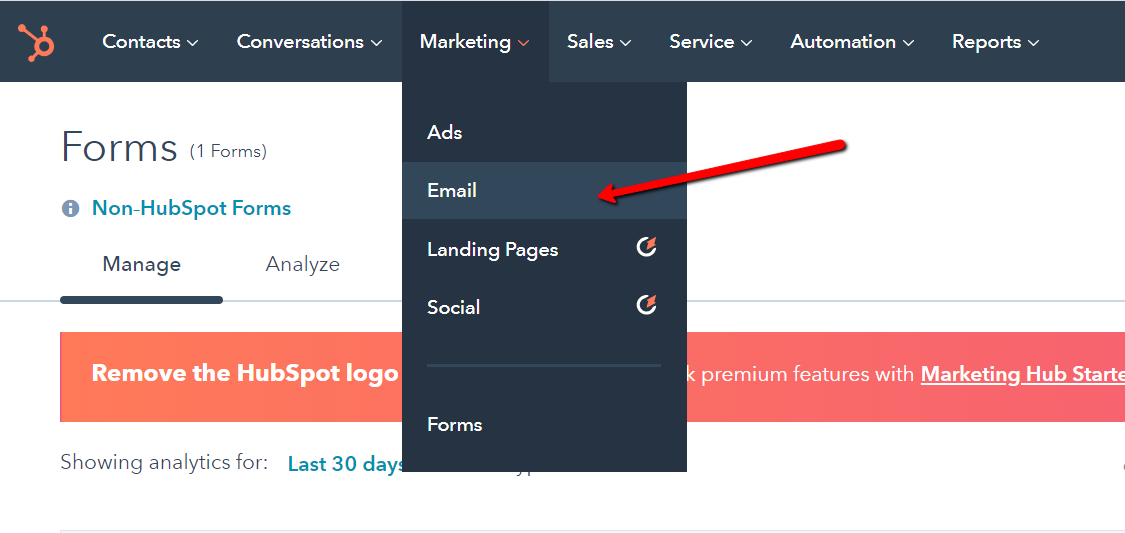
- Click on Create Email.
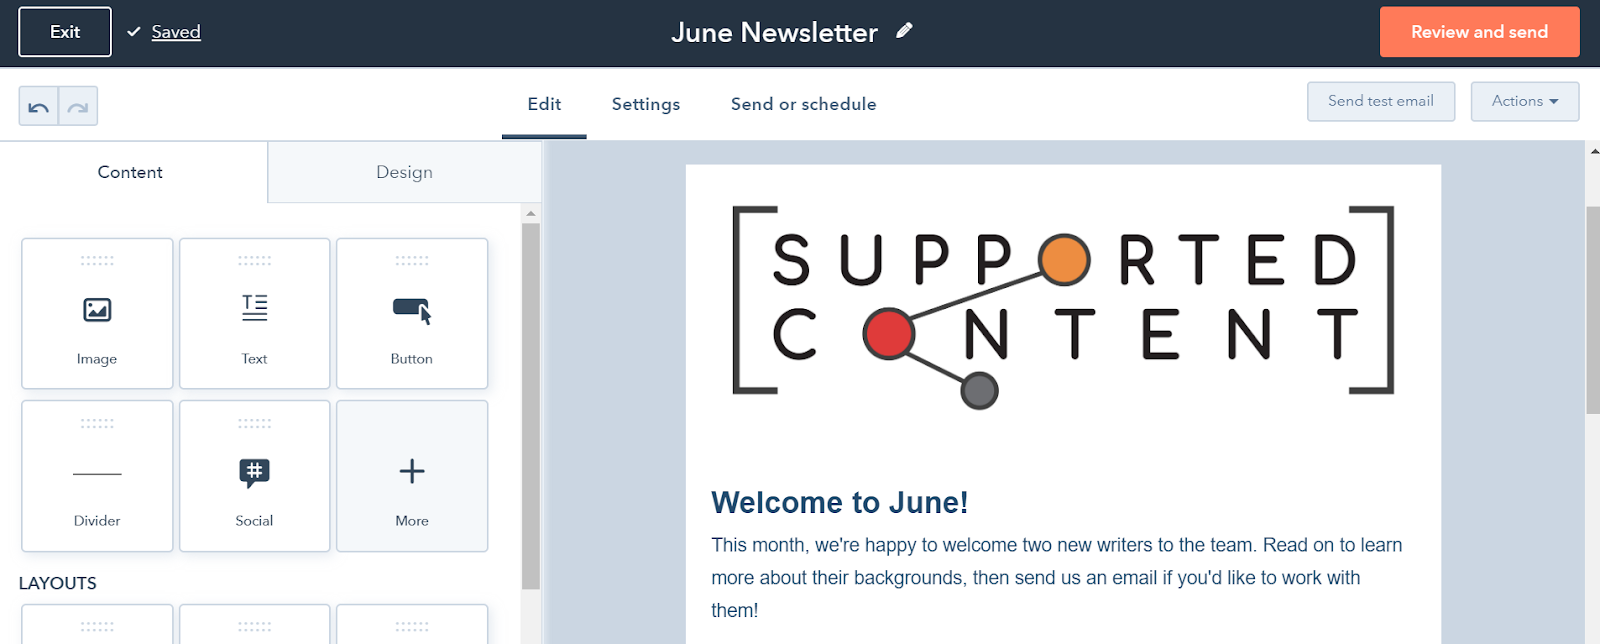
- Choose a template. We’ll use the newsletter template for this one.
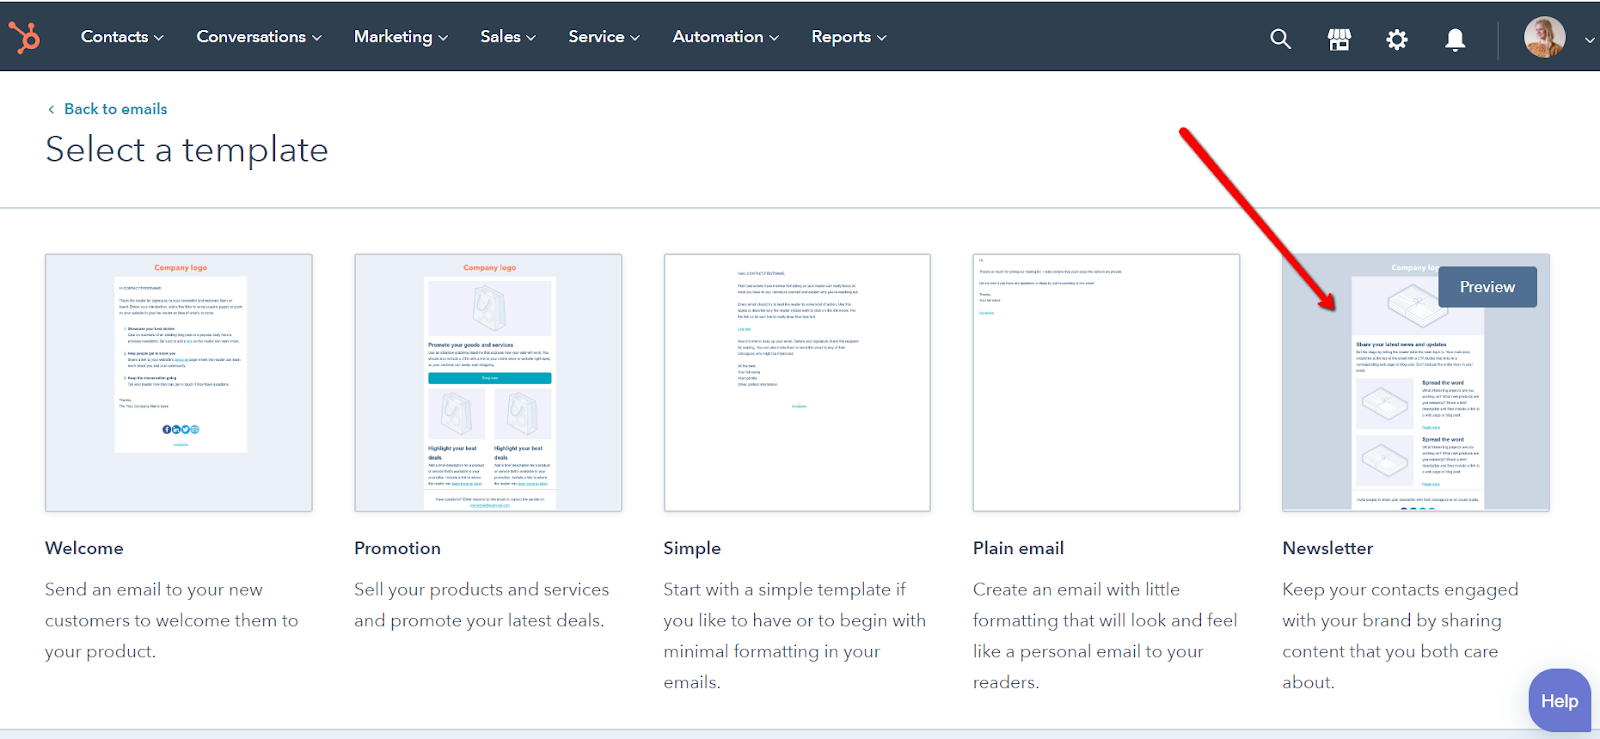
- Edit the template to include the content you want to send.
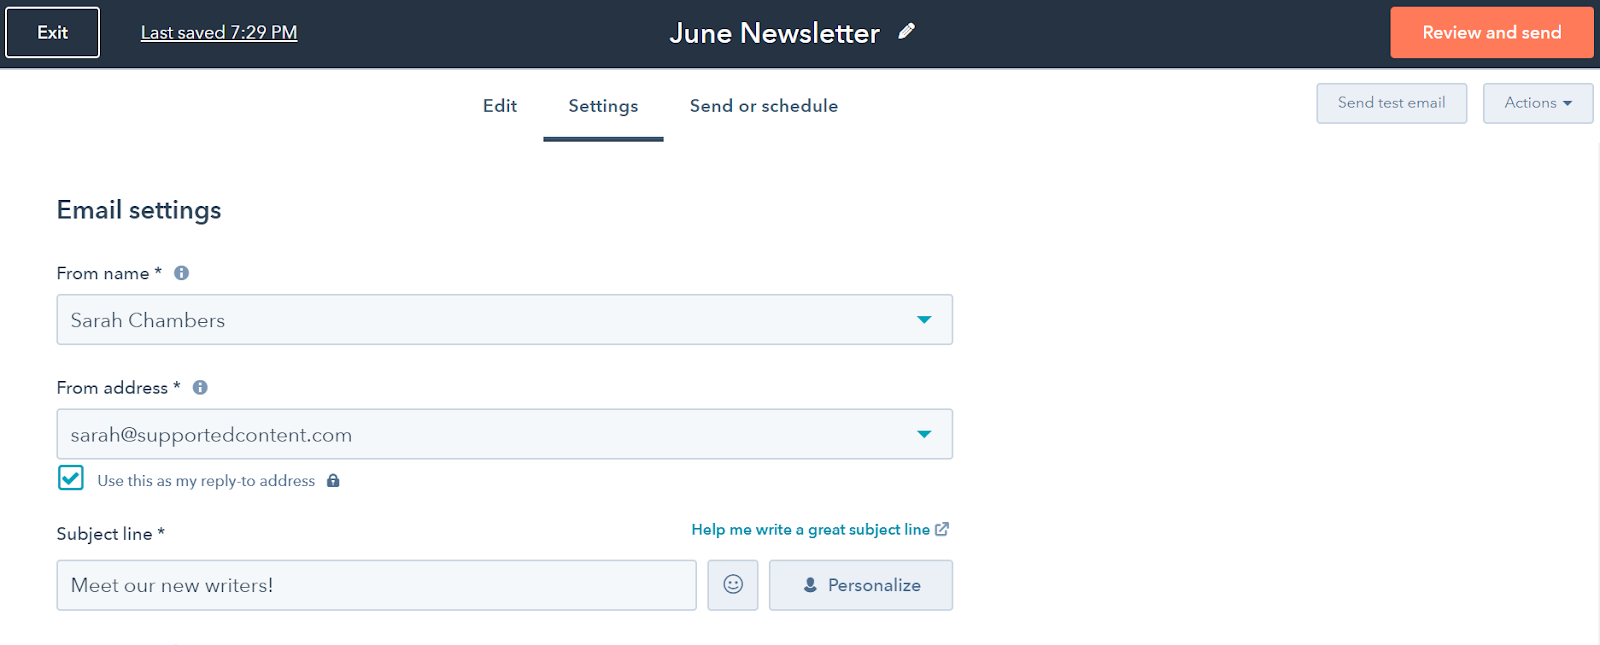
- Under Settings, enter an attention-grabbing subject line and confirm any other settings.
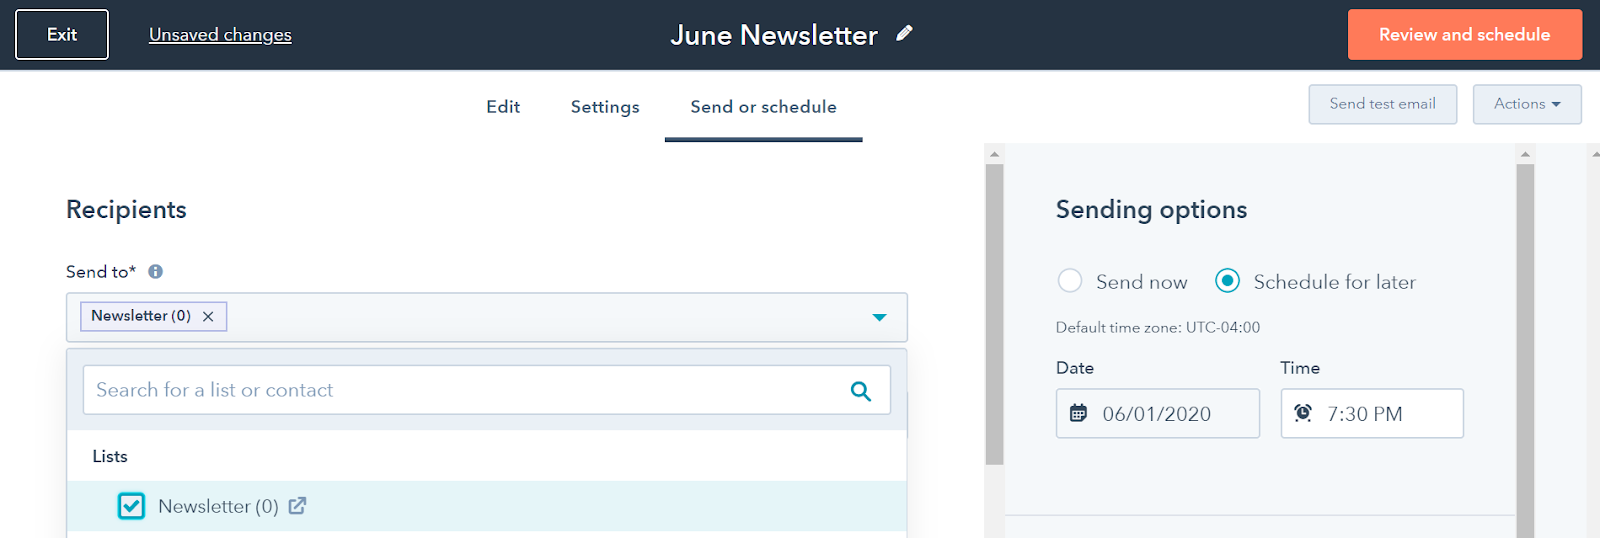
- Under Send or Schedule, select the active list of contacts you just created.
- Decide when you want your email to be sent, try a test email, and then click Review and Schedule.
If you’re using HubSpot Sales or Marketing Professional, you can take advantage of HubSpot’s email marketing automation platform to create timed sequences of emails that are sent out to each contact.
This is an excellent way to warm up a lead with a series of sales prospecting emails showcasing case studies, product features, and upcoming webinars.
Engage visitors in conversations over live chat
Another way to generate leads is through HubSpot’s free live chat tool. Many visitors prefer to get answers through a quick live chat, rather than filling out a contact form. Being available when your visitors have questions is a great way to quickly win them over.
You can customize your live chat widget so it matches your brand and greets your visitors with a helpful and engaging message. Create a chatbot flow to qualify leads, book meetings, answer FAQs, and more.
Below we walk through how to set up a simple live chat widget.
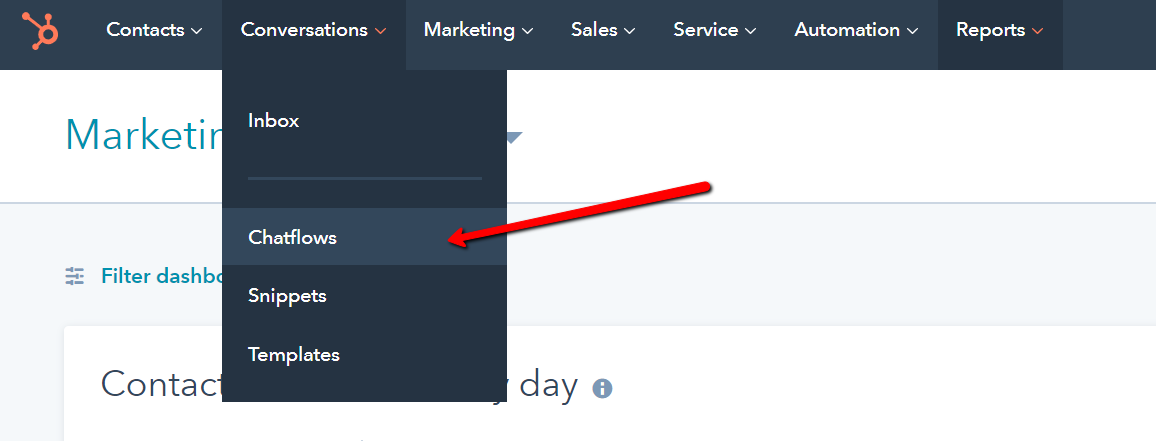
- Navigate to Conversations > Chatflows and click Create Chatflow.
- Choose the type of Chatflow you want to use. We’re going to simply start a live chat conversation with a member of our team.
- Create a welcome message and decide when you want your chat widget to show.
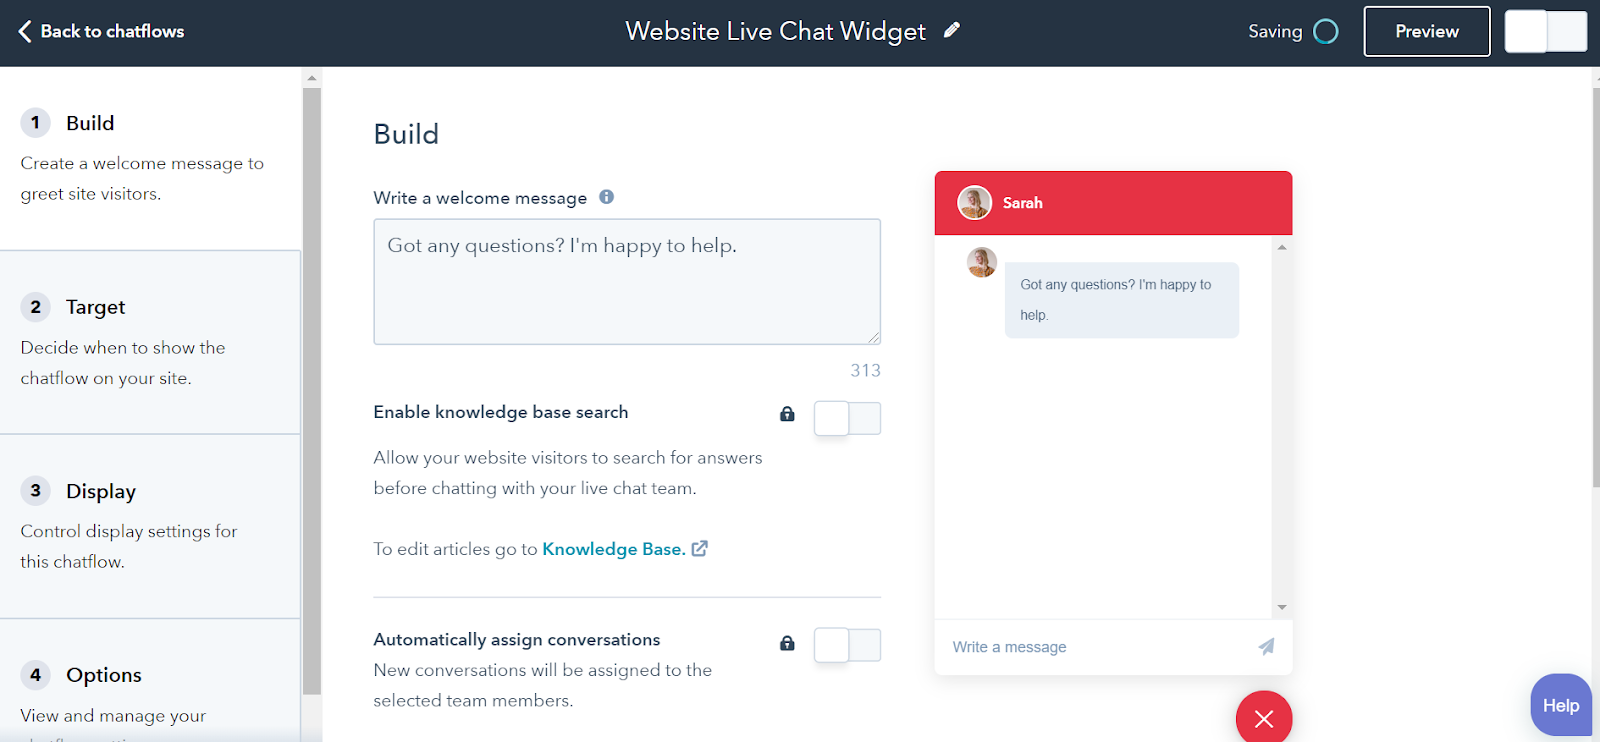
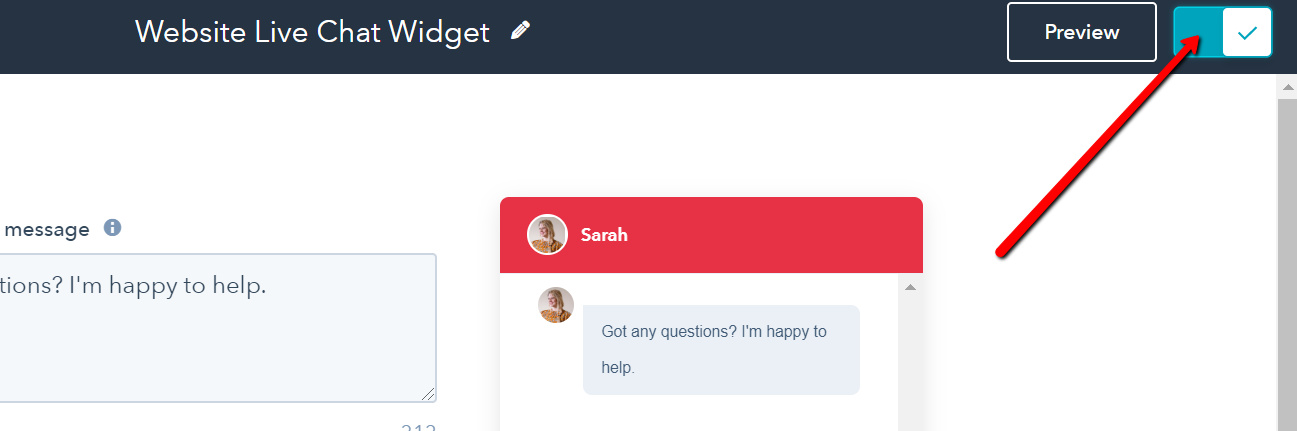
- Preview your Chatflow by clicking the button on the top right of your screen.
- Save your finished Chatflow by clicking the toggle button in the top right corner.
Want to learn more about how to create other types of chatflows, including Facebook Messenger, chatbots, and scheduling?
Check out this HubSpot Academy Lesson
If you’re not available to chat, visitors can leave their email address for you to follow up with them later. You can also add this visitor to a new contact list, and create a specific email sequence to send to them (in addition to answering any questions they had, of course!)
HubSpot customers on the Professional plan or higher can also set up their chatbot to suggest helpful knowledgebase articles or assign conversations to specific teams and agents based on different criteria. Support prospective customers over live chat
Note: For your chat widget to display on your website, you’ll need to have your HubSpot tracking code installed. Learn how to do that here.
Next Steps: Spin Your Flywheel with Great Leads
Success! You’ve taken a look at how you can create a form, send a newsletter and set up live chat on your website. Visitors who drop by your website can show their interest and turn into valuable leads.