

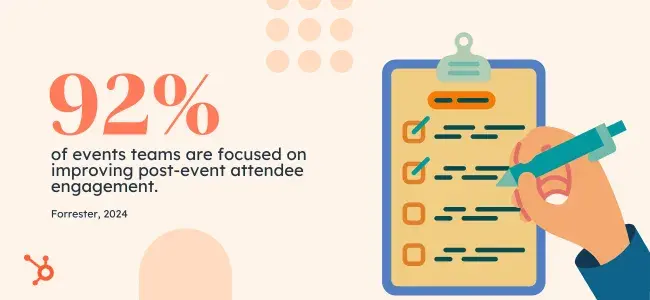
Today, 80.4% of businesses hold in-person events as their most impactful marketing channel. In fact, Forrester found that 48% of teams say events are more important today than before the pandemic.
Conferences, galas, tradeshows, happy hours — they’re all different, but they all help businesses better understand and connect with their audience and customers.
According to our 2024 State of Marketing Report, 16% of marketers plan to try experiential marketing this year, while many others are increasing their event budgets or trying to get more out of their event marketing strategies.
If you’re one of them, this guide is for you.
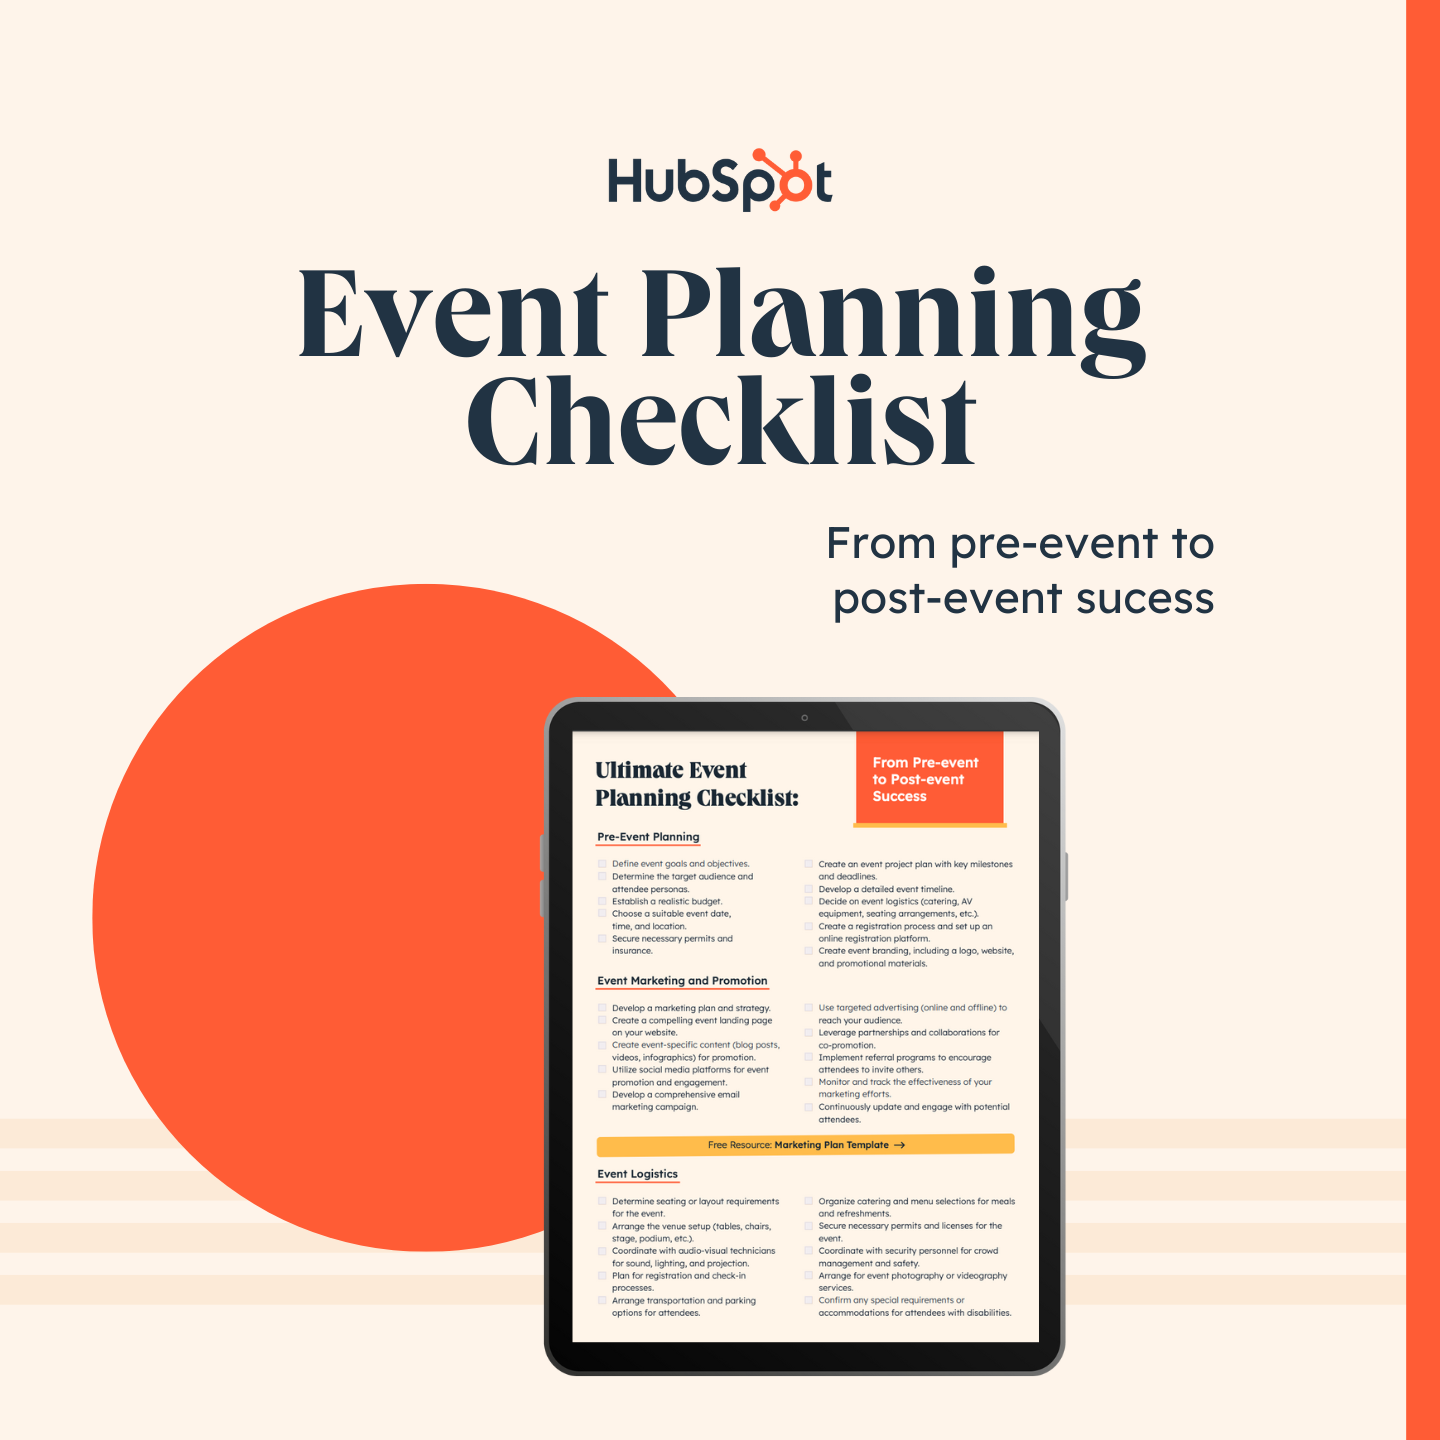
The Ultimate Event Planning Checklist
A step-by-step event checklist taking you through:
- Pre-Event Planning
- Event Logistics
- Event Program and Content
- Post-Event Follow-up
Download Free
All fields are required.
What is event marketing?
Event marketing is the planning, organizing, and executing of an event with the goal of promoting a brand, product, or service. Marketing events can take place in-person or online, and companies can host, attend as exhibitors, or participate as sponsors.
(But for the purposes of this guide, we’ll focus on being a host.)
Events of all kinds can be considered “event marketing.”
You can organize a small roundtable of seven to 10 guests, partner with another brand to sponsor a 5K, set up an exhibit at a major trade show — or even host one online as a virtual event.
Take HubSpot’s INBOUND, for example.
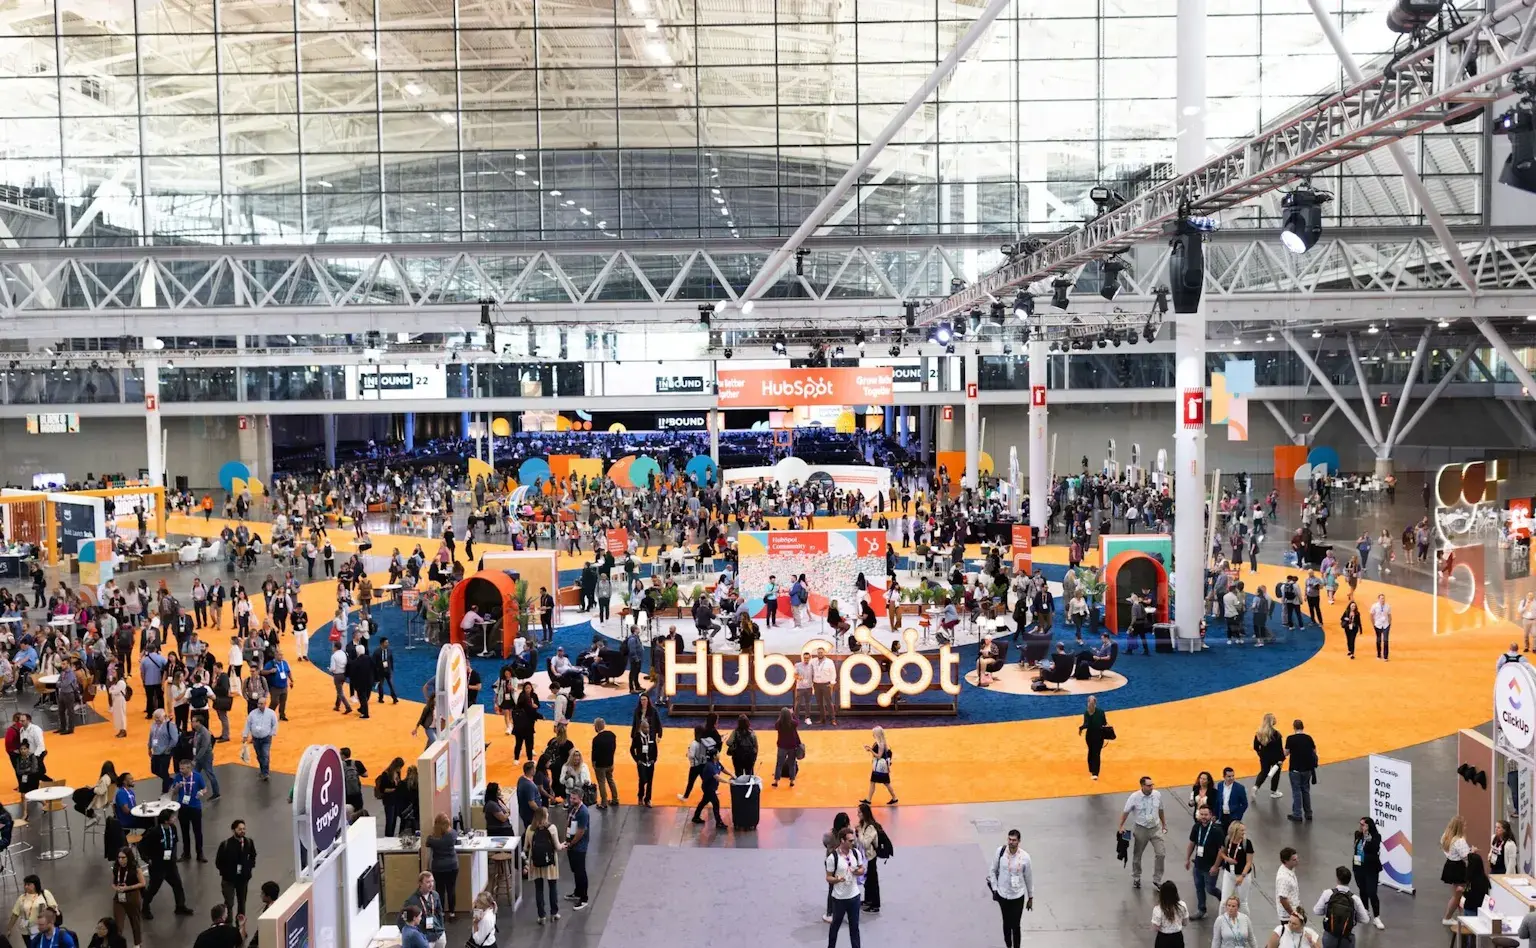
INBOUND is a multi-day event that just celebrated its 12th year.
2024 was sold out, bringing together thousands of people around the globe with their interest in digital marketing and HubSpot.
It included live-streamed spotlights and keynotes on YouTube as well as in-person sessions, entertainment, and interactive experiences.
But the size or platform for your event doesn’t have to be big.
Brand Strategist Bridget Poetker explains, “Smaller, more intimate events are all the rage right now. These can even be more powerful (read: ROI positive) than large-scale conferences. You get more face time with a hyper-targeted list of attendees.”
So long as you bring value to attendees — customers, potential customers, and even employees — event marketing can be extremely valuable for your business.
Benefits of Event Marketing
According to Bizzabo, 76.6% of organizers consider in-person conferences critical to their organization’s overall success, and there are many reasons why.
Event marketing has a long list of tangible and intangible benefits, many coming back to increased brand awareness and customer connection.
Generating Brand Awareness and Recognition
Hosting or participating in events is a powerful way to introduce your brand to new people. In fact, 64% of event marketers reported that the primary reason for hosting events is brand awareness for their company or products.
When you think about it, this makes a lot of sense.
Online, there’s so much noise. You're basically competing with anyone with a web presence to rank in search engines or get eyes on social media.
But at in-person events, there are only so many people in the room. That means there are fewer brands to compete with for your audience's attention. Plus, people want to learn more about brands in these environments.
According to Freeman, 87% of event attendees say discovering new products and solutions is the most important element of a valuable in-person experience.
Furthermore, 80% of say in-person events are the most trusted way to discover new products and services.
So, use this to your advantage.
Brainstorm exciting ways to showcase your expertise or enable attendees to touch, feel, and fully engage with your product or service.
For example, one of my former employers was a marketing and web design agency and at live events, we would host live website critiques with attendees.
These critiques allowed us to share some of the strategic knowledge someone would get if they worked with us and also give them the opportunity to meet some of the people they’d work with.
If you’re a chef or caterer, you can give our samples or do a live cooking demonstration like my friend Chef Devan Rajkumar did at Food & Drink Fest 2024 in Toronto.
If you’re a clothing designer, you can display some of your outfits or host a mini fashion show.
Event marketing allows you to bring all of the value and culture your brand promises to life. And the more creative your exhibit, the more people are to talk and spread word of your brand even further.
Building Deeper, Trusting Relationships
The internet has created a global digital marketplace, meaning many businesses never meet their customers or clients in person.
I mean, think about it. Unless you’re in the service industry or run a brick-and-mortar store, it’s not uncommon for all your interactions with customers to happen online or even asynchronously.
That’s where event marketing can be a game changer.
In-person events allow you to have personal, one-on-one interactions with customers and potential customers.
You can shake each other’s hands, hear each other’s voices, and even share a laugh. You can see a customer’s body language and expressions and better understand their concerns and goals to better serve them.
In return, they can better understand you, too.
Overall, there is less room for ambiguity, unknowns, or getting “catfished” by a business in person. Rather, you can form a real-life, trustworthy connection.
Don’t believe me? Freeman found that 77% of consumers say their trust increased after interacting with a brand at a live event.
Fostering Memorable Engagement
Kenny Nguyen, CEO of the creative agency ThreeSixtyEight shared with us, “The key to any great event strategy is very simple — identify the memory you want attendees to walk away with and work backward." And he’s not wrong.
According to Freeman, 64% of consumers retain positive impressions of brands they interact with at live events. And these positive memories automatically make consumers more inclined to want to recommend and even work with you in the future.
As Nguyen continued, “Human experiences will be how companies choose to differentiate themselves, especially those that can’t do so through technologies.”
In-person events are built to foster them.
Generating Leads and Sales
Ultimately, the goal of all this improved awareness and engagement is to nurture leads and generate sales.
While there’s no guarantee of deals closing on the floor at your event — and frankly, that shouldn’t be your focus — the unique relationships and interactions established at your events are often much warmer and ready to act than those who just discovered you online. Using a ticket generator can also help capture attendee information upfront, making it easier to follow up and qualify leads after the event.
The Ultimate Event Planning Checklist
A step-by-step event checklist taking you through:
- Pre-Event Planning
- Event Logistics
- Event Program and Content
- Post-Event Follow-up
Download Free
All fields are required.
Types of Event Marketing
The umbrella of event marketing is wide and includes many different options with different benefits. Let’s discuss some of the biggest.
Conferences
When you think of event marketing, your mind likely immediately goes to conferences.
Conferences are large events typically organized and hosted by one major company and sponsored by many other brands and businesses. They can be valuable for both B2B and B2C organizations.
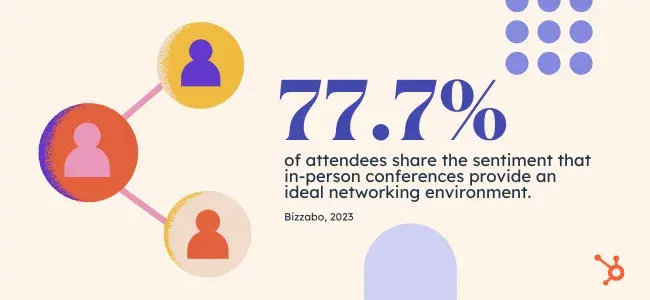
These events typically offer the most dynamic agendas, filled with speakers, workshops, and exhibit halls. Plus, Bizzabo found that 77.7% of attendees agree that in-person B2B conferences offer the best networking opportunities.
One example of a conference done well is Adobe Max.
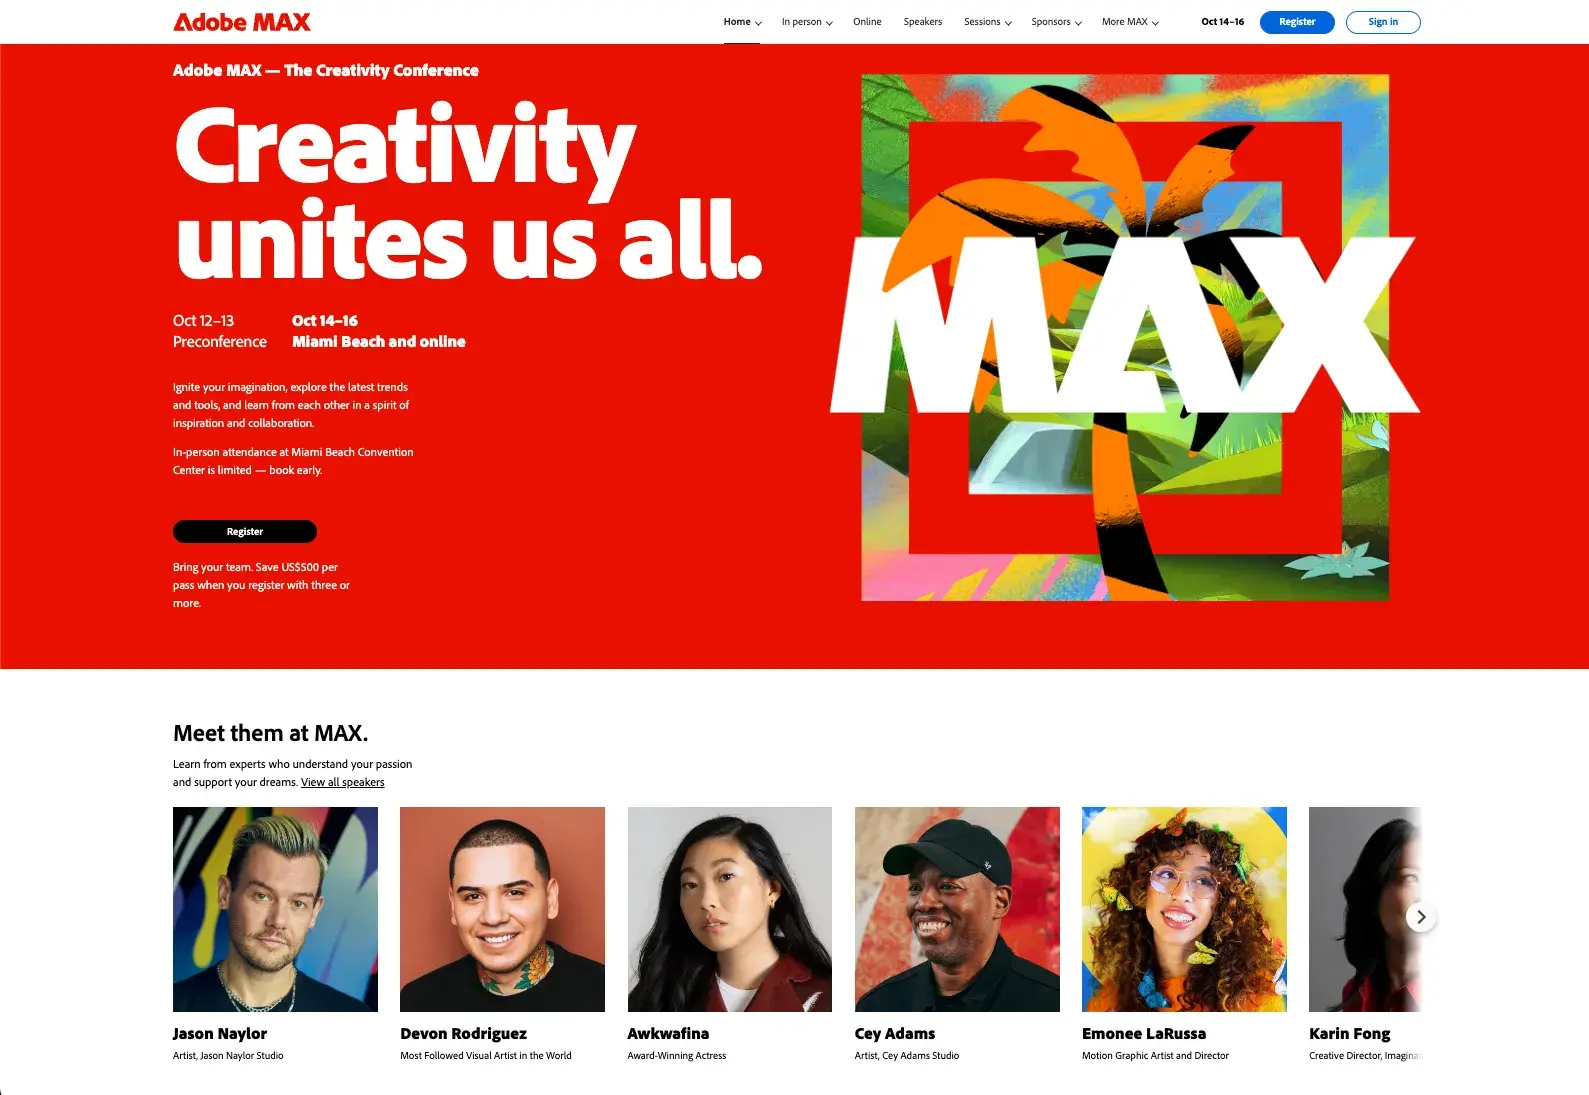
Touted as “The Creativity Conference,” Adobe MAX promises to ignite attendees' imaginations, help them explore the latest creative tools and trends, and connect and collaborate with like-minded individuals.
For a brand with such a large share of both the B2B and B2C creative markets, this conference is an extremely memorable and on-brand way for Adobe to connect with its audience.
Trade Shows and Expositions
Trade shows or expositions (expos) are large events organized around a specific industry or type of product, such as sales technology or medical devices.
Whereas conferences are typically open to the general public, trade show attendees tend to be pre-qualified buyers, company representatives, and salespeople from their specific industry.
Because of that, trade shows and expos tend to give companies the best chance to show off their products and services and bring in the highest number of qualified leads.
One tradeshow you may be familiar with is the Consumer Electronics Show or CES.
CES is held annually in Las Vegas, Nevada, and features the latest technology in the IT, communications, and multimedia industries.
However, trade shows are also frequently much smaller and niche, like the New Jersey Bridal & Wedding Expo.
Educational Events (i.e. Seminar, Webinars, Lectures)
Seminars (often called webinars when hosted online) are valuable, education-centric events attended by a small number of people.
They typically involve discussions, lectures, and group activities and can also serve as intimate networking opportunities.
Roundtables are similar to seminars but usually involve individuals from different levels and departments within their companies.
Meanwhile, masterminds tend to involve individuals in similar roles (but different industries) and focus more on brainstorming ideas and sharing feedback.
All variations typically last no more than one day, with most lasting only a few hours. Educational events are also commonly held online to make them easier for people to attend during the workday.
HubSpot is no stranger to webinars, hosting them in our community and as gated offers.
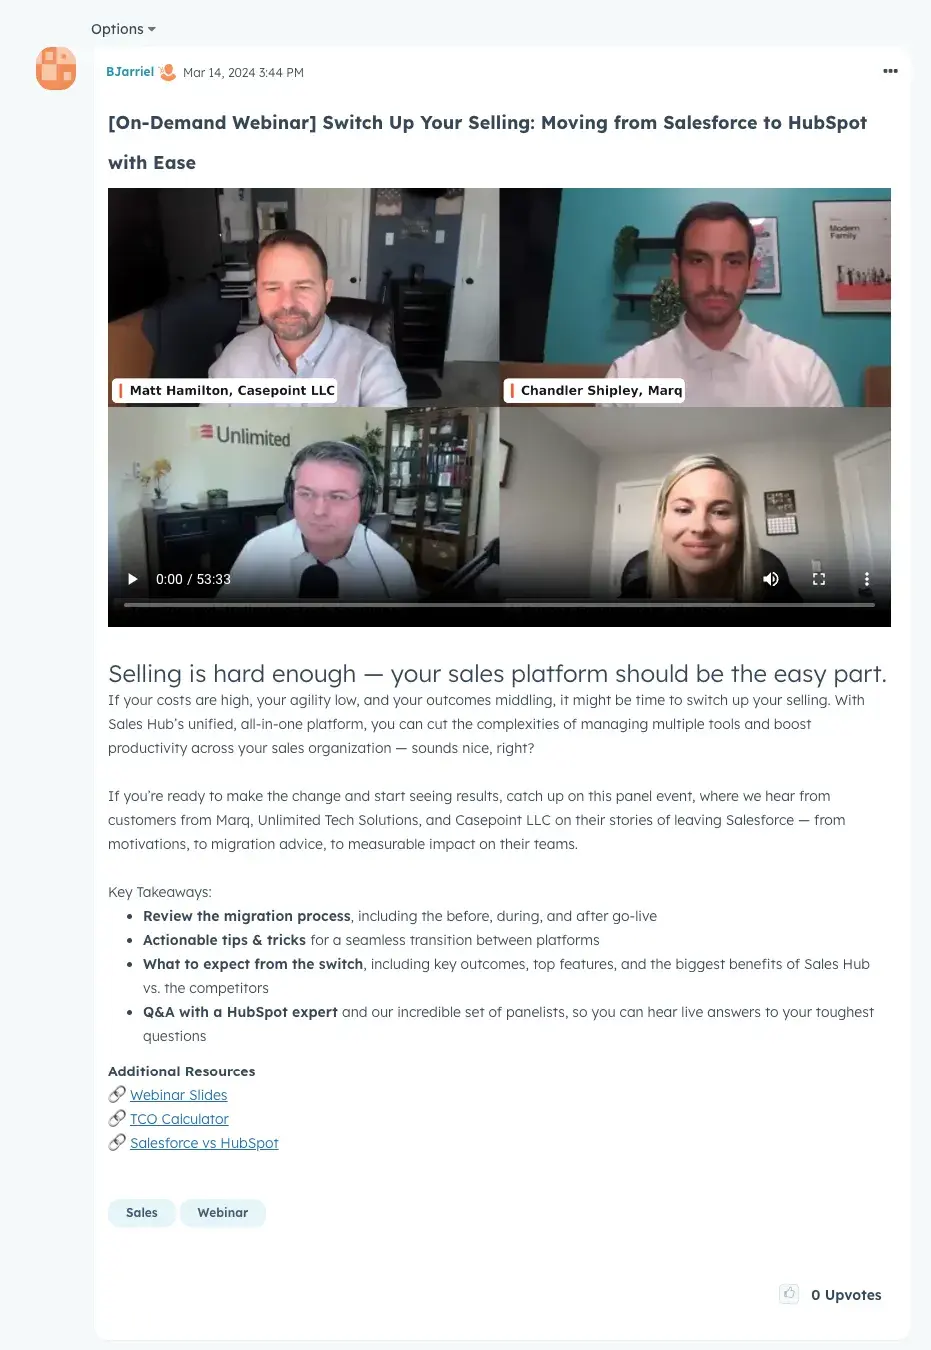
The same can be said for the Marketing AI Institute.
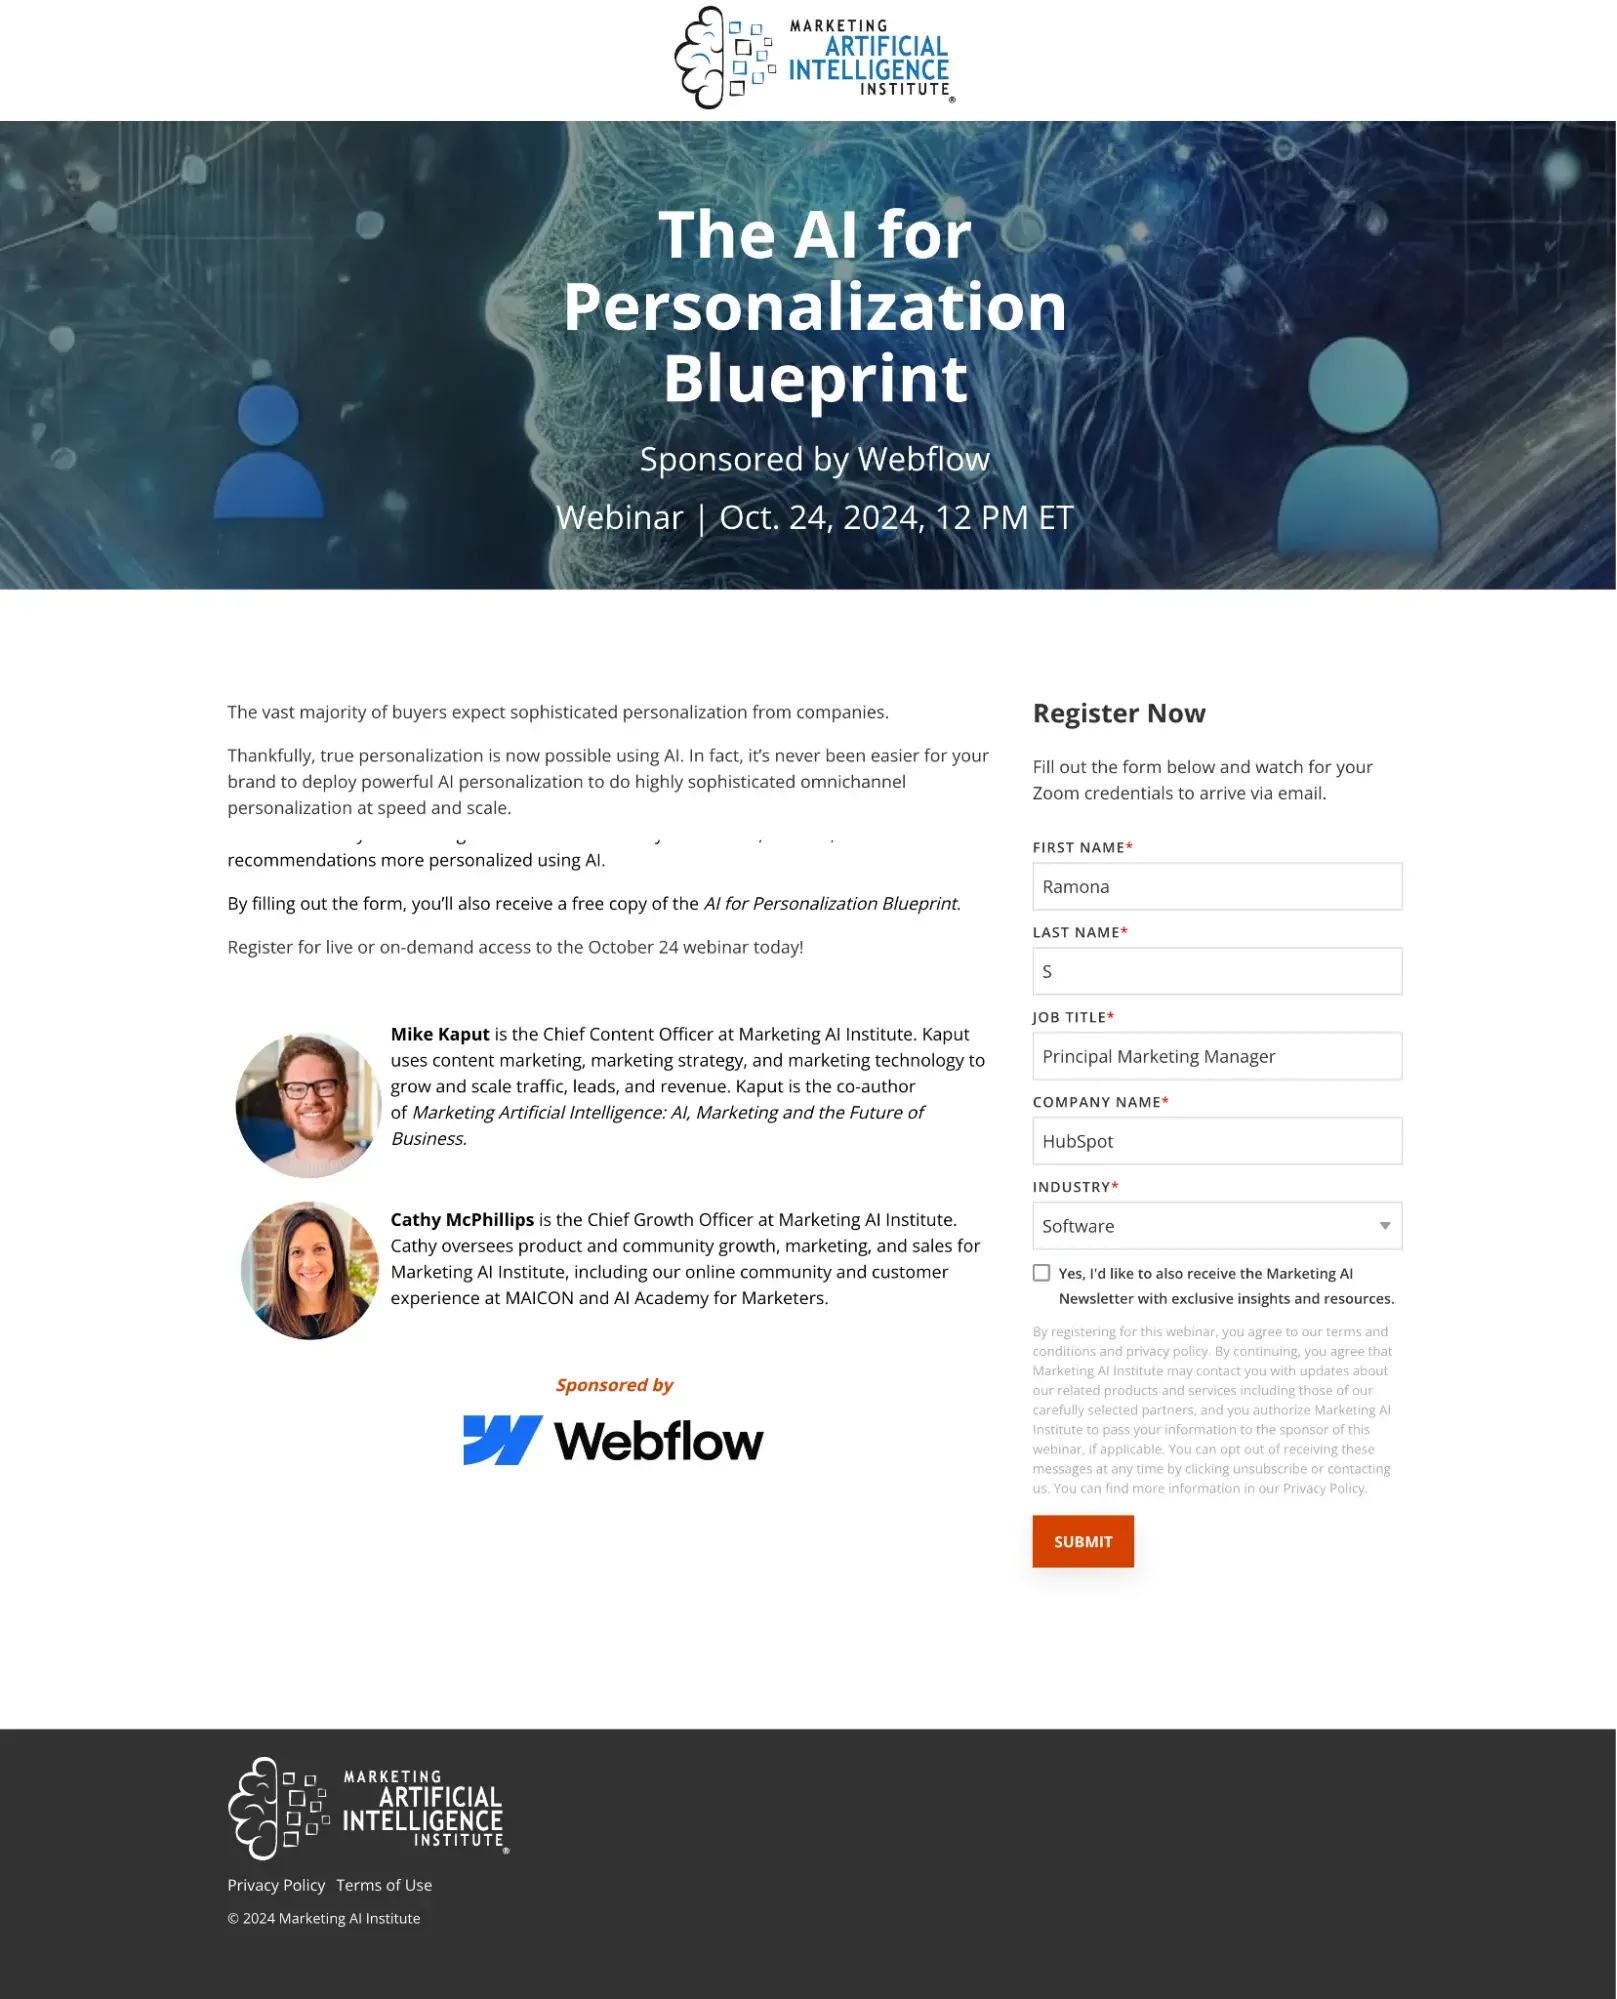
During these webinars, we often party with industry experts from other companies to share their knowledge with our audience and to also promote the event.
Want to learn more about running a successful webinar for event marketing? Check out “The Ultimate Guide to Creating Compelling Webinars.”
Workshops
Workshops are similar to seminars and roundtables in that they’re focused on sharing knowledge and educating attendees. But unlike seminars and roundtables, they’re typically open to the public.
Workshops can be offered both virtually and in-person, and while they aren’t traditionally promotional, they’re usually centered around a topic relevant to the host.
This is a “thought leadership” play, intended to make a company appear more credible in their field.
Popular Indian-American poet Rupi Kaur recently held a poetry writing workshop at The New York Public Library, for example.
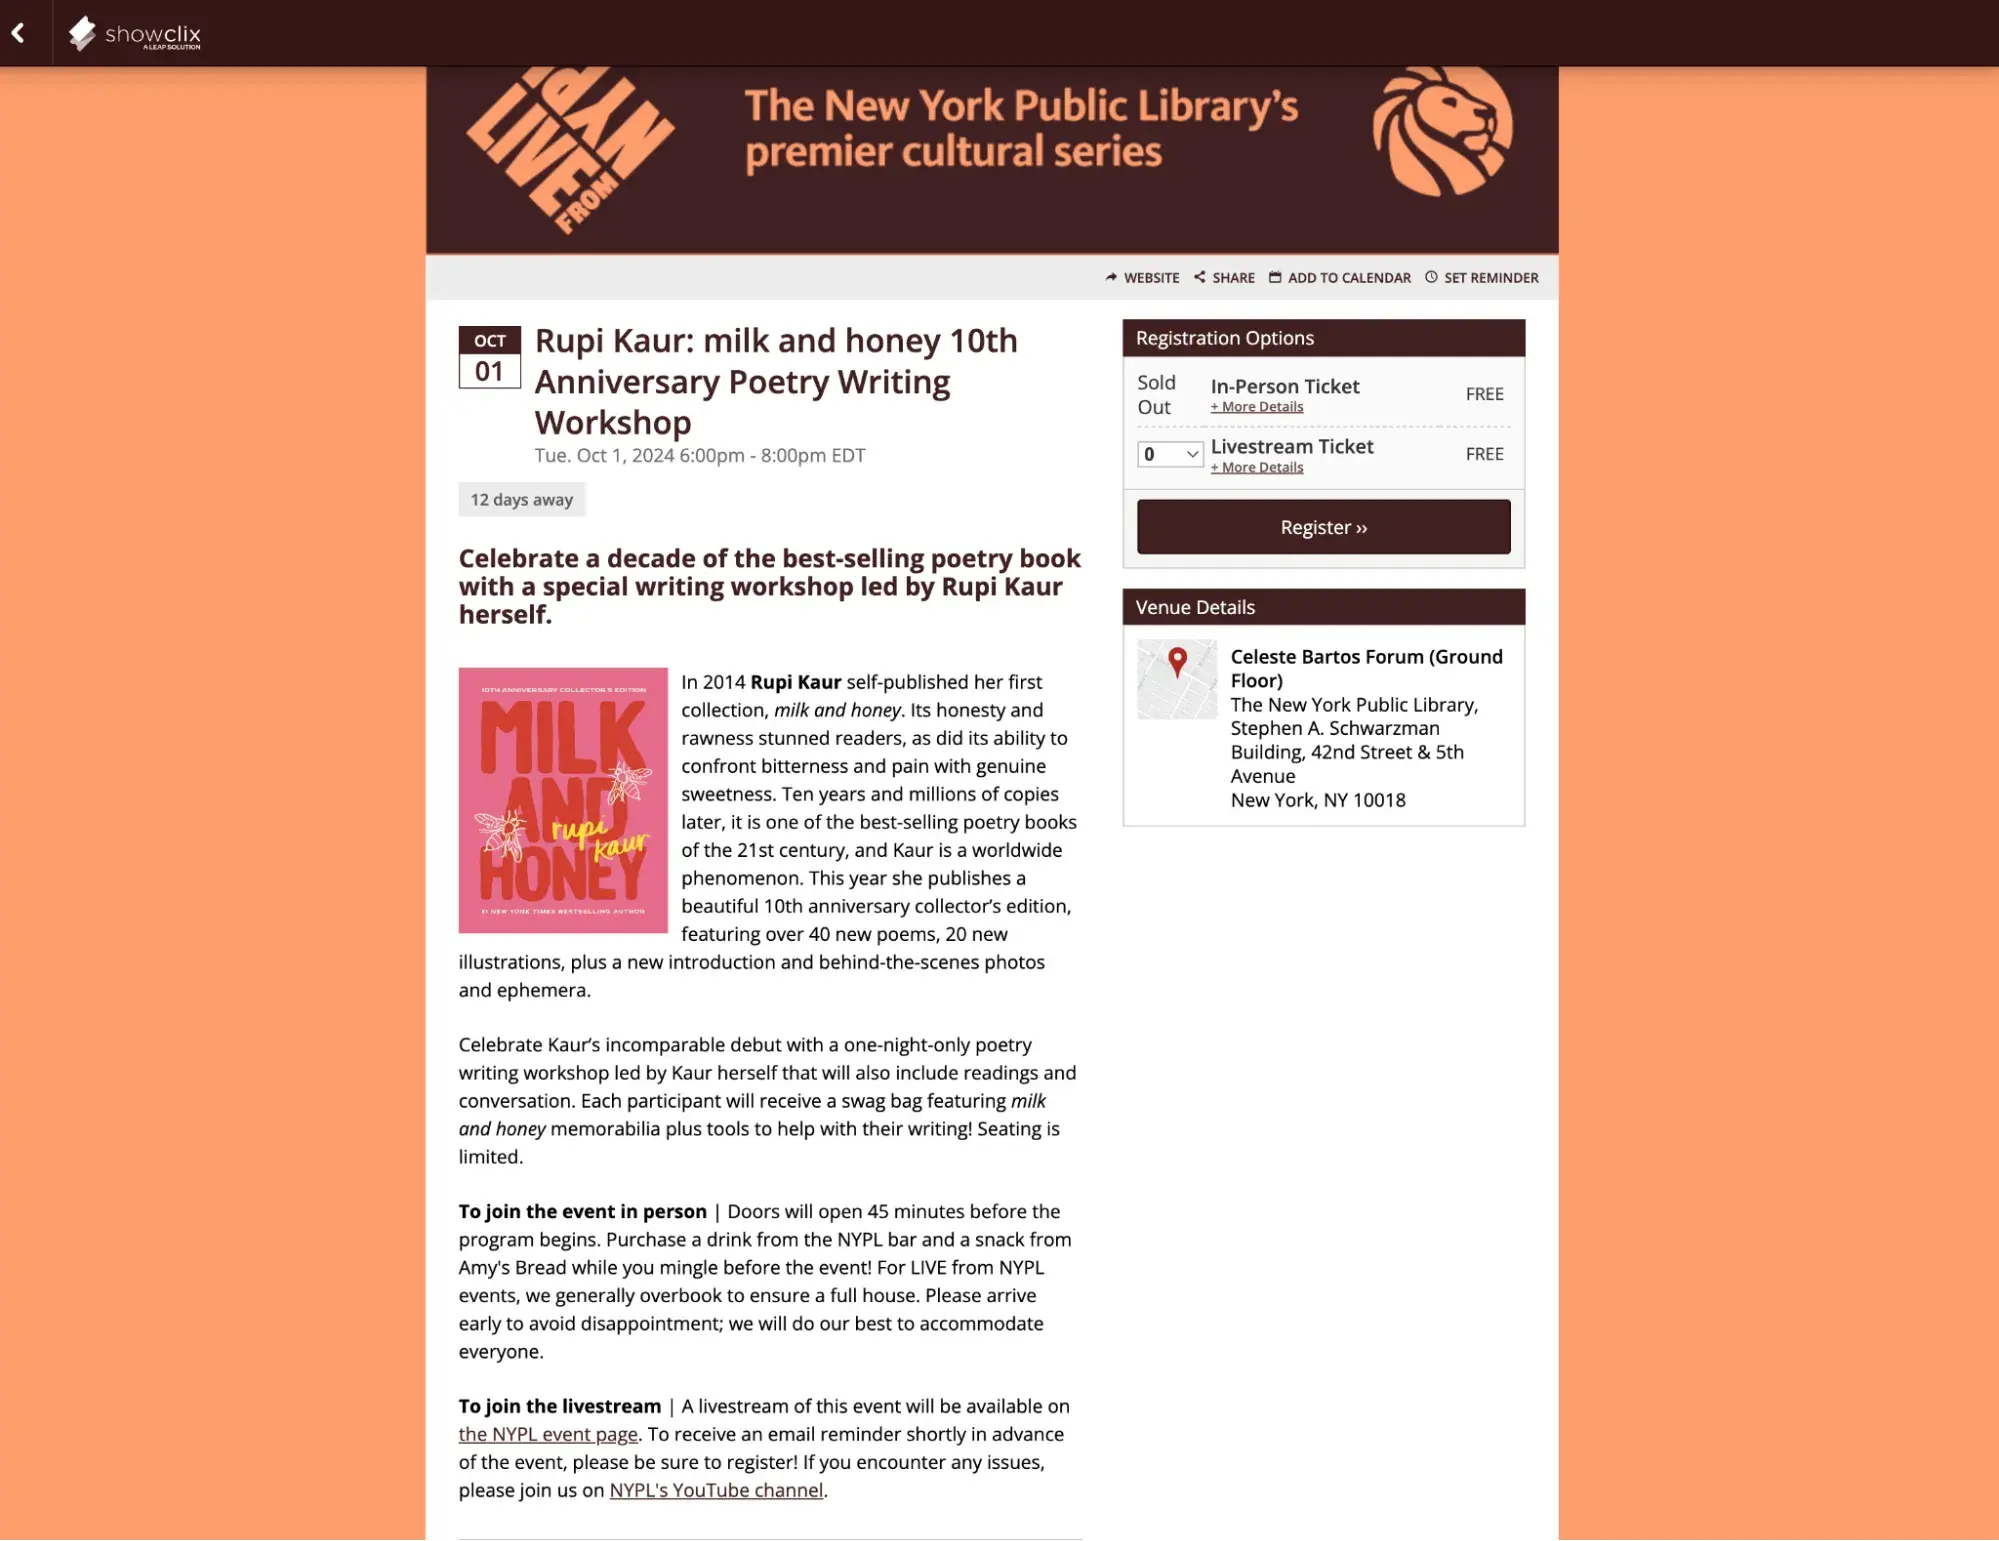
The event was free and focused on Kaur sharing her writing expertise and spending time with some of her fans. Not to mention, it sold out in less than 10 minutes — while I was in the middle of checkout. Ugh.
The writing workshop is also a good example of a branded celebration.
Parties and Celebrations
Parties or celebrations are small, personal marketing events that can be held for a variety of reasons, including:
- The launch of a new business or product
- An exciting company announcement
- Another success or milestone
Kaur’s workshop was limited to a small group of attendees and was held in celebration of the 10th anniversary of her first book, Milk and Honey.
While these types of events shouldn’t be centered on promoting a product or brand, a simple speech or presentation can help align the event with a company and remind attendees why they’re there.
But heck, even if they don’t have something new going on, some companies organize a yearly party simply to bring together and entertain customers or clients. Take advantage of holidays or themes by planning a New Year's Eve event, a Thanksgiving event, or a "just because" event with a fun theme.
Gatherings like this can do wonders for showing appreciation for your customers and building brand loyalty.
Brand and Product Pop-Ups
Pop-ups are temporary retail spaces or experiences where companies can showcase and sell their products in a controlled environment.
Initially, they were mostly held by e-commerce brands that don’t have a full-time brick-and-mortar storefront, but today, they are increasingly common with businesses of all kinds. But why exactly?
Businesses love that pop-ups can bring their brand and products to life in memorable, immersive settings that customers want to share on social media. And customers love the unique experiences.
Typically, pop-ups are limited-time engagements (ranging from a few hours to a few weeks) that feature detailed, branded environments, interactive displays or activities, and even freebies.
This makes them feel exclusive and, in turn, even more appealing.
Setups like these are popular with beauty brands like Dior.
But can also be arranged for tech products like the game Fortnite:
Or to promote content like this one I attended for the Netflix series “Stranger Things”:
See more examples and learn how to plan a memorable pop-up.
Networking Events
Networking events are any occasions people attend hoping to make professional connections — and, honestly, they are arguably the most valuable events a business can offer.
In addition, they are also one of the least demanding events a business can host.
Now, don’t get me wrong. That doesn’t mean you can phone it in, but networking events certainly require less detailed planning than pop-ups, parties, conferences, or educational workshops.
As a host of a networking event, it’s your responsibility to create a comfortable space — 64.6% of event attendees say this can make or break an event — perhaps provide some refreshments and, of course, get people in the door.
Otherwise, a networking event can be as structured or casual as you like.
Several years ago, I attended a speed networking event during INBOUND, for example.
The hosts provided the space (a private room at Harpoon Brewery), a drink ticket, and a few snacks, then led a structured rotation of introductions/meetings.
In this setup, every attendee was guaranteed an audience with everyone else in the room, but only for a pre-determined amount of time. This was great for someone like me who had trouble breaking the ice when networking.
Some other popular networking formats include:
- Happy Hours
- Career Fairs
- Business Brunches or Lunches
- Industry Meet-ups
Poetker continued, “I‘m a big fan of the more casual happy hours and ‘dinner on our dime’ marketing events. They get people out of their work mindset and help them connect on a deeper level."
"Marketing is human to human; it’s about empathy. Those experiences you create together are invaluable to long-term relationship building.”
The Ultimate Event Planning Checklist
A step-by-step event checklist taking you through:
- Pre-Event Planning
- Event Logistics
- Event Program and Content
- Post-Event Follow-up
Download Free
All fields are required.
Charity Galas and Fundraisers
Galas and fundraisers, in some ways, are similar to parties and celebrations.
Attendees enjoy entertainment, but rather than celebrating a brand accomplishment, these events are centered around the goal of raising money and awareness for charitable causes.
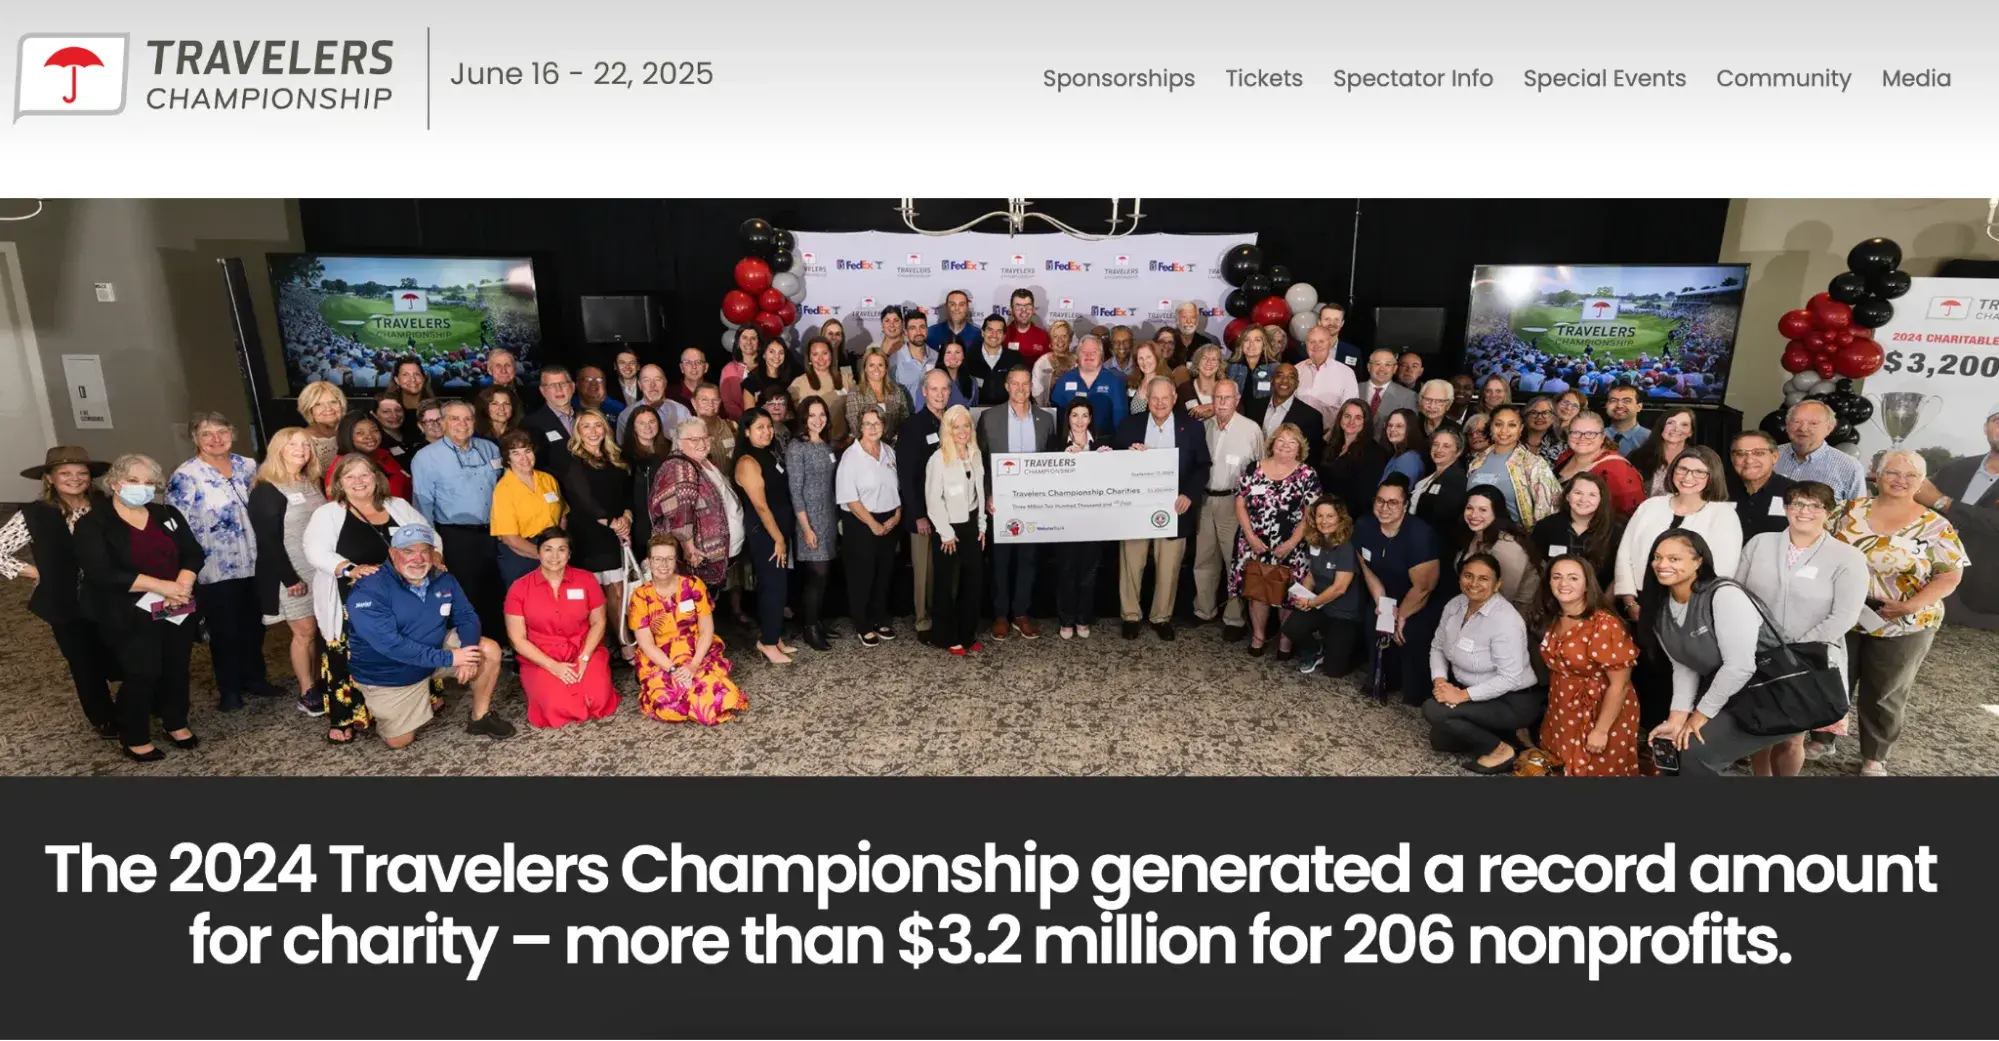
For example, Travelers Insurance annually holds a golf tournament in Hartford, Connecticut.
It’s a multi-day event that welcomes celebrities, athletes, and thousands of patrons for some fun on the golf course, but it also raises millions for hundreds of nonprofits.
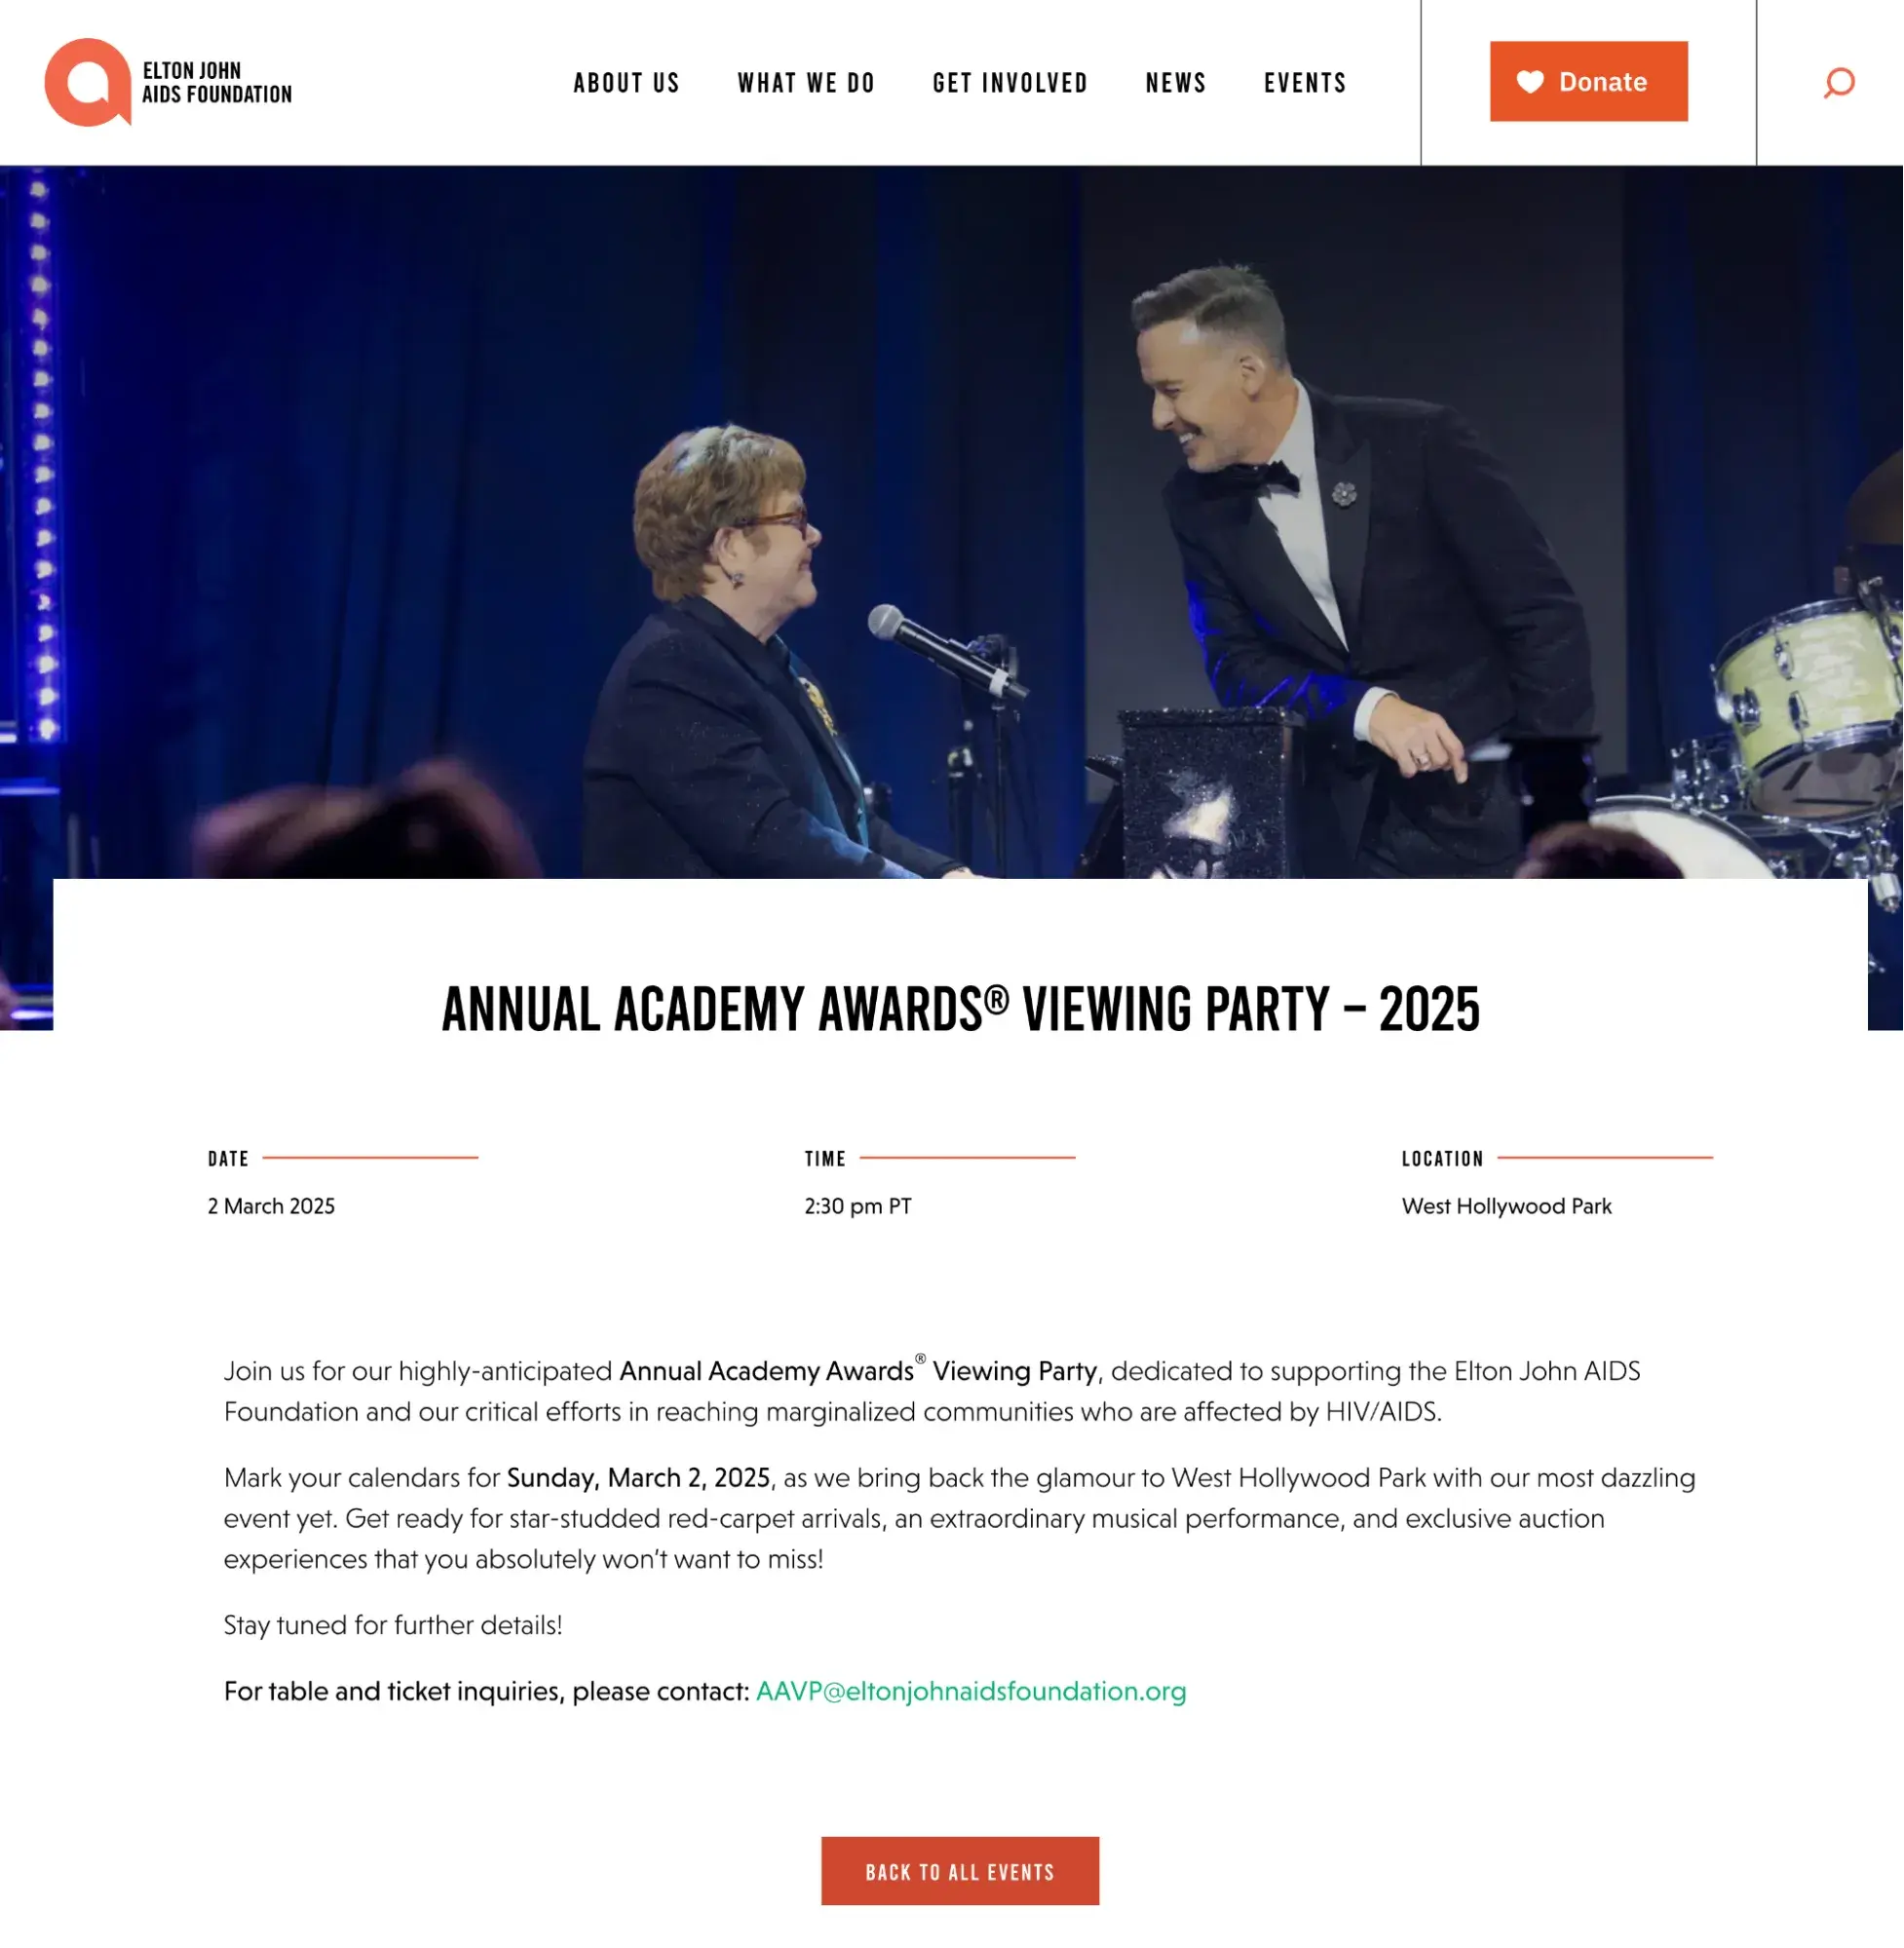
Similarly, since 1995, the Academy for Motion Picture Arts & Sciences (the organization behind The Oscars) has hosted a viewing party supporting the Elton John AIDS Foundation.
According to YouGov, more than two in five consumers (45%) are more likely to buy from a brand that supports charitable causes.
Meanwhile, a whopping 82% prefer when a brand’s values align with their own, according to a Harris Poll commissioned by Google Cloud.
Knowing this, fundraisers and galas are another great opportunity to connect with your buyers and supporters.
But remember: Make sure your support is genuine. Consumers can sense performative activism from a mile away.
How to Develop Your Event Marketing Strategies
Now that you know your options for event marketing, here are some steps to lay the foundation for your event marketing plans and strategies.
Note: From planning to follow-up, our comprehensive event planning checklist covers everything you need to know to plan, promote, and seamlessly execute any marketing event. Get your free checklist here.
1. Define your event goals.
Before starting any strategy, you need to know what you’re trying to achieve. So, first and foremost, ask yourself, “What are my goals with event marketing?”
Perhaps you’re trying to generate more qualified leads like one of my former employers, or you want to build brand awareness. Whatever your mission, sit down with your stakeholders and frame them in the SMART methodology.
SMART stands for specific, measurable, attainable, relevant, and timely — and the format helps keep your goals clear and actionable. It also gives you something specific to gauge whether your event succeeded.
An example of a SMART event marketing goal could be “Grow our prospective leads list for our new product by 100 names by the end of the event.”
This goal is specific (prospective leads for only the new product), measurable (100 names), attainable and relevant (assuming the event is relevant and there are more than enough attendees to get 100 names), and timely (by the end of the event).
Note: Don’t limit your event to one single goal. You should also set intangible goals like “strengthen relationships” and “engage prospective customers,” but in terms of creative and fiscal decisions, use your SMART goals to guide you and measure on the backend.
2. Set your budget.
Next, take some time to define your event marketing budget.
This is crucial as it can frequently be a deciding factor in your options for the venue, food, speakers, entertainment, swag, and other important pieces of your event. But how much should you plan to spend?
That will depend very much on your goals and event type, but Bauer Entertainment Marketing suggests allocating 15% to 20% of your total potential gross revenue if your event sells out.
It explains, “If an event has 2,500 tickets to sell at an average price of $40 per ticket, hosts stand to collect a total of $100k if all tickets are sold. After applying the 15%-20% principle, the resulting budget is between $15k and $20k.”
3. Identify your target audience.
Who do you want to attend your event? What kinds of people do you want to engage with and introduce your brand to? Establishing your audience will help you target and invest in the proper marketing channels and plan your speakers, activities, etc.
If your business has buyer personas, this should be a fairly quick step in the event marketing strategy process. But if it doesn’t, learn more about creating detailed buyer personas and download our free template here.
4. Pick your event type and theme.
To market your event, you obviously need to know what you’re marketing — Is it a conference? A gala? Will there be breakout sessions? Happy hours?
Before moving further with your event marketing, establish the key information your audience needs before buying a ticket. This includes:
- Event Name
- Venue
- Date and Time
- Purpose/Value Proposition (a.k.a. What will people get by attending?)
- Who Should Attend
- Schedule/Itinerary (i.e. Happy Hours, Workshops, Seminars, Keynotes)
- Ticket Price
You don’t have to have all the little specifics figured out before you start promoting your event (i.e. exact keynote speakers), but you should at least have an idea of what you’ll offer attendees, who the event is catered for, and the location and date.
For example, while we didn’t know the specifics of INBOUND 2025 at the close of INBOUND 2024, we did know the date and location (in San Francisco, CA for the first time) and a general idea of what attendees would experience.
This was enough to early bird registration:

Finalizing foundational details like these will also help determine parameters for the rest of your marketing, such as your promotion timeline.
Pro tip: Branding your event is an important part of developing your theme. Read “What Is Event Branding? + 5 Examples to Inspire You” to help you get it right.
5. Determine your promotion timeline.
When it comes to in-person events, people often need time to plan, especially if they’re professional events. They may need to clear their schedule, arrange travel accommodations, or even convince their boss to pay for their ticket.
Considering this, it’s best to give your business an extended runway to promote any event.
In my experience, you should give yourself at least one month to market any event, but if it’s a multi-day, high-investment event like INBOUND, this timeline should ideally extend to at least three months.
If I didn’t emphasize it enough, “at least” are the keywords here. It’s really never too early to start promoting a multi-day event or one with a higher price tag.
Marketing dangerously with a shorter timeline can set you up for failure or objections like “I already had plans.”
From here, start outlining your promotion and when you’ll release what. Keep in mind holidays or special occasions when you may want to offer a sale or even an opportunity to win tickets.
It’s also wise to organize a multi-touch marketing campaign for your events. Use a variety of mediums and outlets (e.g., email, social media, direct mail, phone calls, print ads, and paid ads). But more on that in the next section.
A consistent, well-thought-out promotion timeline will help pique and maintain your audience’s curiosity, ultimately nurturing them toward a purchase.
Pro tip: Poetker suggests breaking your timeline into three big buckets: pre-event, during, and post-event activities.
She explains, “This is your mission control for everything from designing swag and staffing a booth to ABM dinners and drip campaigns.
The real benefit here is you can easily see your bandwidth and resources right next to clearly defined next steps.”
Need specifics? Our free event planning checklist has you covered.
The Ultimate Event Planning Checklist
A step-by-step event checklist taking you through:
- Pre-Event Planning
- Event Logistics
- Event Program and Content
- Post-Event Follow-up
Download Free
All fields are required.
6. Outline your plan for marketing and promotion.
How are you going to get people to attend your event?
Social media and an event website are important channels in today's digital market. However, if your event is local, you may also want to consider print advertisements or media coverage.
You can also capitalize on event listing websites like Eventful, Hey Event, and 10times to reach more people. Let’s quickly dive into a few other popular forms of event marketing promotion.
Event Marketing with Email
39% of marketers found that email marketing tools were the greatest contributor to event success.
Email information is easy to collect at registration, and checking email is part of most people’s daily routine, so, in theory, there’s a higher chance of getting your messages noticed.
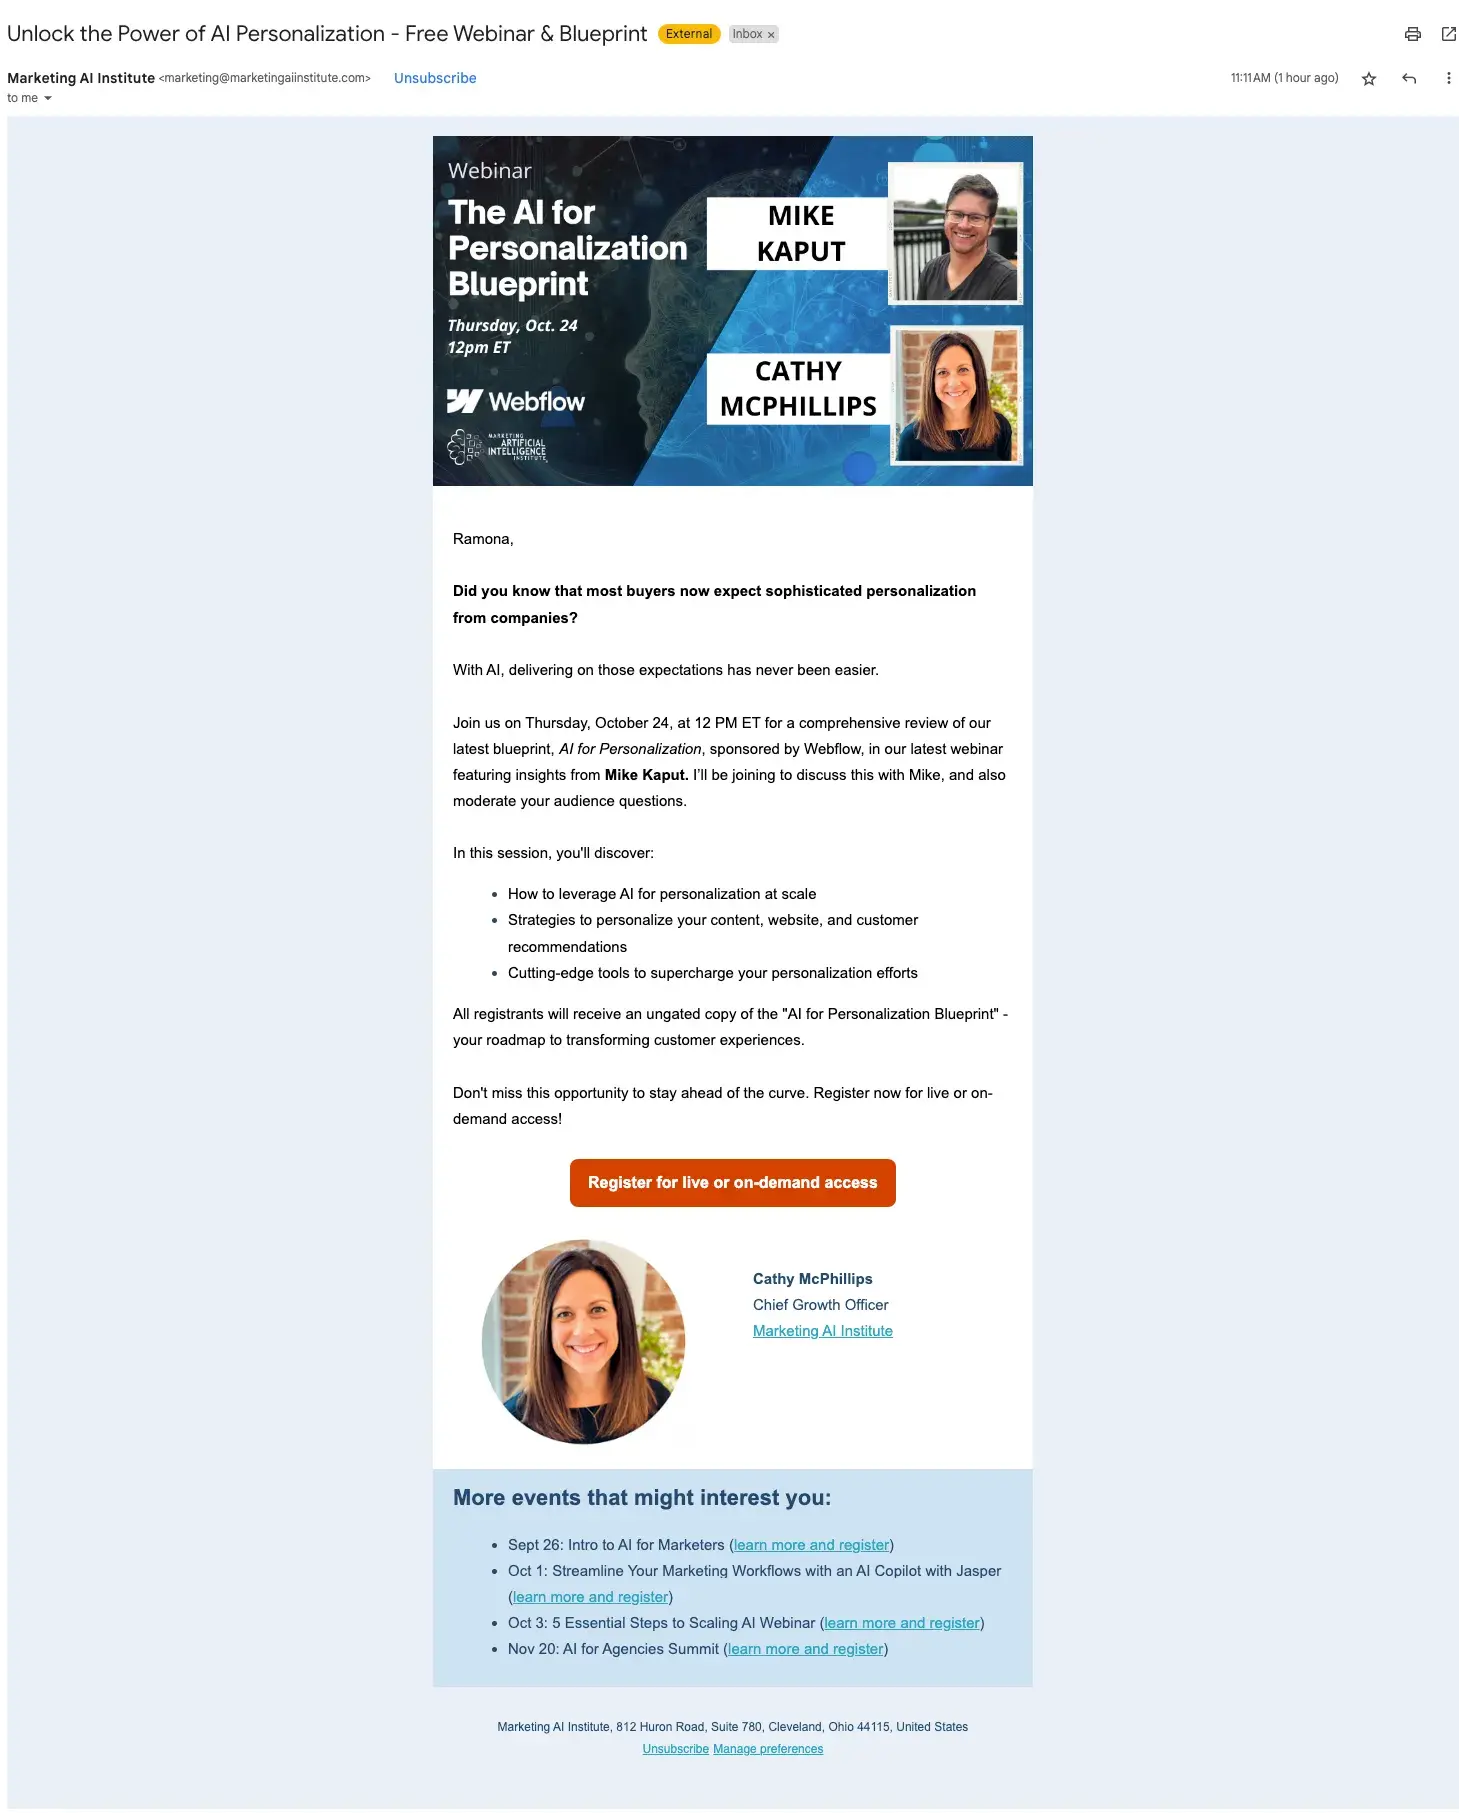
Like this email I received promoting a webinar from the Marketing AI Institute, for instance.
Pro tip: Often, companies will create separate email addresses and newsletters for their events to keep communication and promotion separate from their other marketing efforts.
This helps ensure you’re not spamming uninterested parties and also keeps the deliverability of your event emails unaffected by other variables.
Read: Email Marketing: The Ultimate Guide (Expert Tips + Data to Know)
Content Marketing and Blogging
Whether it was promoting workshops at a marketing agency or musical productions at a regional theatre, content marketing and blogging has always been a staple of my event marketing strategies.
These long-form types of content allow you to go into greater detail about the specifics of your event, whether it be a particular speaker, session, or experience taking place.
It also creates an additional page to be shared on social media and indexed in search engines.
INBOUND has an entire blog dedicated to the annual event.
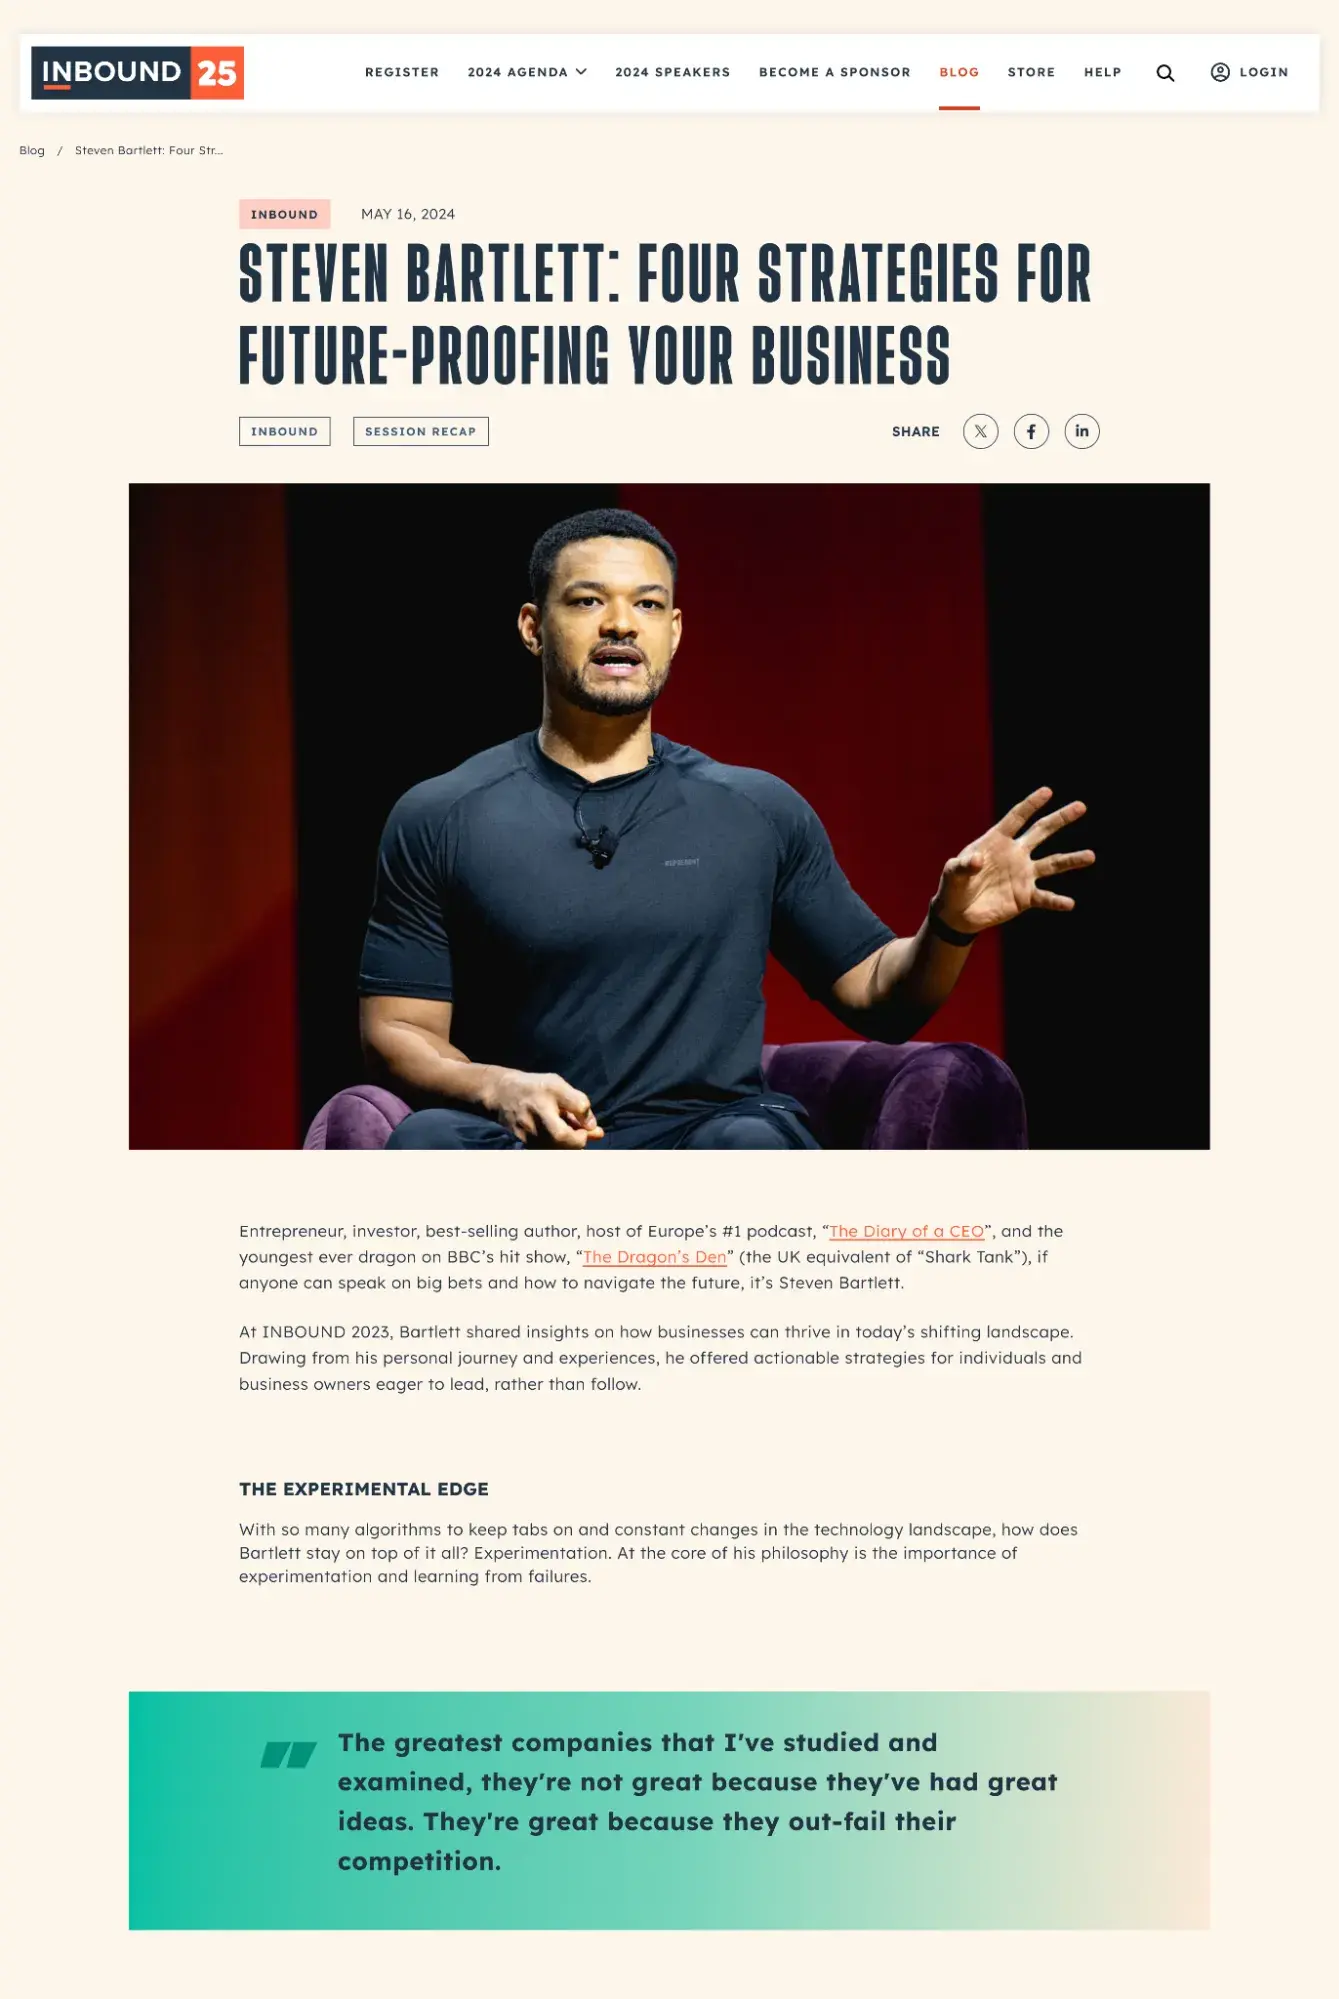
It shares tips on getting the most out of your attendance, announcements of what to expect, and even session recaps, and profiles of past and future speakers.
Promoting your event doesn’t stop at email or content. Check out these resources for even more tips on how event marketing:
7. Plan for content creation during the event.
Marketing your event shouldn’t stop when your event begins.
Dedicate some resources to promoting your event as it’s happening. Attendees may learn something new about what’s offered, and those who didn’t register will be curious about what they’re missing.
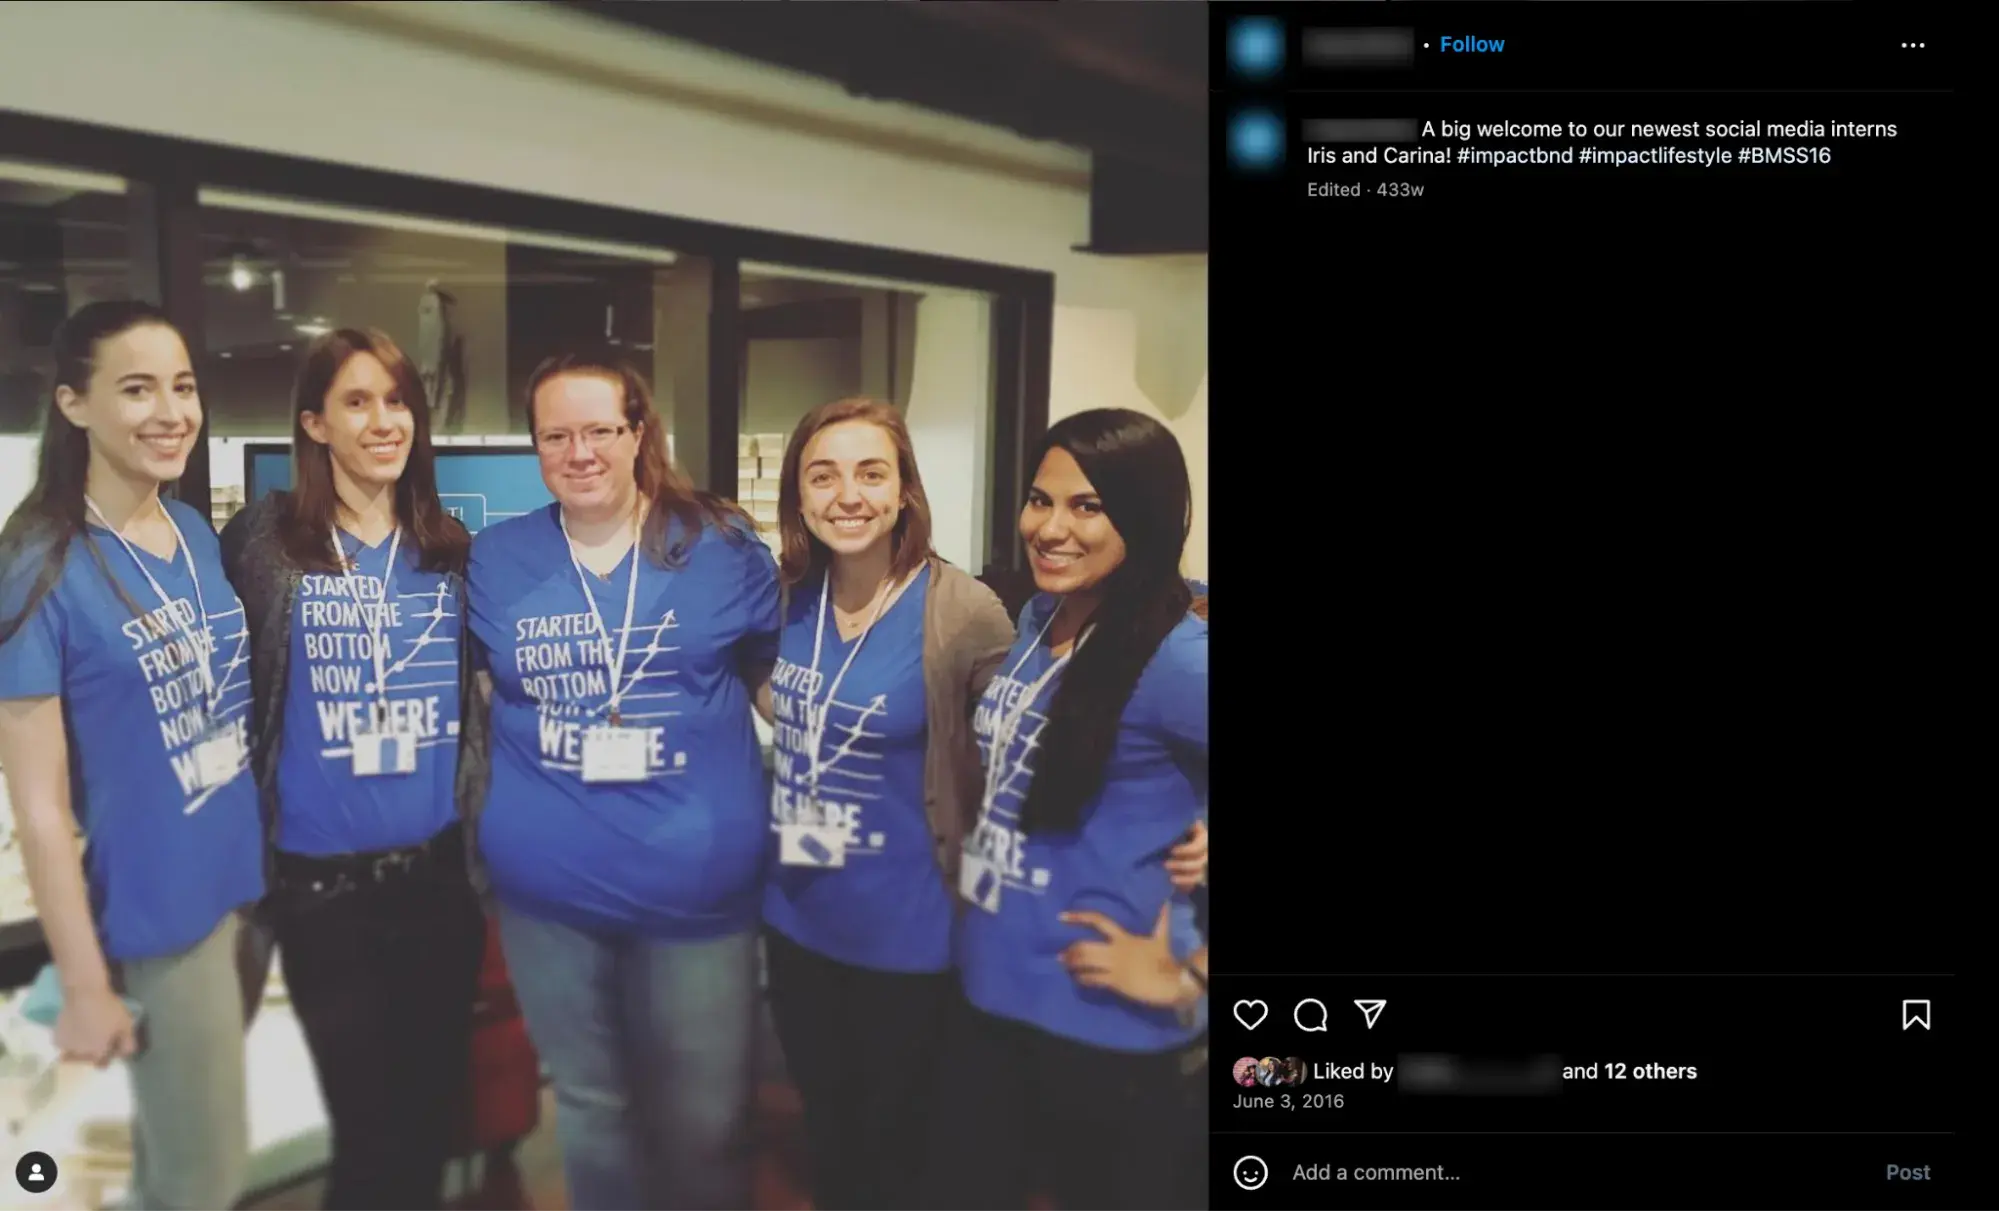
Over the years, I’ve been in charge of real-time content during dozens of events. This primarily involved managing a small team that:
- Published Stories and Posts on Instagram
- Live-Streamed on Facebook
- Live-tweeted on X (at the time, Twitter).
- Engaged with and reshared attendee-created content.
Here’s a peek at one of my teams from back in 2016:
It also meant creating a hashtag dedicated to the event and finding ways to boost engagement through contests and games (as seen below) — and none of this is uncommon.
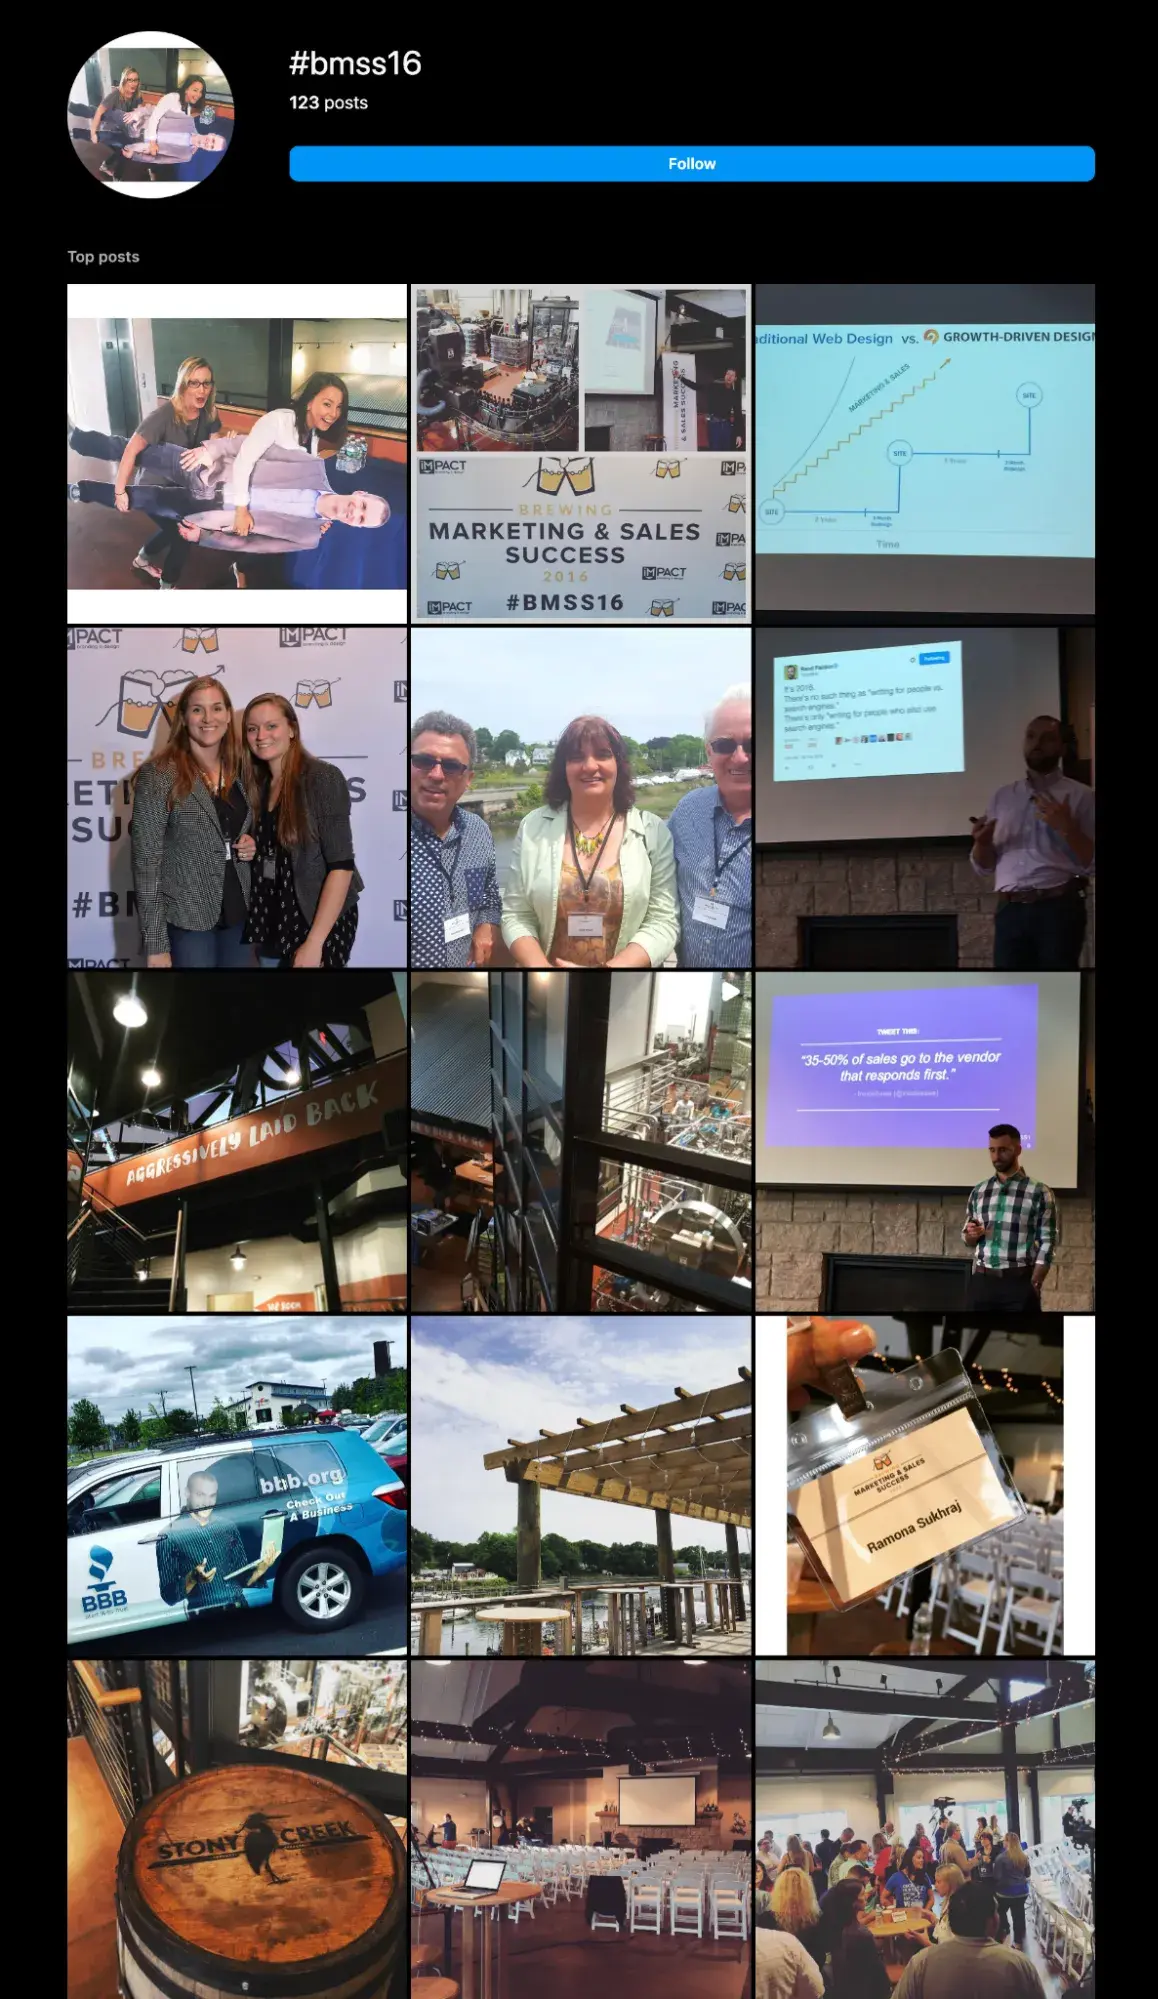
According to Sweap’s 2023 State of Event Marketing Report, 78% of marketers said social media had the most positive impact on events. So, plan accordingly.
What kind of content should you post?
- Photos of attendees engaging
- Powerful clips from sessions and keynotes
- Quote graphics
- Attendee-generated content
- Helpful tips
- Updates and reminders on different events
Pro tip: Dive into your buyer personas to see what platforms your audience is using most frequently. However, remember that not all platforms are suited to real-time publishing.
I recommend focusing on X and Instagram for live posting and looking into live-streaming on Facebook, YouTube, or LinkedIn, depending on your audience’s preferences.
8. Outline your technology needs.
Selecting the right event technology for your specific needs is essential for the success of your event. The right tech simplifies event marketing and event management for a seamless attendee experience.
Aim for a comprehensive event platform capable of handling everything from registration, check-in, and badging to attendee management while also supporting your event marketing goals.
Additionally, if you use HubSpot, choosing software that integrates smoothly with your HubSpot CRM is critical for the timely execution of your marketing campaigns.
For tips on how to pick the best event management software, visit the detailed Event Management Software Guide by Accelevents, our certified HubSpot app partner. They also have a great post on integrating event registrations with HubSpot.
9. Determine how you will measure success.
During a bustling event, it’s easy to look around and feel good about your attendance and engagement. But is that gut check really the best way to evaluate whether your event was a success? Probably not.
As Mike Piddock, Founder of event hosting platform Glisser, shared:
“Events need to be assessed with hard metrics, rather than just ‘gut-feel’ opinions and feedback forms to rate the coffee. Measure attendee engagement, rather than simply counting who registered and who showed up, as this is a great proxy for the effectiveness of the event.”
Like every other marketing investment, it’s wise to set key performance indicators (KPIs) against which to measure and evaluate your event's performance. Here are a few common KPIs for event marketing.
The Ultimate Event Planning Checklist
A step-by-step event checklist taking you through:
- Pre-Event Planning
- Event Logistics
- Event Program and Content
- Post-Event Follow-up
Download Free
All fields are required.
Registrations and Check-ins
Not everyone who registers for your event will attend. So, make sure to compare your registrations to your actual attendance and consider reaching out to a few who registered but didn’t check in.
Take a look at your registration data to see when the most and fewest tickets were purchased, what kinds of tickets were purchased, and if you offered a variety of ticket packages or options.
Revenue and Cost-to-Revenue Ratio
If your event requires a paid ticket, gross revenue is an important measure of success.
How much money did your event bring in? How does that amount compare to what you spent on the event?
This comparison will help you better understand the value of your event and the resources offered. Events are expensive, but they’re not worth going into debt for.
Social Media Mentions/Engagement
How often was your event discussed on social media? What was the general consensus around the event? Did your attendees share content that engaged non-attendees?
In today’s digital world, social media is a great measure of event success and reach. Take a look at your event mentions on Facebook, X, Instagram, and more.
I’m a big fan of using event hashtags (both professionally and personally) to keep attendee content easy to find, share, and, in this case, measure.
Pro tip: If you’re a HubSpot user, you can set up streams in your social inbox to monitor your specific event hashtag or handle mentions. This makes engaging and resharing content much easier.
Lead Acquisition and Customer Conversion
Acquiring leads and converting customers are key benefits of event marketing, so it’d make sense to measure these KPIs for your event.
Note how many qualified leads you gain from your event and then track how many of those leads are converted into paying customers.
This can help reveal the direct ROI of your event and see which tactics worked for lead collection and conversion.
Attendee Satisfaction
Maybe you hit your sales goals, but did your attendees actually enjoy your event? What did they participate in and enjoy the most?
“Satisfaction” may seem like an obscure metric, but understanding the opinions and perspectives of your event attendees can help you better understand where your event was a success — and where you could improve.
Consider building a survey to ask your attendees about their experience, takeaways, and to calculate a Net Promoter Score (NPS) for your event.
Speaking of attendee satisfaction …
10. Establish your plan for collecting feedback.
As mentioned earlier, you could hit all your registration and attendance goals, but if people didn’t actually have a good experience at your event, they are unlikely to recommend it, buy from you, or return in the future.
So, good or bad, make sure you have a plan in place for collecting feedback from attendees.
Of course, we hope people will remember their event experiences for years to come, but that’s unlikely, so it’s best to request feedback immediately after or within the week following your event.
One popular option is emailing a link to a survey to everyone who attended the day after the event. You can include questions like:
- What was your favorite experience or moment of the event?
- What could we improve on?
- Did the event meet your expectations?
- Would you want to attend this event again in the future?
Dig deeper into these and 21 other questions you should ask in your post-event survey.
Pro tip: To add a little extra incentive to fill out your survey, try offering a small discount code to attend a future event as a thank you. After completing the survey, you can deliver the code on your thank you page or in a follow-up email.
Scale your event marketing IRL.
Organizing and implementing an event can feel like a daunting task, but crafting your event marketing strategy with the steps we outlined will help you put your best foot forward for success.
Whether your event entertains new clients, builds your contact list, or raises money for your favorite charity, event marketing can help you meet, engage, and truly connect with your audience unlike ever before.
Editor's note: This post was originally published in April 2015 and has been updated for comprehensiveness.
The Ultimate Event Planning Checklist
A step-by-step event checklist taking you through:
- Pre-Event Planning
- Event Logistics
- Event Program and Content
- Post-Event Follow-up
Download Free
All fields are required.
Event Marketing
![11 best event registration software tools [+ what makes them great]](https://53.fs1.hubspotusercontent-na1.net/hubfs/53/65_8%20Best%20Event%20Registration%20Tools.png)


![What Is a Breakout Session? [+ How To Plan Your Own]](https://53.fs1.hubspotusercontent-na1.net/hubfs/53/breakout-session_2.webp)
![7 Types of Corporate Events [+ Virtual Event Ideas]](https://53.fs1.hubspotusercontent-na1.net/hubfs/53/corporate-events.jpg)