

Below we’ll look at three different ways you can set up a staging environment in WordPress, moving from the easiest to the most difficult method.
How to Set Up a WordPress Staging Site through Your Web Host
WP Engine, Bluehost, SiteGround and other managed WordPress hosts offer built-in solutions for staging WordPress sites. If you signed up for any of their hosting services, then you’re in luck. Using these built-in solutions is the easiest way to set up a staging environment.
For this demo, we’ll walk through the process of building a staging environment in WP Engine. The steps will be similar for other web hosts.
1. Login to your WP Engine dashboard.
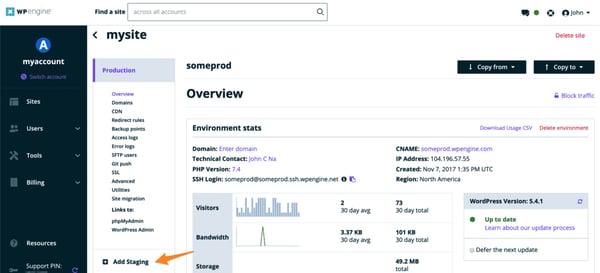
2. Navigate to the Sites page and click on the site you want to clone. You’ll be automatically redirected to the dashboard of that specific site.
3. On the left-hand side of the screen, click Add Staging.
4. Put the name of your staging site in the empty input field. The URL will look something like: stagingwebsite.wpengine.com.
5. Click the Create environment button.
6. Now it’s time to populate this environment with the content of your live site. To start, click Production on the left-hand side of the screen.
7. Click the Copy to button. Select Staging from the drop-down menu.

8. A new window will appear, asking you to select a backup point for you to copy. Select the most recent backup of your live site.
9. Click the Preview copy button.
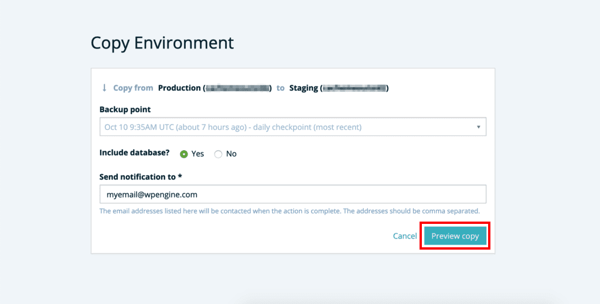
10. You’ll get an informational alert that the environment won’t be functional until the copy is complete. You can click the link to learn more or simply click the Copy environment button.
WP Engine will now do all the work of copying the content of your live website to the staging environment. You just have to wait until you receive an email notification that the process is complete. Once you get that notification, you can login to your staging website using the same credentials you use to login to your live website.
You’re now free to make all the changes you want to test. When you’re ready to deploy these changes to your live website, you’ll follow a similar process.
1. On the left-hand side of the screen, click Staging > Backup points.
2. Click the Backup now button.
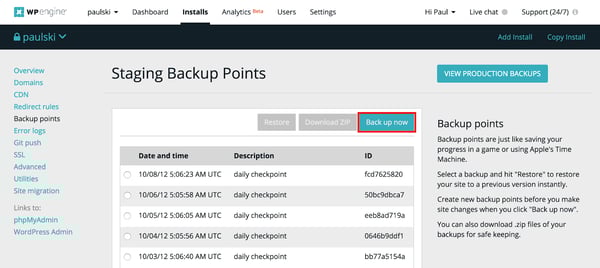
3. Provide a brief description of the updates you’ve made, then click Create staging backup.
4. When WP Engine is finished making a backup of your staging site, you’ll get an email notification. Navigate back to the Staging tab of your WPEngine dashboard, click the Copy to button. Select Production from the drop-down menu.
5. A new window will appear, asking you to select a backup point for you to copy. Select the most recent backup of your staging site.
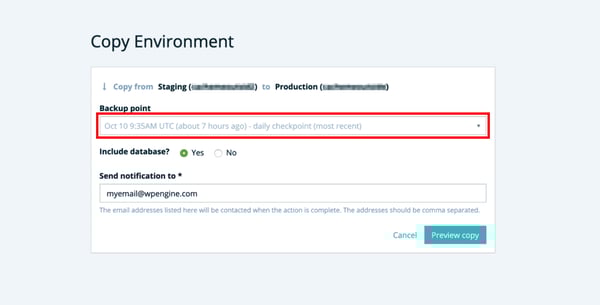
6. You’ll get another informational alert. You can ignore it and click the Copy environment button.
WP Engine will copy the content of the staging environment to your live website and send you an email notification when it’s done. Once you get that notification, you can login to your live website to check that everything is working.
How to Set Up a WordPress Staging Site with a Plugin
If your web host does not offer a one-click staging solution like WPEngine, then you might want to use a WordPress plugin.
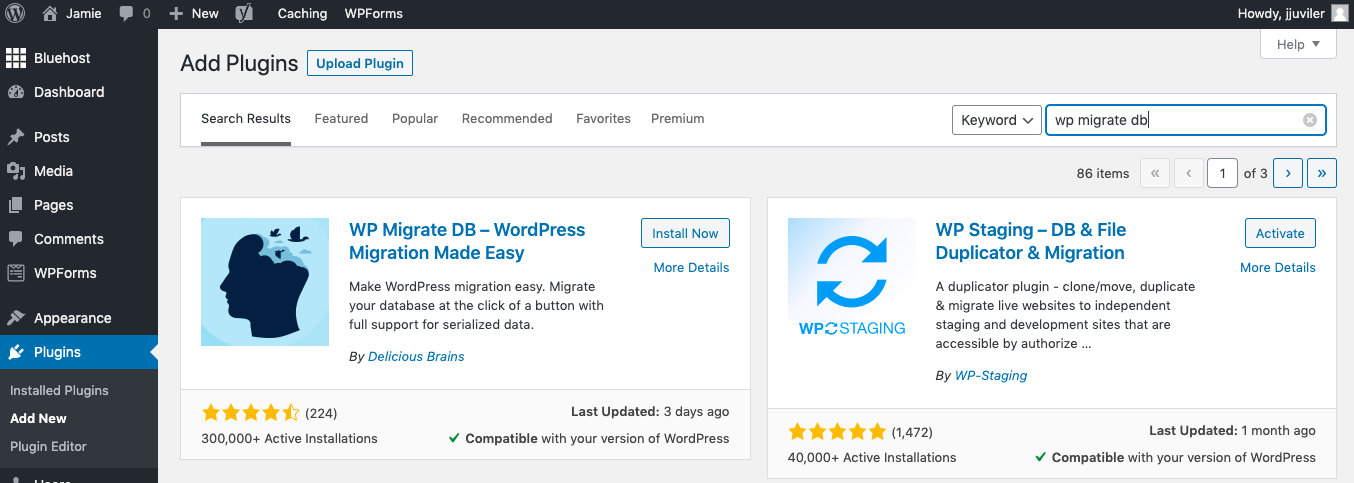
WP Staging – DB & File Duplicator & Migration is a top-rated duplicator plugin that you can use to clone your website in seconds. You can then use this duplicate as a staging site to test changes before making them live. Let’s walk through the process.
1. Install and activate the plugin in your WordPress dashboard.
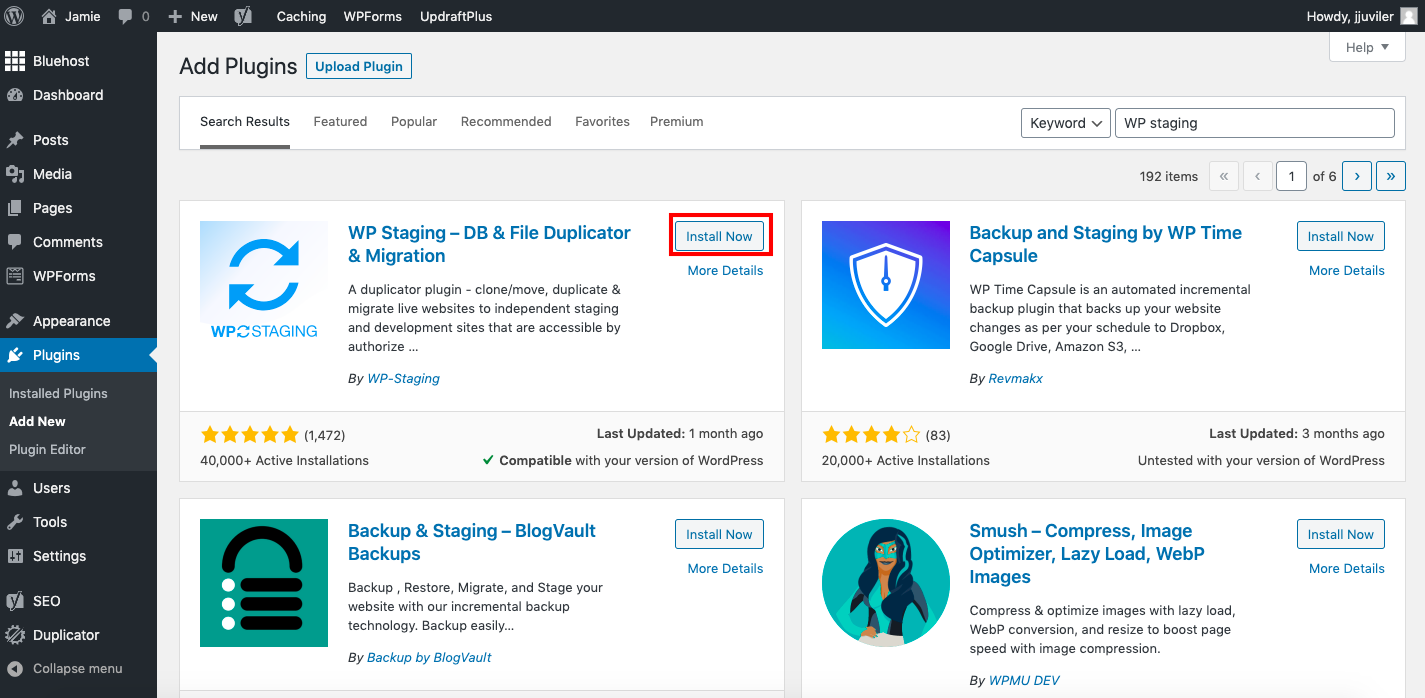
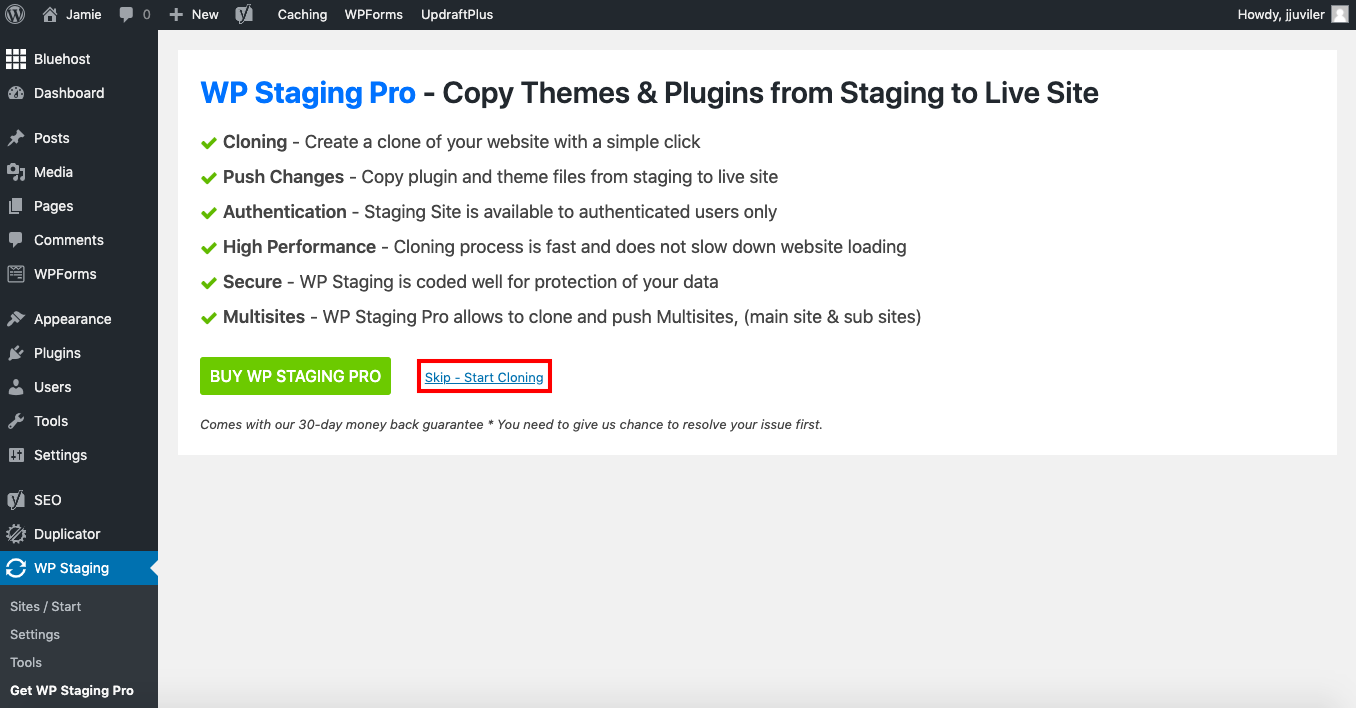
2. You will automatically be redirected to the plugin’s settings page. You can choose to upgrade to the premium version of the plugin now, or click the link labelled “Skip - Start cloning.” We’ll opt to skip right to cloning.
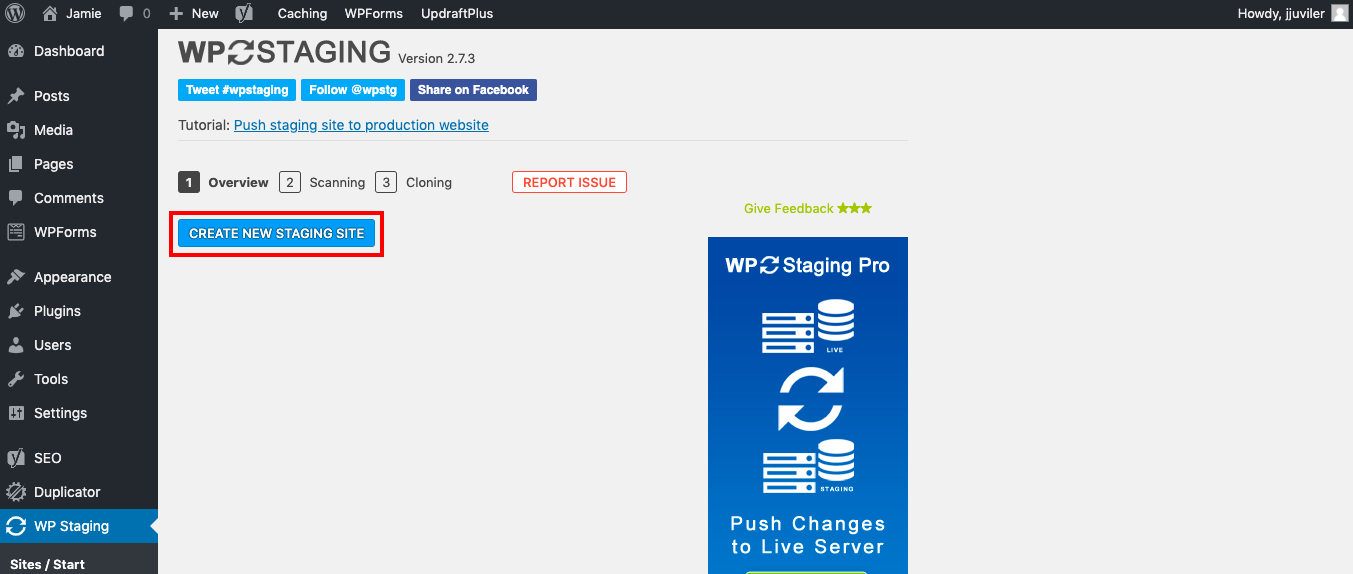
3. Click the Create new staging site button.
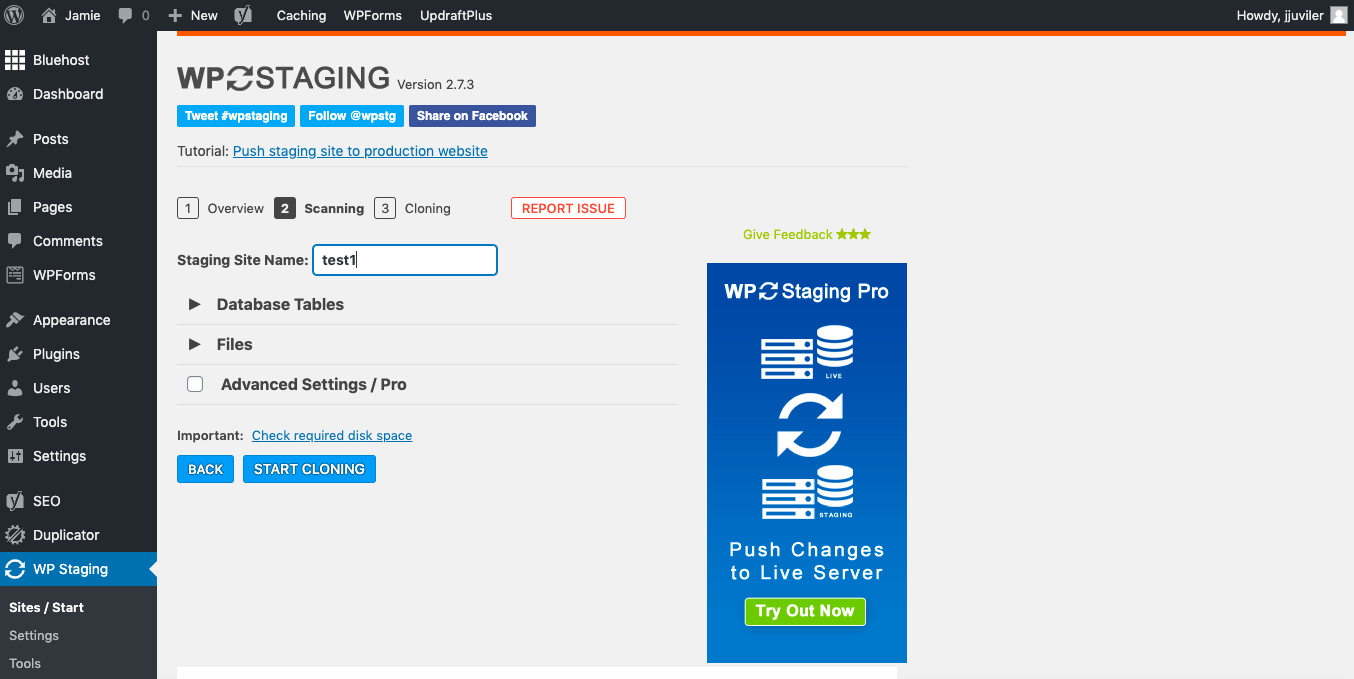
4. Enter a name for your staging site in the empty input field. You can also unselect any database tables or folders you don’t want to be copied. Since we want to copy the entire site, we’ll just go ahead and click Start Cloning.
5. The cloning process may take a few seconds or a few minutes, depending on the size of your site. When it’s complete, you can click Open Staging Site.
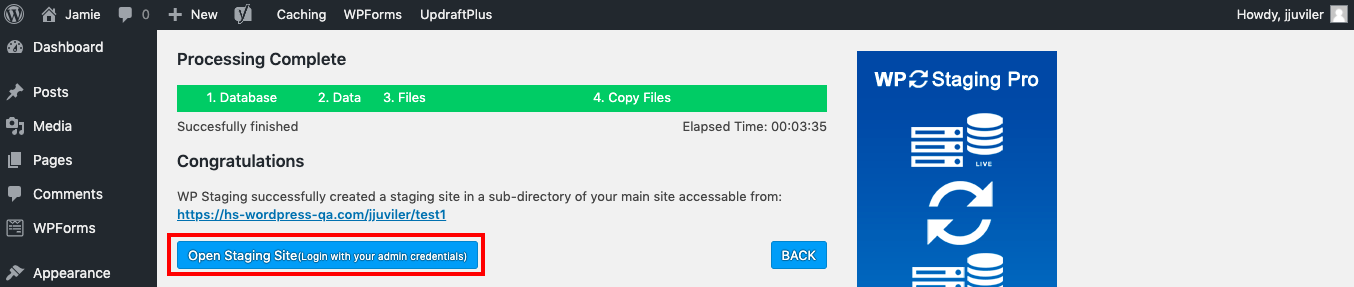
6. You’ll be redirected to a login page. Use the same credentials you use to log into your live site and start making any changes you want to test.

It’s important to note that while you can clone your site with the free version of this plugin, you’ll need to upgrade to the premium version to push these changes from your staging site to your live site.
You can still follow the steps above and simply install WP Staging Pro next. Once installed, the free version will be deactivated and the premium version will detect your staging site automatically. You can then push it to your live site.
How to Set Up a WordPress Staging Site Manually
If you’d rather not use a premium plugin, then you can set up a WordPress staging site manually. Note that this will require an export plugin. Since this method is the most complicated and requires technical knowledge of MySQL databases, it’s only suitable for advanced users who are looking for total control over their staging environment.
We’ll briefly outline the process below.
1. Go to cPanel and find the Subdomains icon.
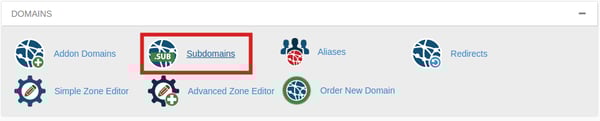
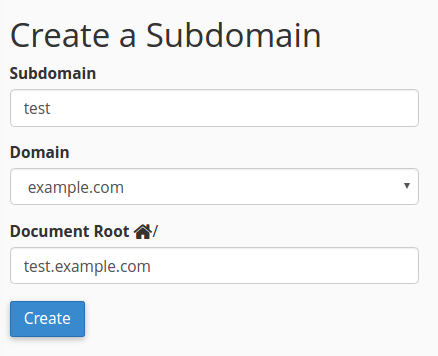
2. Create a subdomain named “test.” This is where you’ll put the staging site.
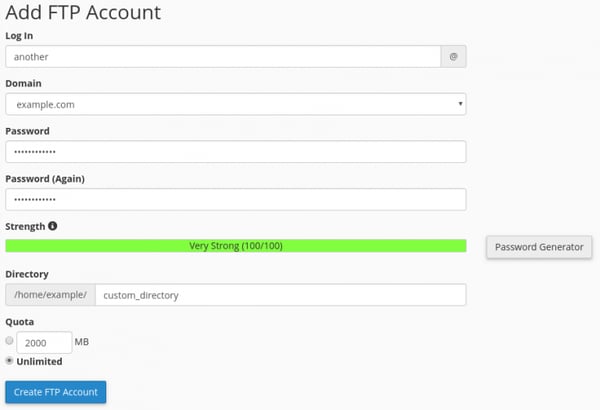
3. Click the FTP Accounts icon.
4. Enter the new account details for your subdomain. This will ensure that all the files for your subdomain and live website are kept separate.
5. Next download the latest version of WordPress and upload that to your new FTP account.
6. Copy over the following three folders from your existing WordPress site into this account:
- /wp-content/uploads
- /wp-content/themes
- /wp-content/plugins
7. Next, you’ll need to import the database of your live site to your staging site. To do that, you can use the WP Migrate DB plugin. Simply install and activate the plugin.
8. Navigate to Tools > WP Migrate DB. Then replace the file paths to your live site to your staging site. You’ll use the same directory path and URL that you used when creating your subdomain.
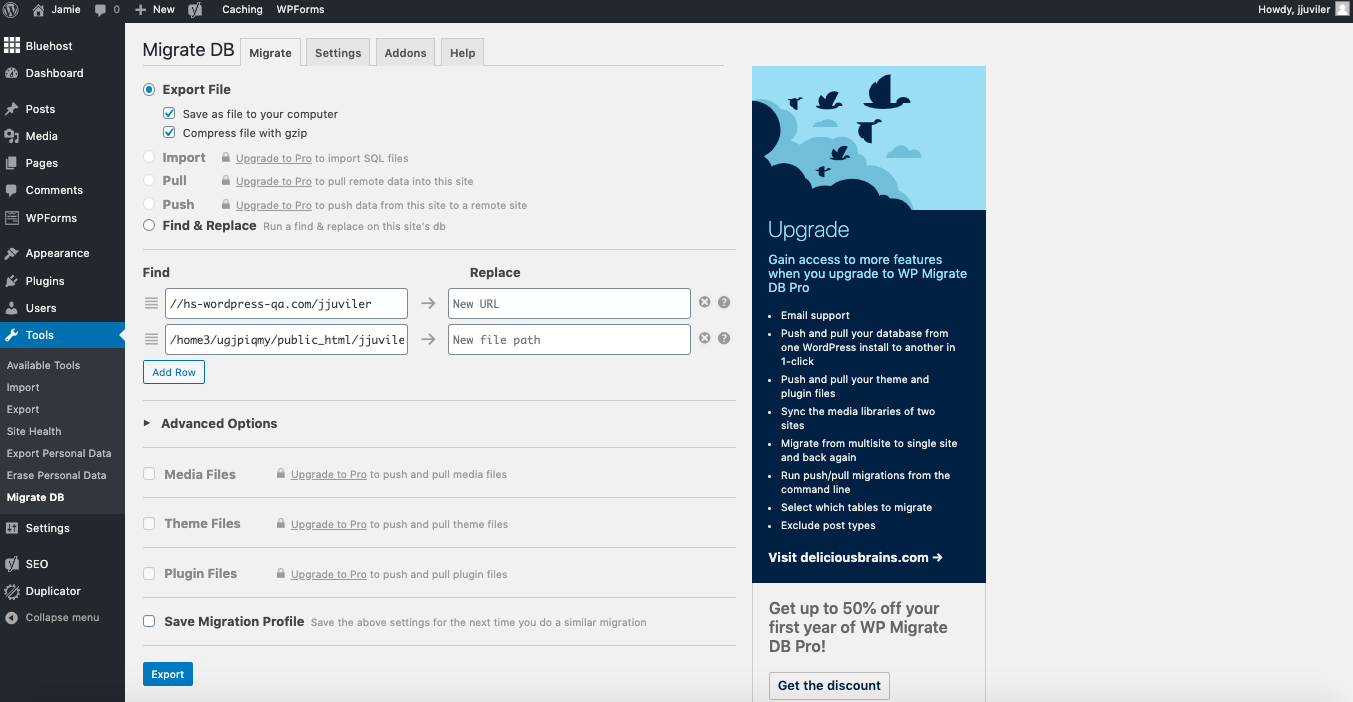
9. Click the Export button.
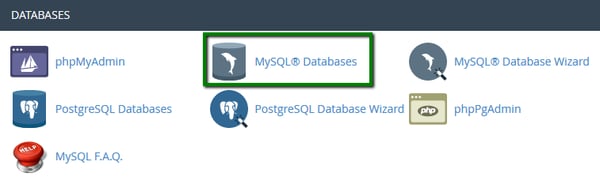
10. Now go back to your cPanel and click the MySQL Databases icon.
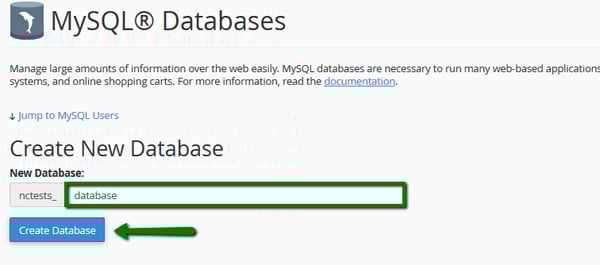
11. Create a new database.
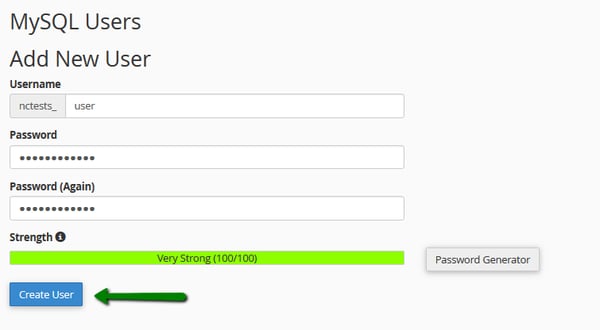
12. Create a new database user.
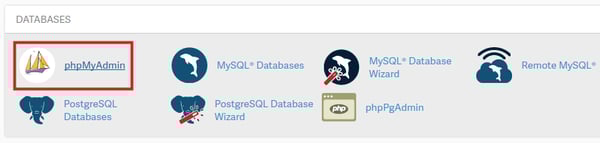
13. Then go to PHPMyAdmin.
14. Scroll down to the database you just created and click Import.
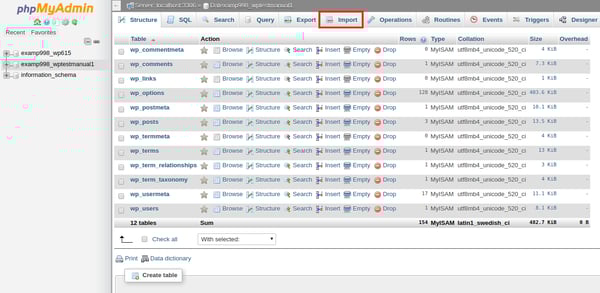
15. Choose the file that you exported with the WP Migrate DB plugin and click Go.
16. Next up, edit the wp-config.php file on your staging site to point to the new database and username you just created. Then upload it back to your server over FTP.
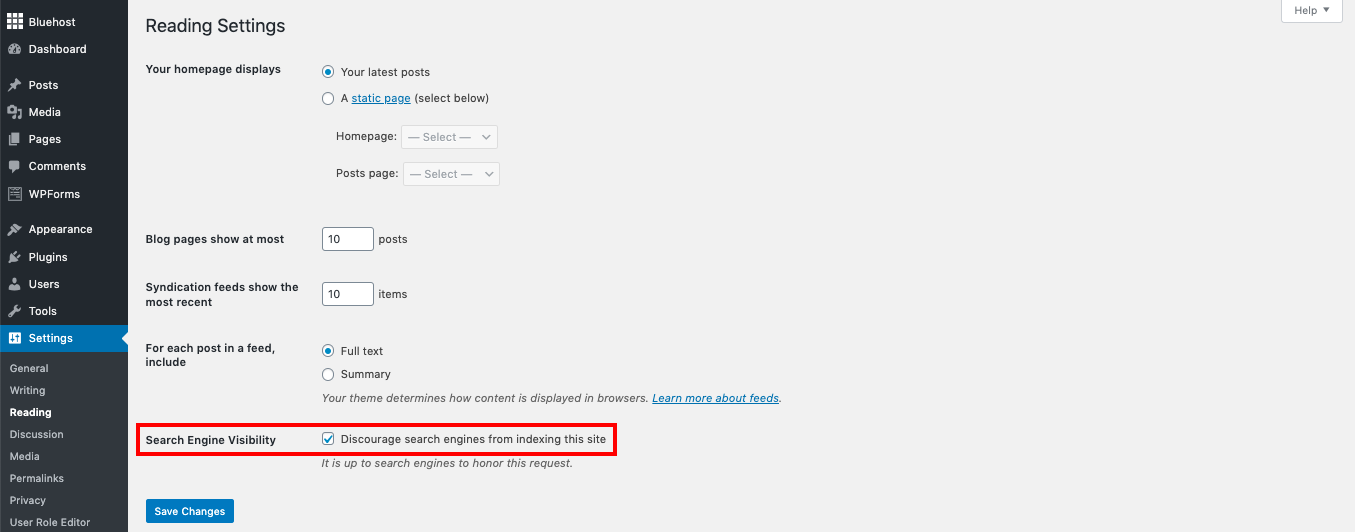
You should now be able to log in to your staging site using the same credentials you use to login to your live site. Before you start making changes, make sure to restrict access to your staging site. To do so, go to Settings > Reading and check off the box labelled “Discourage search engines from indexing this site.”
Safely Make Changes to Your Site
Setting up a WordPress staging site will enable you to test changes before you make them live on your website. That way, you can test any plugins, themes, and code first and then make those changes on your live site — without worrying about any disruptions to the user experience or taking your site offline.

WordPress Website
![How to become a WordPress developer [+ tips from WCEU speaker Paul Bearne]](https://53.fs1.hubspotusercontent-na1.net/hubfs/53/59_How%20to%20Become%20a%20WordPress%20Developer.png)


