Let's take a deeper dive into what an email cadence is and establish the fundamental principles of structuring a successful one.
The success of an email campaign can hinge upon the effectiveness of its cadence.
If your cadence is too intrusive, obnoxious, or directionless, you can lose out on opportunities to guide leads through their buyers' journeys.
If potential customers feel pestered or confused by constant, irrelevant newsletters and promotions, they probably won’t stick around to hear what you have to say.
Email Marketing Frequency
In a recent HubSpot Blogs survey of 300 marketers, a whopping 95% reported their email marketing strategy was effective in 2021. Let's take a look at where (and when) they're finding success.

When it comes to frequency, here are a few stats to know:
- Emails sent on Monday, Tuesday, and Wednesday get the most engagement.
- Marketing emails sent from 9 a.m. to 12 p.m. on Tuesday garner the most engagement, followed by Monday and Wednesday at the same time.
- The weekend is a dead zone for engagement — Friday, Saturday, and Sunday have the lowest open and click-through rates.
Another study by Databox found that 33% of marketers send weekly emails, while 26% send emails "multiple times per month." In addition, 63% said they adjust their send frequency for less engaged subscribers.
 Of course, some marketers send emails more than once a week, while others send less. As you'll see later, the "right" email frequency is not an exact formula. Instead, it depends on your business and audience.
Here are some examples and best practices to employ to ensure your next campaign's email cadence is the best it can be.
Email Cadence Examples
One example of email cadence is curating the timing of your emails to appeal to a specific demographic. For instance, let's say you run a sunglasses company and want to appeal to a target demographic of 18- to 25-year-olds via an email campaign.
Your research indicates that consumers in your target demographic most often check their emails early in the morning, between 6 a.m. and 9 a.m. As a result, you send your emails at 5:45 a.m., so they're among the first your consumers see when they check their inboxes.
Another example is curating the frequency of your emails to a target demographic. Let's say you want your sunglasses company to appeal to consumers who are ages 55 and above.
Your consumer research shows that buyers in that demographic prefer to receive emails less frequently. To boost engagement in your emails, you decide only to send emails every two weeks.
Email Cadence Best Practices
- Understand your goals and your customer's mindset.
- Personalize when you can.
- Use A/B testing to see what subscribers prefer.
- Don’t be too shy or aggressive.
- Hone in on the right frequency for your business.
- Give your subscribers autonomy.
- Express gratitude with gifts.
- Add a survey.
- Monitor analytics.
Understand your goals and your customer's mindset.
What do you want out of your email cadence? You need to understand where you’re trying to lead your prospects and customers. Are you looking to improve traffic to your blog? Drive e-commerce sales? Schedule meetings? Close deals?
An email cadence guides buyers from point A to point B. You can't do that if you have no idea what "point B" is. Your ultimate goal will dictate the strategy behind your cadence.
If you're trying to do something like increase traffic to your blog, you can stand to lose more subscribers than you would if you were trying to court a group of sales leads into scheduling demos.
If you're sending emails purely for the sake of sending emails, your cadence will be aimless and haphazard. Plus, you'll waste a lot of time and resources on email campaigns that go nowhere.
Pro Tip: Consider creating a goal-setting worksheet and laying out SMART Goals for your email campaign to keep yourself on track for success.
In addition to understanding your marketing goals, you need to understand the minds of your consumers.
The whole point of having an email cadence is to hone in on messaging that will resonate most with a specific customer at a given point in time. That means one-size-fits-all, "throw everything at everyone," impersonal emails won't cut it.
You need to send your recipients something relevant to who they are as a customer. That often means understanding where they are in their buyer’s journey.
The buyer's journey is the process buyers go through to become aware of, evaluate, and ultimately decide to purchase a new product or service. It's divided into three stages: Awareness, Consideration, and Decision.
You can't expect to target buyers in all three stages with the same message and have it immediately register with them across the board. Different stages — and engagement levels within those stages — warrant different messages.
Additionally, through the wonders of automation, coordinating this kind of strategy is possible.
Several kinds of email and marketing automation software allow you to set up the proper infrastructure to tailor email content and timing to suit different leads’ behavior and interests.
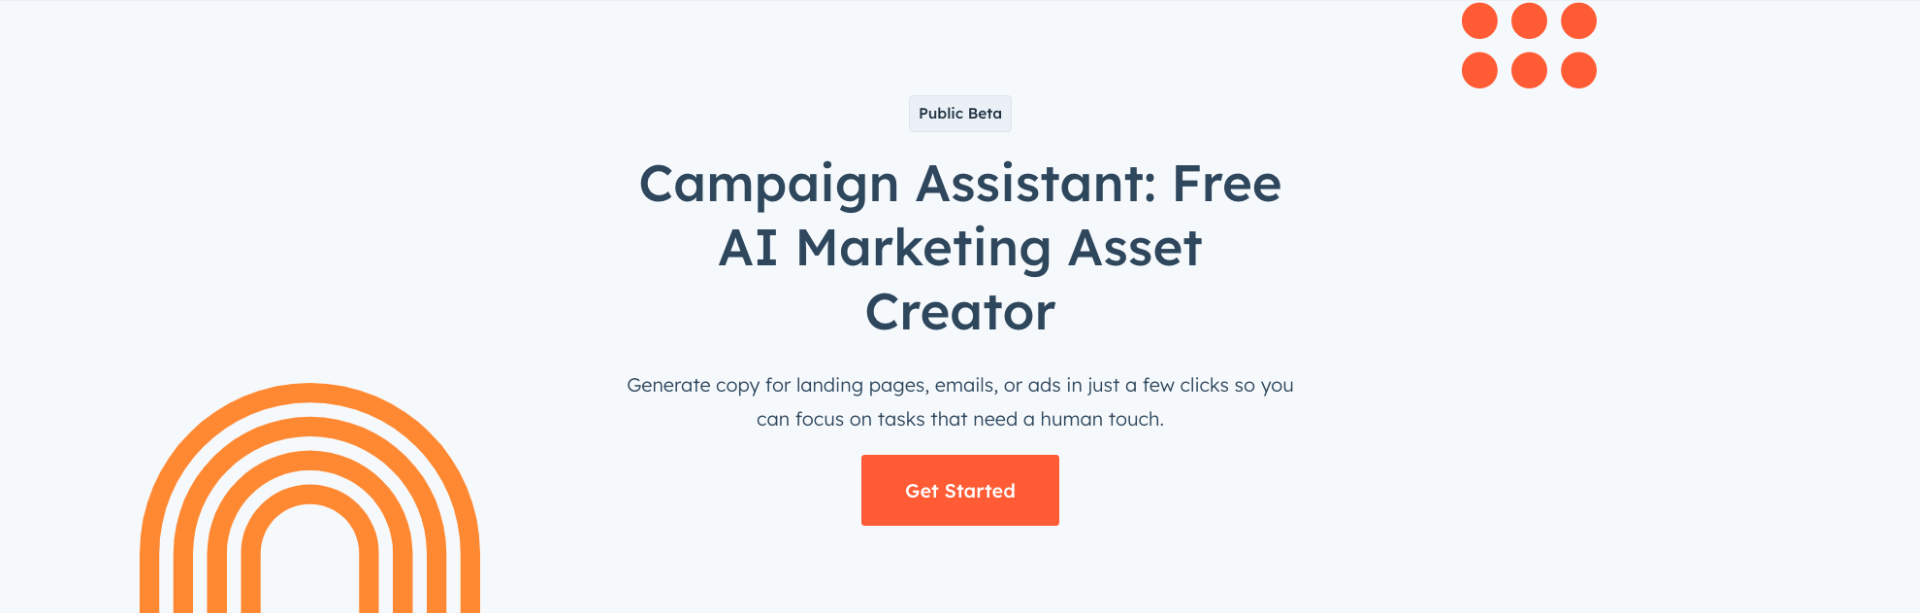
Pro Tip: HubSpot's free email automation tool allows marketers to create and schedule aesthetically pleasing, personalized marketing emails with ease.
Campaign Assistant is also available to generate email subject lines to capture the recipient's attention.
Personalize when you can.
Think back on all the targeted emails companies have sent you over the years. How inclined have you been to click through ones addressed to "valued customer," or "to whom it may concern?" I don’t think it's outrageous to assume the answer is "not often."
Why would your customers be any different? A successful cadence relies on your leads clicking through your emails and progressing through their buyer's journey.
In fact, 47.2% of marketers say email personalization is the most effective email marketing strategy for reaching their goals.
 If you're sending impersonal mass-email blasts, crossing your fingers, and hoping for the best, your prospects may be suspended in buyer's limbo.
Fortunately, there's a variety of email software that allows you to personalize your subject lines and email content to cater to specific leads.
Pro Tip: Not sure how to personalize your marketing emails? Here are 23 examples to get some ideas flowing.
Use A/B testing to see what subscribers prefer.
A/B testing is an excellent way to observe how your customers respond to different email frequencies. For instance, you can send one group weekly marketing emails and another group bi-weekly emails.
Or, you can send emails to one group early in the morning and to another group later in the afternoon. Then you can use the data to determine the best time and cadence to send emails.
Don’t be too shy or aggressive.
When planning an email cadence, you shouldn't err too much on the side of "I don’t want to bother you."
It's easy to get anxiety about losing leads by coming off as obnoxious or intrusive, but you have to understand there's a difference between being pushy and professionally persistent.
You're missing out on sales opportunities if you're not consistently sending out emails. A big part of email marketing is keeping your prospects and customers engaged.
You might become an afterthought if a lead only gets an email from you once every two months.
Email cadences are a matter of strategically striking while the iron's hot. You can't do that if you're too reluctant to strike at all.
Even though you shouldn't be too passive, you don’t want to be overly aggressive.
There's a movie from the '80s called Say Anything. It has an iconic scene where the main character stands outside his love interest's window and serenades her by blaring a song called "In Your Eyes" by Peter Gabriel from a boombox he's holding over his head.
She swoons over it, and they ride off into the sunset together on a lawnmower ( … for some reason).
It's romantic and compelling. But, if he did that twice a day, every day — playing similar, anthemic 80's rock songs on her front lawn — she'd be over it pretty quickly. He'd have to take his lawnmower and Peter Gabriel cassettes somewhere else.
That's essentially what sending emails too frequently in your cadence is like. If your leads receive obtrusive, daily reminders and promotions from you, they'll unsubscribe from your mailing list.
Pro Tip: Create a consistent email marketing calendar to ensure your emails stay consistent. Also, be sure to communicate with your team and other departments to make sure your organization isn't sending too many emails at a time.
Hone in on the right frequency for your business.
There's no magic figure when it comes to email frequency. It's going to vary from business to business. It may take some time to get the right feel for how often you should send your emails.
Studying your industry averages for email frequency can provide a solid place to start.
A prominent fashion brand routinely sending out new promotions and coupons probably isn't going to have the same email frequency as a midsize B2B SaaS company looking to set meetings with decision-makers.
Email frequency isn't an exact science. It's probably going to take some trial-and-error before you find one that best fits both your business and customers' interests.
Pro Tip: If you're unsure where to start when deciding on your cadence, keep in mind that our survey found that most marketers listed Monday, Tuesday, and Wednesday as days in which their emails get the most engagement.
 Give your subscribers autonomy.
Always give your subscribers the option to control their own email frequency. Giving them this kind of autonomy can keep them from unsubscribing from your mailing list outright if your email frequency seems like a bit too much for them.
Include a link to allow them to update their email preferences as they see fit at the end of your emails.
Customers don't always approach email frequencies in absolutes. Even if they're overwhelmed by how many emails you're sending them, they still might want to keep hearing from you. Give them the freedom to pump the brakes.
If they don't have the flexibility to do that, they'll probably just cut you off.
You should always be putting the customer first. Their personal interests take precedence over what you might believe to be your preferred email cadence.
Express gratitude with gifts.
While ‘thank you’ emails are great, none of it means anything unless a culture of gift-giving is baked into your business. Even the most creative thank you emailers feel empty without gifts.
Think of it as a personal relationship. Will your girlfriend like it if you meet her after one or two months with just a nice note? Do you think she will smile and say thanks? Of course, not! Now, what if you give her a personalized gift? Do you get the impact?
When you add surprise and delight mechanisms to your customer interaction strategy, you create a strong bond with your customers and experience an incredible boost in the overall purchase frequency and engagement levels.
For the surprise and delight element to create a ‘wow’ impact, it is crucial to offer well-curated and attractive rewards to your customers. And to get this right, "personalization" is the key.
Don’t believe us? Then read this: according to a McKinsey report, 83% of customers expect personalized experiences from their favorite brands. So, determine what reward combinations work the best with specific customers.
Another significant benefit of the surprise and delight element is that your customers share those experiences with others on social media, building goodwill for your brand.
Add a survey.
Surveys are an easy and effective way to determine if subscribers are happy with your current email cadence. Simply create a survey asking subscribers if they are satisfied.
Surveys can also help you determine the kind of content your audience prefers in their inbox.
Pro Tip: Create unsubscribe surveys to learn while someone might quit your list.
Monitor analytics.
Of course, you can't improve your email campaign if you don't track your progress. Make sure to monitor your emails' open rates, click-through rates, and overall engagement to determine if your cadence is helping or hurting your campaign.
Pro Tip: According to our survey, the top three most important metrics for determining an email campaign's effectiveness are open rate, click-through rate, and conversion rate.
Finding your ideal email cadence might not happen with your first series of automated emails. Still, there are certain actions you can take to take to put yourself in the best position to find the one that works best for your business.
Your main priority should always be your prospects and customers' interests.
Try to understand where they’re coming from, where they stand in terms of buying your product or service, and what they might want out of you and your business, and cater your email cadence around that.
Email Marketing
![How to Write a Marketing Email: 28 Tips for Writing Compelling Email Copy [+ HubSpotter Insights]](https://53.fs1.hubspotusercontent-na1.net/hubfs/53/Untitled%20design%20(40).jpg)


![Professional Email Address: How to Create One [+ Examples]](https://53.fs1.hubspotusercontent-na1.net/hubfs/53/professional-email-address-2.jpg)