
-2.jpg)
Tips for Shooting Videos with an iPhone
Here are some best practices for filming videos with an iPhone.
1. Find a quiet place to film.
Though it‘s possible to edit out most background noise in post-production, you’re better off avoiding the issue altogether by recording in a quiet space.
If possible, book a conference space and hang signs telling people to steer clear of where you're shooting, or bring a coworker with you to block off the area where you plan to film.
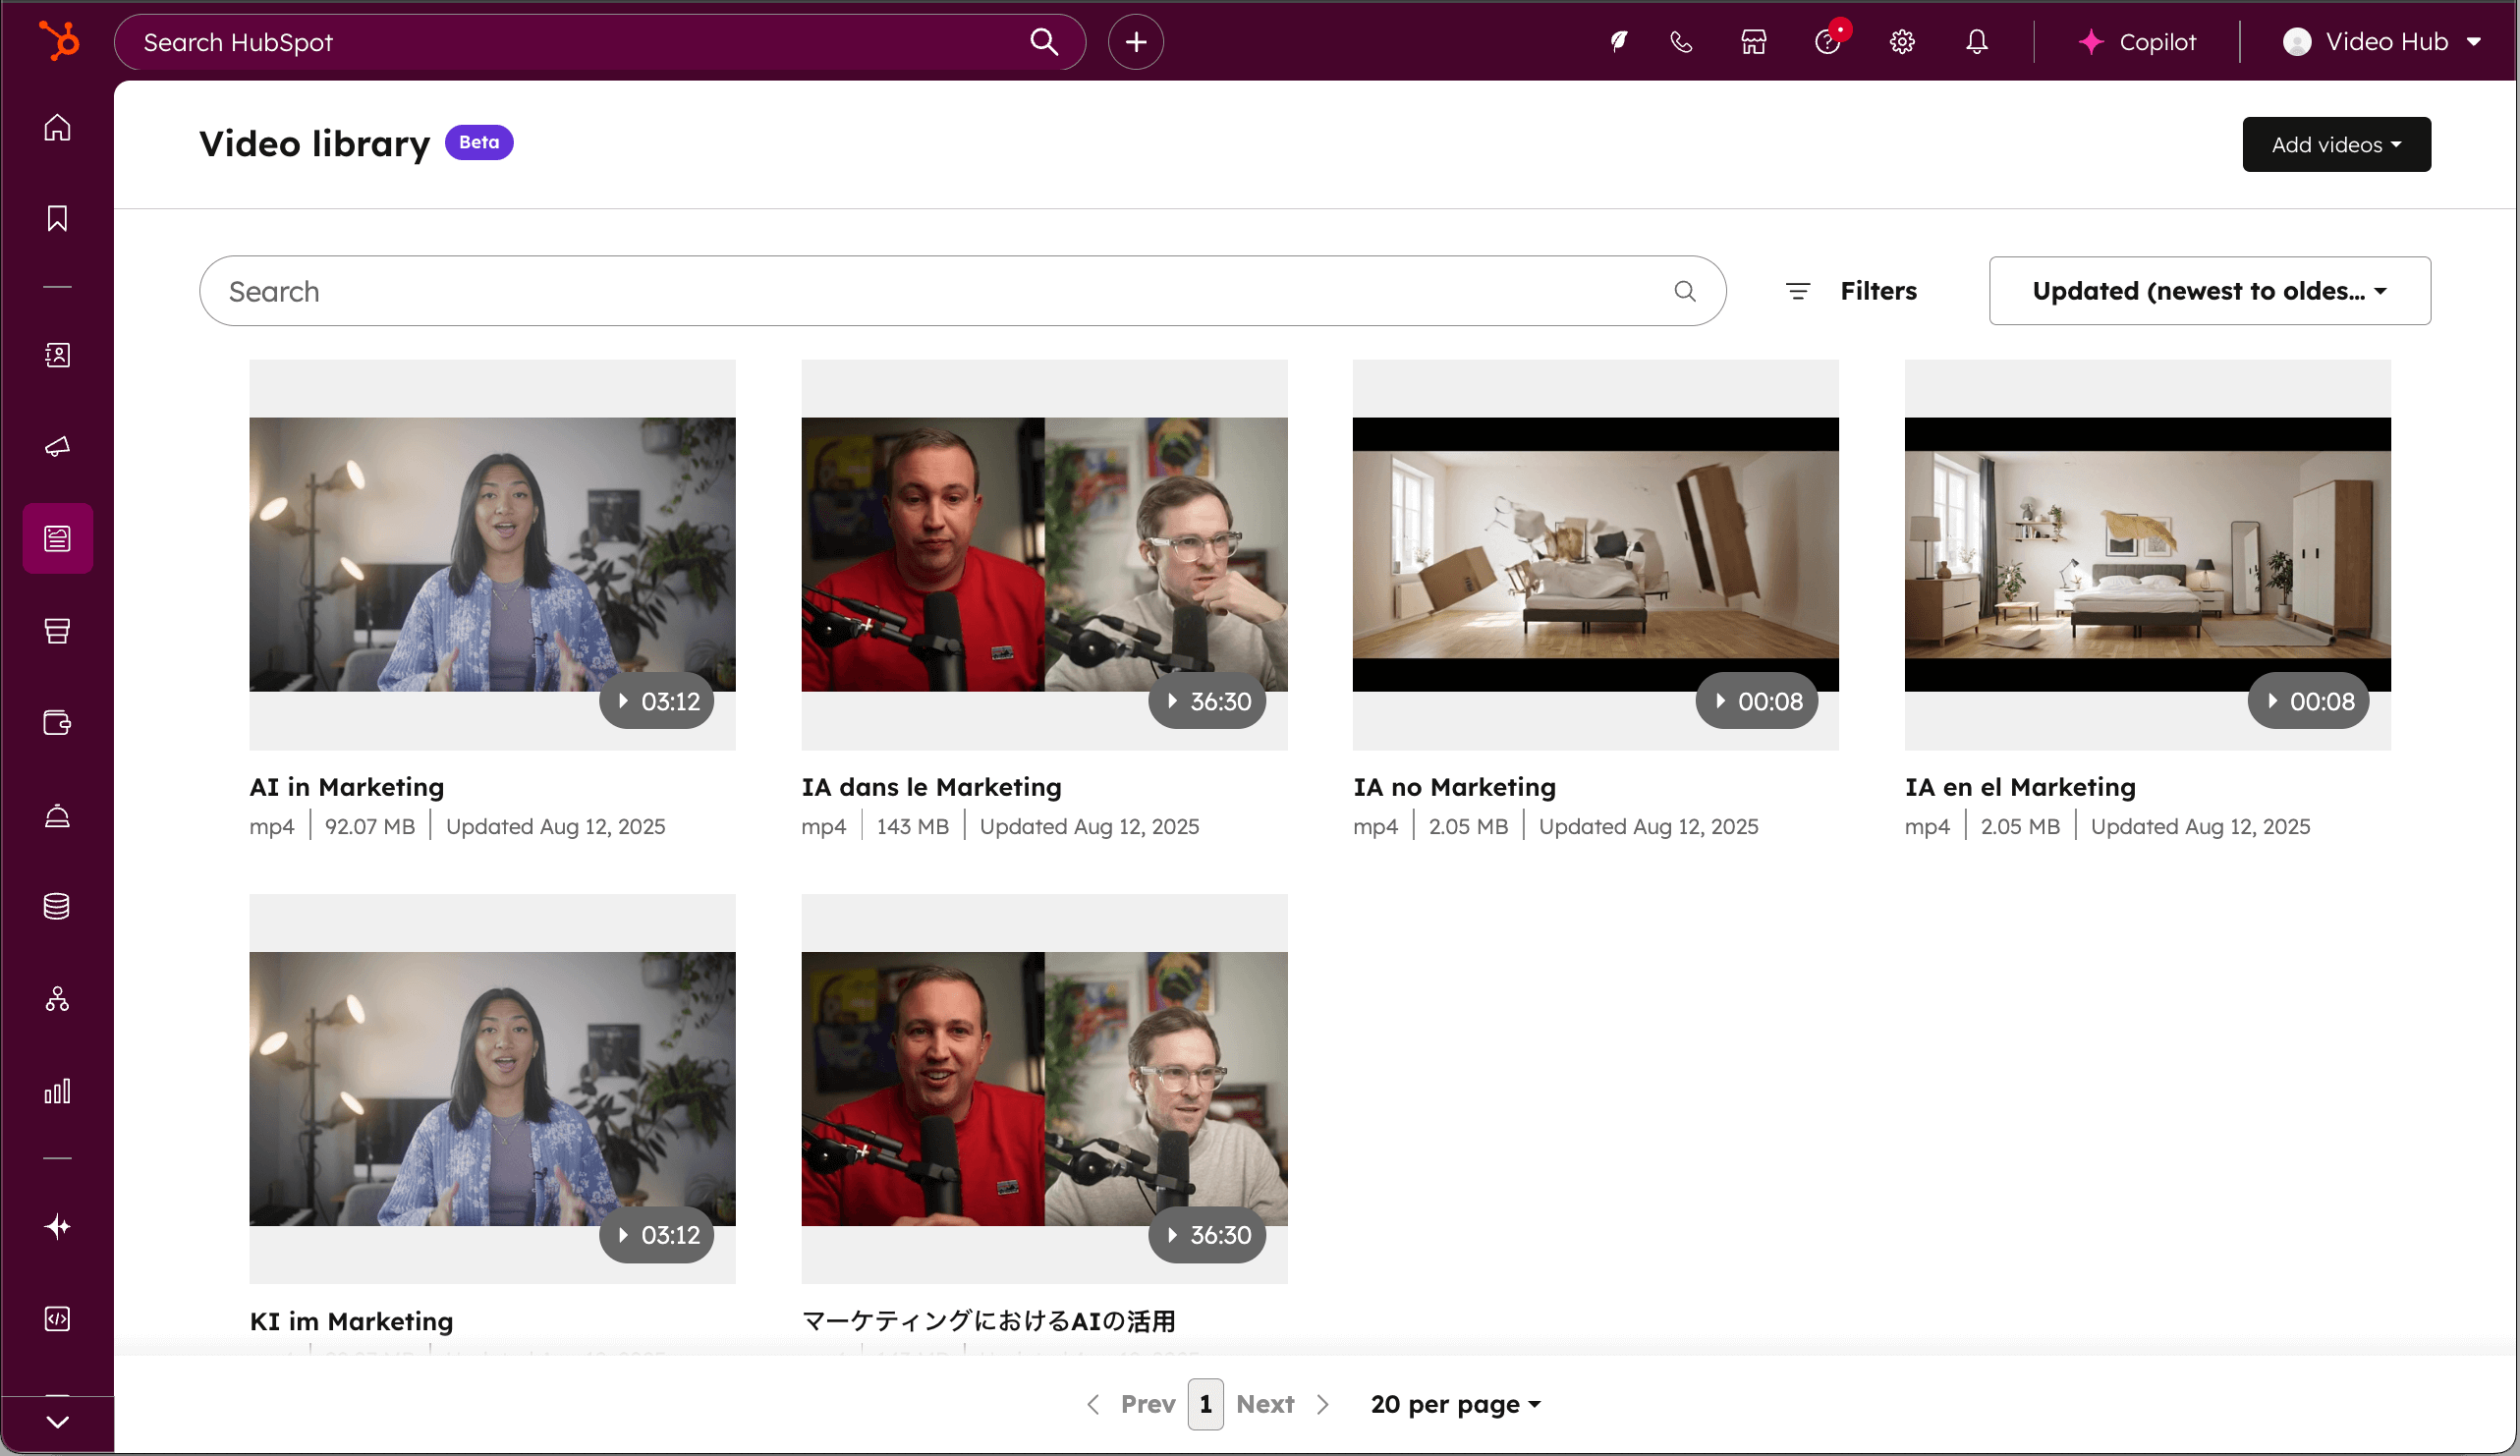
HubSpot's Video Marketing Tools
From video hosting to editing—clip, repurpose, and optimize content faster with HubSpot’s CRM-connected video tools.
- Create shareable clips and apply company branding faster using AI-powered editing.
- Streamline distribution with AI-powered optimization.
- Track video engagement across channels to see how video influences lead conversion.
- And more!
2. Make sure your iPhone has enough storage space.
Few things are more frustrating than getting this notification while filming on your phone: "iPhone Storage Full."
If your iPhone tells you it's out of storage as you’re filming, your phone will stop recording, and you'll have to start over. To prevent this, ensure you have enough space before pressing "record" by deleting as many unnecessary files and apps as possible.
If necessary, purchase iCloud storage for files to free up more space on your device itself.
To do this, navigate to "Settings," click on your name, select "iCloud," and tap "Manage Storage" or "Manage Your Plan" to buy more space.

3. Turn off notifications.
You don't want text notifications, push alerts, or phone calls to interrupt your filming. So, before you start, set your iPhone to Do Not Disturb mode to silence all notifications so you can record in peace.
To do this, swipe down on your phone and tap Focus, then Do Not Disturb mode. Tap Do Not Disturb again when you're done to return your phone to normal settings.

Pro tip: Do Not Disturb is a great way to watch YouTube videos, play games, and sleep uninterrupted, too.
4. Use a tripod.
Now matter how steady you think your hands are, they probably aren't steady enough to film a video for an extended period of time.
Now, it's one thing if you’re scrappily putting together a Snapchat Story or a fun TikTok.
However, if you're filming a video for your brand — especially one that will live permanently on your blog, YouTube channel, or other social media assets — you’ll need the help of a tripod to keep the video steady and clear.
You can purchase full tripods or smaller versions for your desk on Amazon, at Best Buy, or from other vendors.
5. Light your video.
This point is especially important if you‘re filming in an office building with lots of overhead lighting. Fortunately, you don’t need to buy anything fancy for this step. Our friends at Wistia put together this guide to a DIY lighting setup.
You need enough light to give the impression of natural light, which means it's coming from various light sources and not just directly overhead.
If you don't have the time or budget to purchase a lighting setup, find a room or location with plenty of natural light to keep your video subject looking good. Remember to turn off the overhead lights.
6. Use a microphone.
Quality sound is crucial to an engaging video. If you're speaking in your video, use a microphone to amplify your voice and combat any distracting ambient noise.
You don't need a fancy microphone and boom setup like in the movies, although those would be a great investment if you plan to film many videos.
You can use something as simple as a microphone plugging into your iPhone's headphone input to get great video audio — and you can buy one here.
If you have an extra iPhone or can borrow one, you can also use that iPhone as a mic. Just open the phone's Voice Memo app and record your audio as a memo. While recording, keep the mic hidden in a shirt pocket or just out of frame.
Pro Tip: Clap at the start of each take so you have a reference point for syncing the audio and video together when editing.
7. Film horizontally or vertically, depending on the platform.
If you're creating content for Instagram Reels, TikTok, YouTube Shorts, or Snapchat — film vertically because that is the format used for those platforms.
Film horizontally if you‘re filming for YouTube or Facebook (and you’re not creating Shorts or Reels). The video will appear smaller if you record vertically and the viewer's screen is rotated horizontally.
8. Don‘t use the iPhone’s zoom capability.
Zooming into an image with your iPhone will make the image appear closer, but it will lessen the quality of your video by making it pixelated and blurry. Instead, physically move your filming setup closer to your subject to eliminate the need to zoom in.
9. Lock your exposure.
The iPhone does a fantastic job of finding the subject to focus your camera's exposure — which is great for taking a photo.
But when it comes to filming a video, its super-powered exposure will continue adjusting and readjusting according to movement — leaving your final video occasionally blurry and out of focus.
You can solve this problem by locking the exposure while you're filming. Before you press record, hold down your finger on the subject of your video until a yellow box appears around the person or object and the words "AE/AF Lock" appear:

10. Use your iPhone's built-in grid.
If you‘re unsure how to get the perfect shot, use your iPhone's built-in grid and frame the show using the rule of thirds.
To access the built-in grid, navigate to Settings, tap Camera, and turn on Grid.
 11. Shoot with your back-facing camera.
It can be tempting to record with your front-facing camera because you can see yourself while filming, easily check to ensure you‘re in the frame, and see everything is in place.
However, the front-facing camera doesn’t film as high a quality as your back-facing camera.
Film with your back-facing camera to give your audience the best visual experience.
Pro-Tip: Have someone on the screen side of your iPhone verify you're in the frame.
12. Use other Apple devices as a preview window.
If you're shooting alone, Airplay your camera to your Apple Watch, Macbook, or iPad so you can use the device as a preview window.
13. Edit on a computer.
Once you‘ve filmed your video, you must edit it and prepare it for publication. While the iPhone offers many visual editing tools within its interface, it’s best to use editing software on your computer to fine-tune the images.
Software like HubSpot's Clip Creator, iMovie and Adobe Premiere Pro lets you add sound and captions and adjust filtering to make your video look and sound as professional as possible.
You can even try other third-party apps to combine videos on the iPhone.
Lights, Camera, Action
You don't need a ton of expensive equipment to film and edit engaging videos; you just need to follow the steps above to film something that looks professional with the help of your handy iPhone.
If you don't have an iPhone, never fear — many Androids have the same high-quality film capabilities as iPhones, and the above tips can be applied to those devices as well.
What are your tips for filming videos on the iPhone? Share with us in the comments below.
Video Marketing

![The most effective types of content on social media in 2026 [new data]](https://53.fs1.hubspotusercontent-na1.net/hubfs/53/social-media-formats-1-20260211-4742079.webp)
![The best social media platforms for video content in 2025 [consumer data]](https://53.fs1.hubspotusercontent-na1.net/hubfs/53/img-1-20250516-9399498.webp)

![3 Short-Form Video Trends Marketers Should Watch in 2025 [New Data]](https://53.fs1.hubspotusercontent-na1.net/hubfs/53/ft-short-form-video-trends.webp)
![Are In-Stream Video Ads Worth the Investment? [Benefits & Best Practices for Marketers]](https://53.fs1.hubspotusercontent-na1.net/hubfs/53/in-stream-video-ads-1-20250314-6407067.webp)
![45 Video Marketing Statistics for 2025 [New Data]](https://53.fs1.hubspotusercontent-na1.net/hubfs/53/video-marketing-statistics-1-20250227-6425117.webp)
![Why You Should Leverage Interactive Videos [Data from 500+ Marketers]](https://53.fs1.hubspotusercontent-na1.net/hubfs/53/interactive-video-1-20250216-406926.webp)