


 Ever wondered how to make those clickable buttons that show up on some YouTube videos?
Wonder no more -- I'm here to teach you how.
Why? Because little annotations that prompt viewers to "Subscribe" or "Follow us" or "Click here to learn more" encourage them to actually engage and interact with your content -- and maybe even head back to your website.
And, as it turns out, annotating YouTube videos is actually really simple. Once you've uploaded your video to YouTube, the annotation tool lets you easily layer text, links, and spotlights to your videos.
(Note: Annotations appear on standard YouTube players and embedded players, but they don't appear on YouTube chromeless players, or on mobile, tablet, and TV devices.)
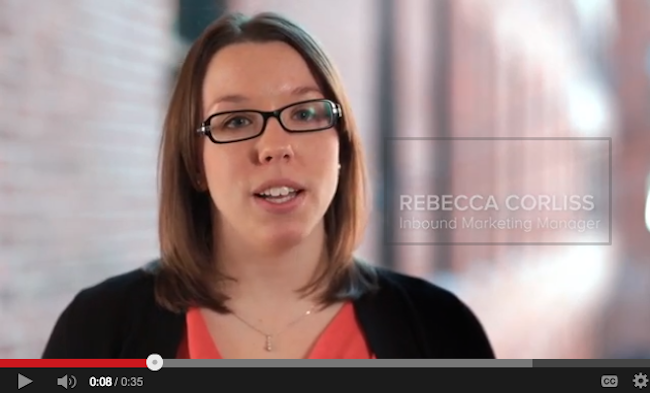
We annotated one of HubSpot's YouTube videos to show you how the process is done. Let's go through the steps together.
How to Annotate a YouTube Video
Before you begin, make sure the video you'd like to annotate is already uploaded to YouTube.
Step 1: Log in to YouTube, click into your channel page (by clicking "My Channel" in the left-hand navigation bar), and go to your Video Manager.

Step 2: Find the video you want to add annotations to using the search bar. Click the arrow next to "Edit" and choose "Annotations" from the drop-down menu.

Step 3: Click "Add Annotation" to add a new annotation, and choose from the five annotation types in the pull-down menu: Speech bubble, Note, Title, Spotlight, or Label. For this tutorial, we chose the note option.
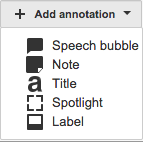
Here's what they all look like:
Speech bubbles are pop-up speech bubbles containing text. You can move the "point" of the Speech Bubbles to face any direction you'd like. They're also linkable -- we'll talk about links in the next step.

Notes are pop-up boxes containing text, which you can use to add on informative information. You can choose the font size, font color (limited to black and white), and background color of your Note. Notes are also linkable.
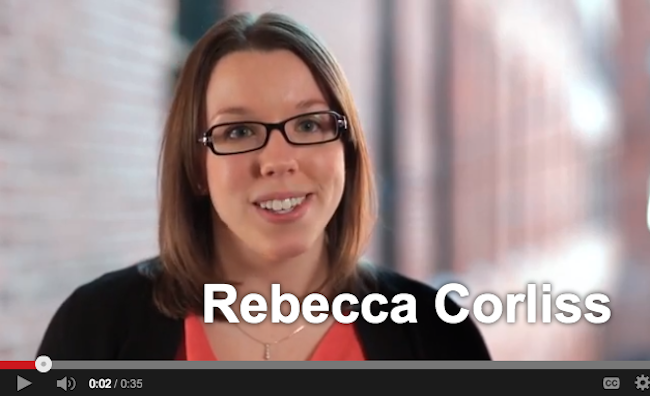
Titles are text overlays used to title your video. The title annotation is useful if you didn't put a title in your video before uploading it to YouTube. They're not linkable.
Spotlights highlight a specific area in a video, defined by you, with a dark grey box. When the viewer moves the mouse over the box, a text box appears underneath it. Spotlights are linkable, and they're useful for making specific areas of the video frame clickable to other websites, YouTube videos, and so on.
Here's what a Spotlight looks like when your mouse is not hovering over it:
And here's what the same Spotlight looks like when your mouse is hovering over it:

Labels are quite similar to spotlights, except they have a slightly different look: The text appears within the frame you defined, instead of underneath it. The configuration options are also a little different from Spotlight, so test both of them out and see which one works best for your needs.
Here's what a Label looks like when your mouse is not hovering over it:

And here's what the same Label looks like when your mouse is hovering over it:
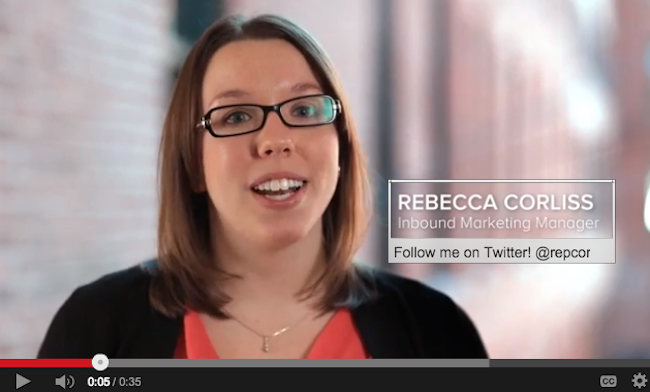
Step 4: Add text, choose your font, size, background color, and transparency. Choose exact start and end times for the annotations. To add a link, tick the checkbox next to "Link" and choose what type of page you'll link to.
We linked our Note annotation to a landing page, so we chose to link to an "Associated Website." Pro tip: Use tracking tokens on the website URL to gauge the success of this annotation using your own marketing software.

Step 6: Use your mouse to drag the annotation where you want it. Resize it by dragging the corners. (Annotations can cover up to 30% of the screen.)
Step 7: Use the timeline to move your annotation to a specific time in your video. You can change where the annotation starts and ends by dragging with your mouse.
Links to specific times may not be 100% precise, according to Google Support.
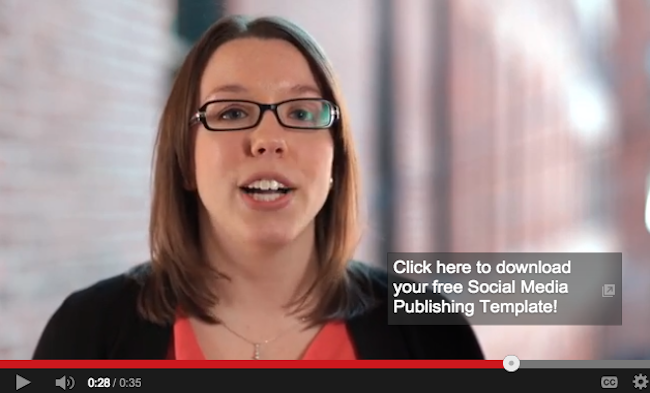
Step 8: Click "Publish" when you're done to make the annotations show up in your video!
Here's the final result of our video. You'll see the annotation pop up 9.2 seconds into the video, and then disappear 20 seconds later.
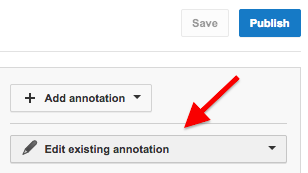
To edit your annotation after publishing, simply go back into the "Edit Annotation" tool and click "Edit existing annotation," which is located under the "Save" and "Publish" buttons to the right of the video frame.
Happy annotating!


Sorry we missed you! We close comments for older posts, but we still want to hear from you. Tweet us @HubSpot to continue the discussion.