To help you understand this web design trend, we’ll walk through what CSS animation is, different types of CSS animation, and examples of animations being used on live sites.
What is CSS animation?
Let’s say you want to use multiple CSS style configurations — like different colors, levels of opacity, border radiuses, and so on— on a single page element. To have elements gradually change from one style to another, you can create a CSS animation.
There are dozens of animatable CSS properties you can choose from. You can have a progress bar show how quickly your site is loading, a button change colors when a visitor hovers over it, and your logo bounce in from the left side of the screen. You can even animate an element's padding area to transition between colors. Animations like these can help make your web design more cohesive and more memorable.
Let's take a look at some specific types of animation below.
Types of CSS Animation
With CSS animation, elements can be shifted, rotated, slanted, squashed, spun, and stretched on the page. They can be bounced across the page and interact with each other in all sorts of interesting ways.
Since there are thousands of types of CSS animation, we’ll limit our focus to some of the most common — and coolest! — types you’ll see on the web.
CSS Text Animation
Animated typography can immediately capture the attention of your visitors. Of the many ways you can animate text on your site with CSS, adding a rainbow effect, shadow, glitch effect, and gooey effect are among the most common.
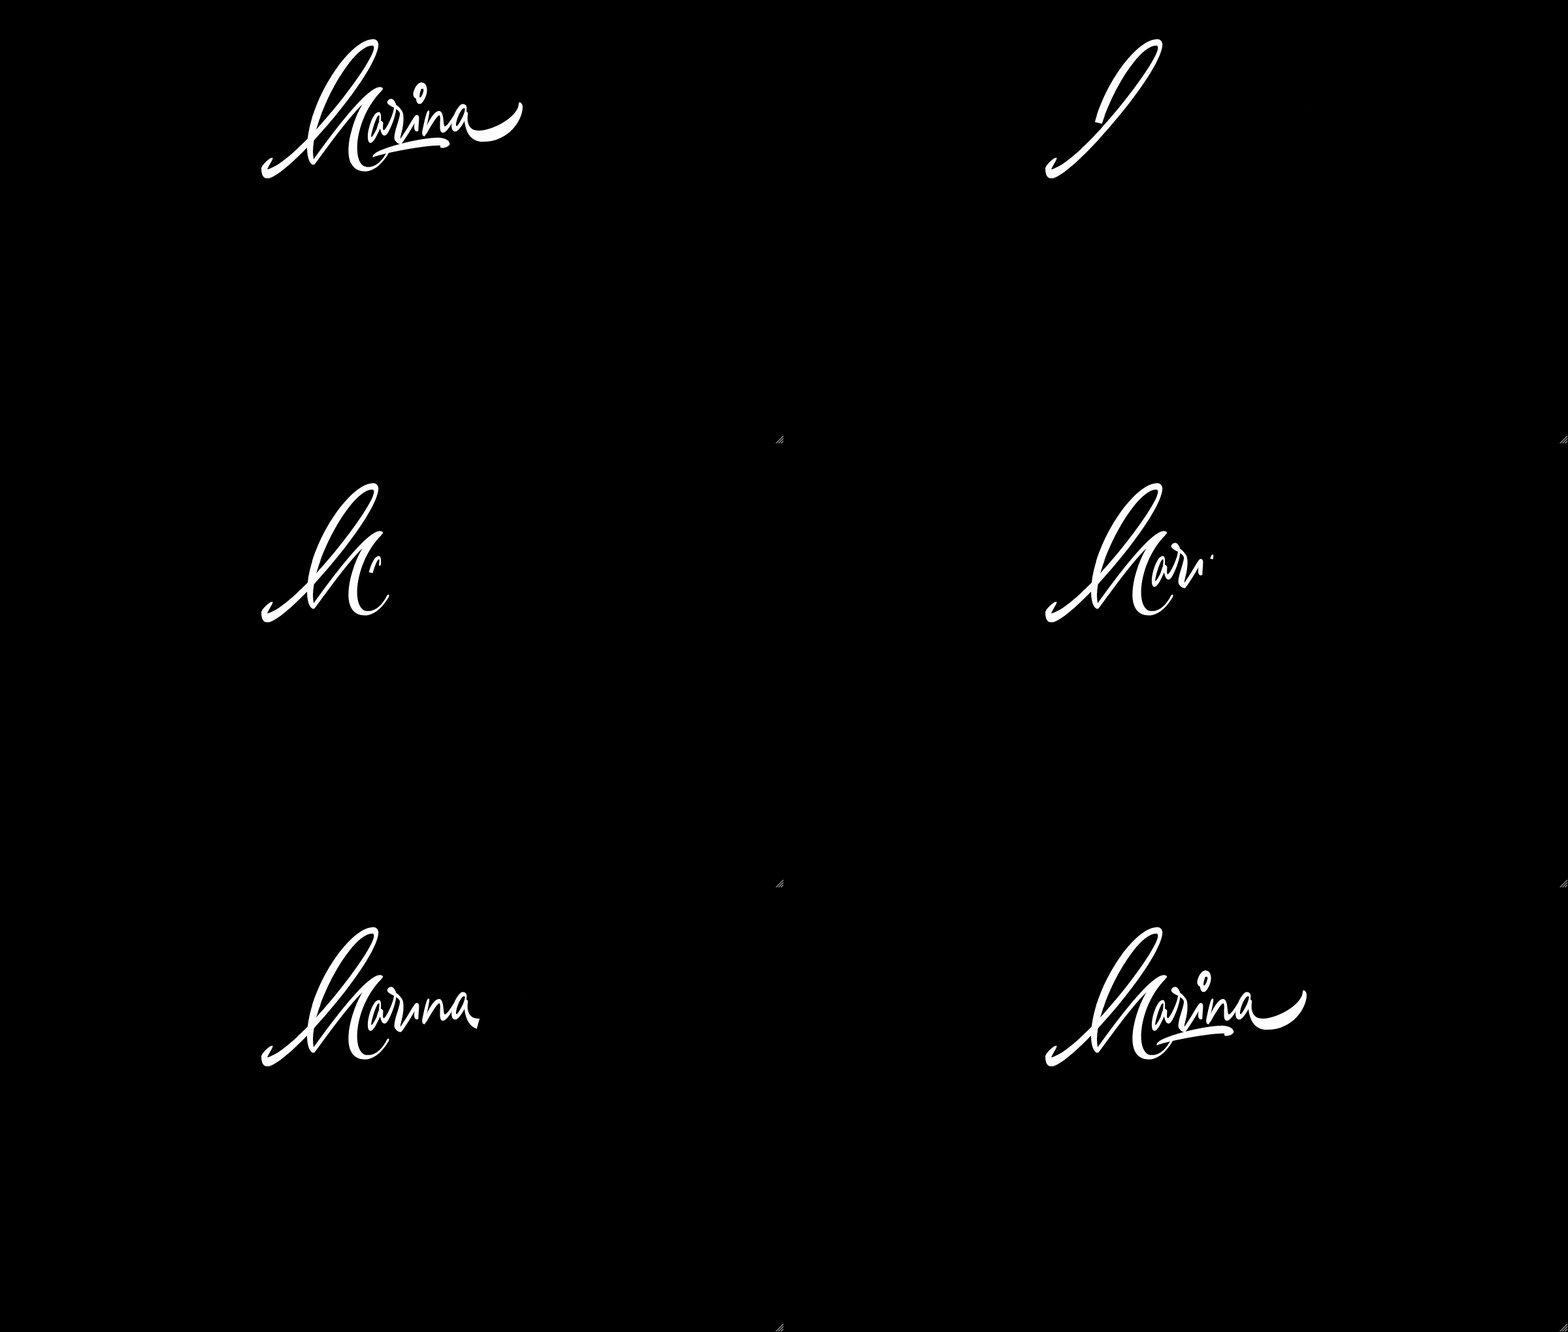
Below is an example of a handwriting animation in which the visitor watches the text being written on the page.
CSS Color Animation
You’ll often see the background of a web page animated to alternate between colors, as in the example below.

CSS color animations can also be applied to text, buttons, borders, and other elements on the page, making them ideal for drawing the visitor’s eye to a specific point on the page.
Slide-in Animation
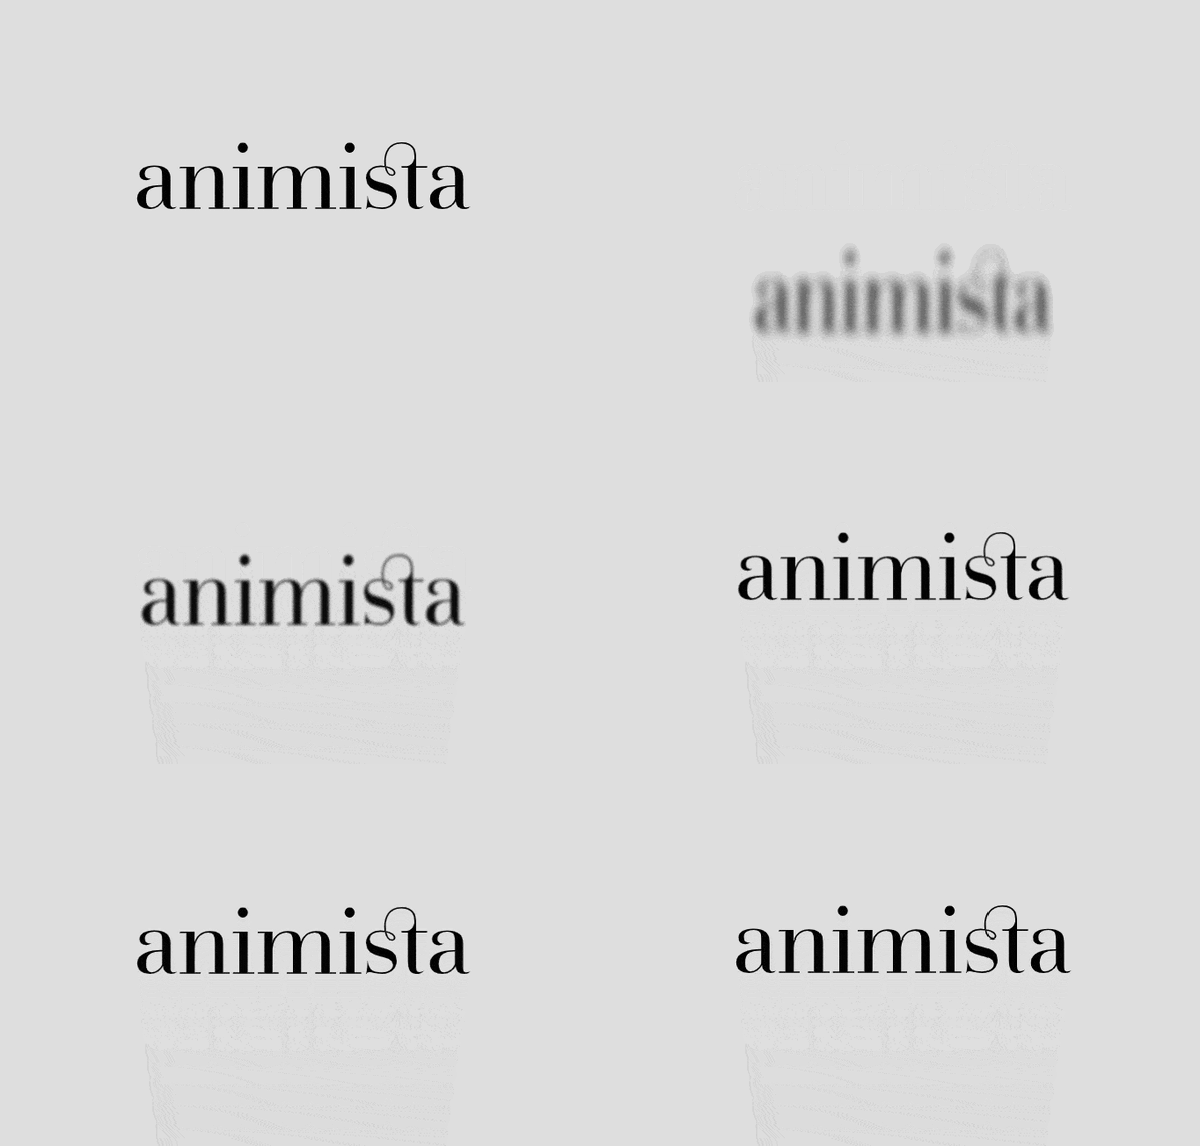
Using this CSS animation, you can have an element slide in from the top, bottom, left, or right of the screen to grab the visitor’s eye. You can also combine the slide-in animation with other effects to further customize your design. In the example below, the slide-in animation is combined with a blurred text effect so that the company name slowly comes into focus.
CSS Rotate Animation
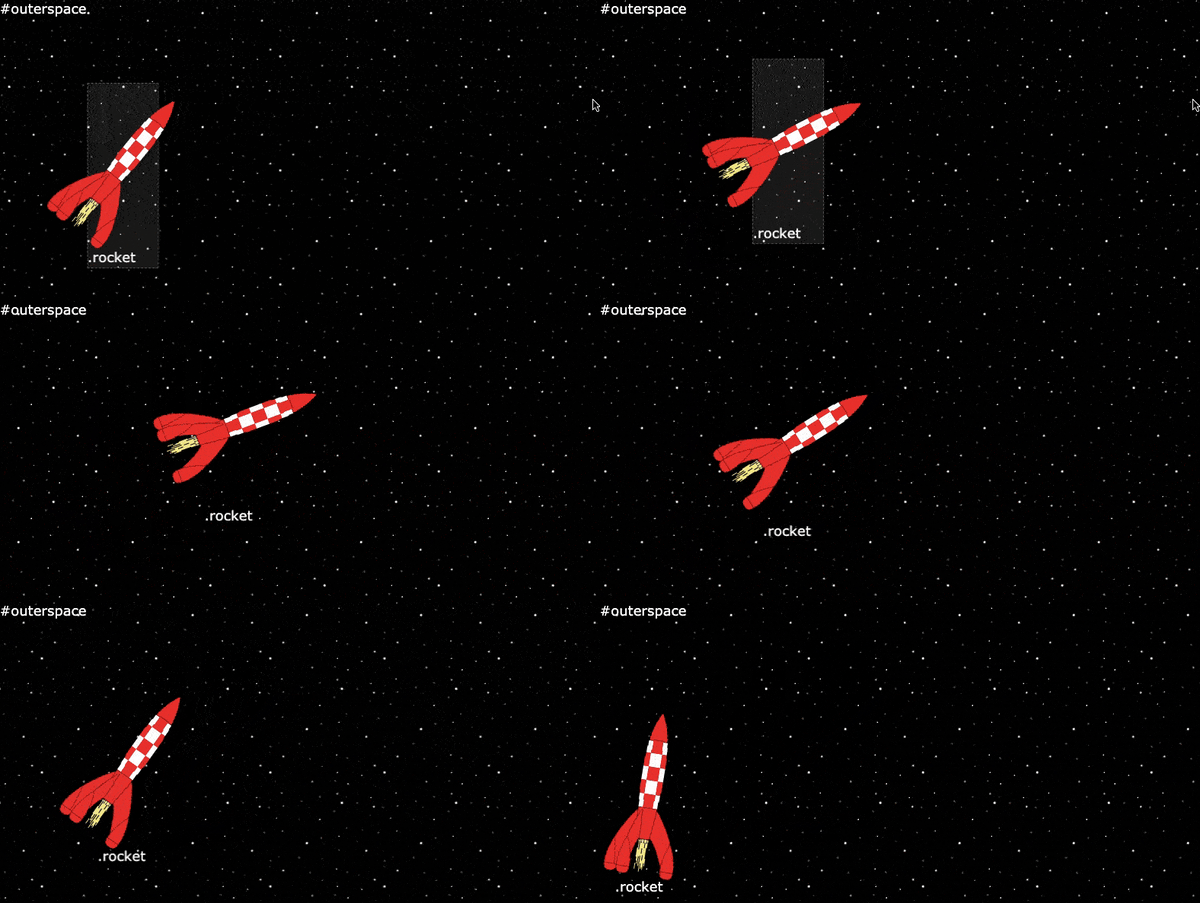
You can use CSS to rotate an element in 2D or 3D space. This animation is often combined with other animations to show elements in motion. Take the example of the rocket below. It’s not only translated from the bottom left of the screen to the top right over a period of three seconds, but also rotated 70 degrees in a clockwise direction over the first two seconds.
CSS Wave Animation
The CSS Wave animation is a unique use case of the rotate animation. To create a CSS wave animation, you need to create multiple HTML objects to represent your waves. Then you’ll apply the rotate animation to each wave with different background colors and values for the animation-timing property. You can also experiment with opacity.
The effect will look something like the demo below.

CSS Glow Animation
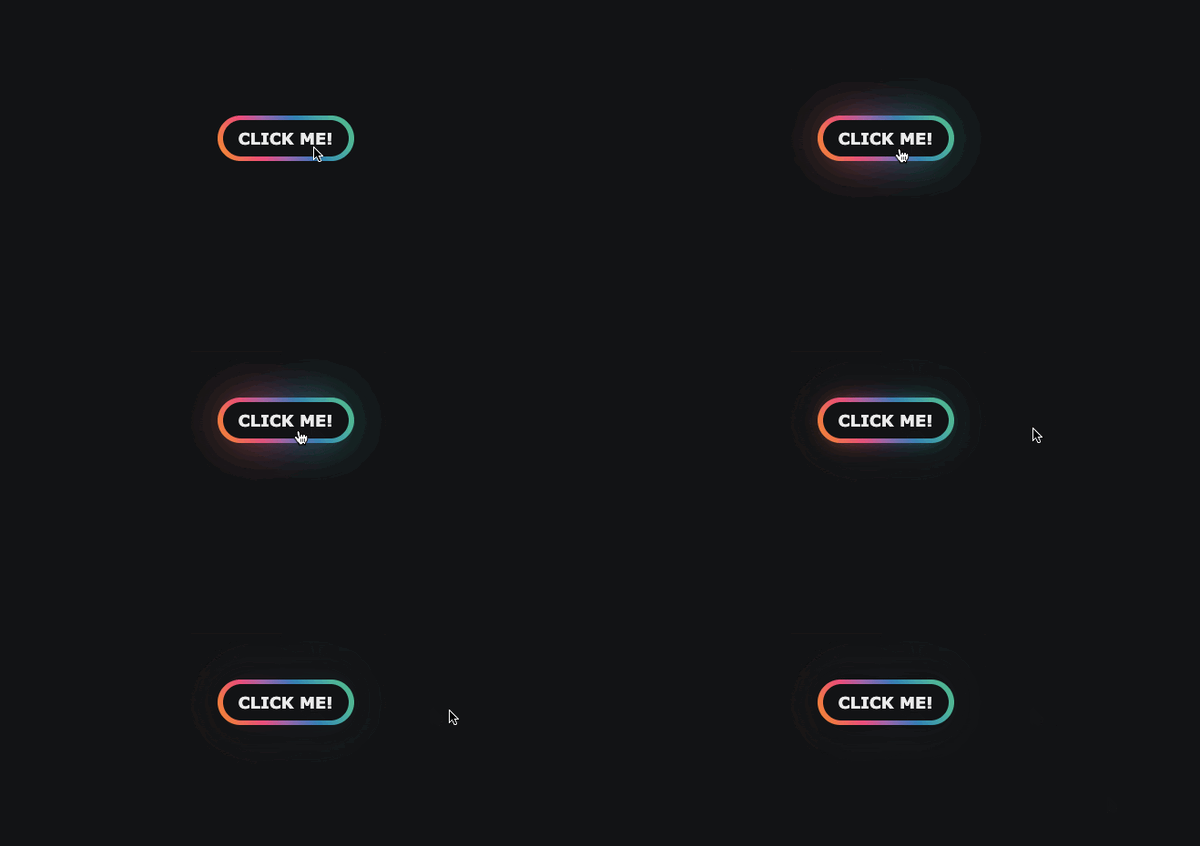
CSS glow animations can contribute to the ambiance of your site. For example, to promote an event on your site, you might add neon glow text against a dark background to set a party mood. You can also use the glow effect on buttons, borders, loading animations, hover animations, and more.
In the example below, the gradient button glows when the user hovers over it so that clicking it seems more appealing.
CSS Bounce Animation
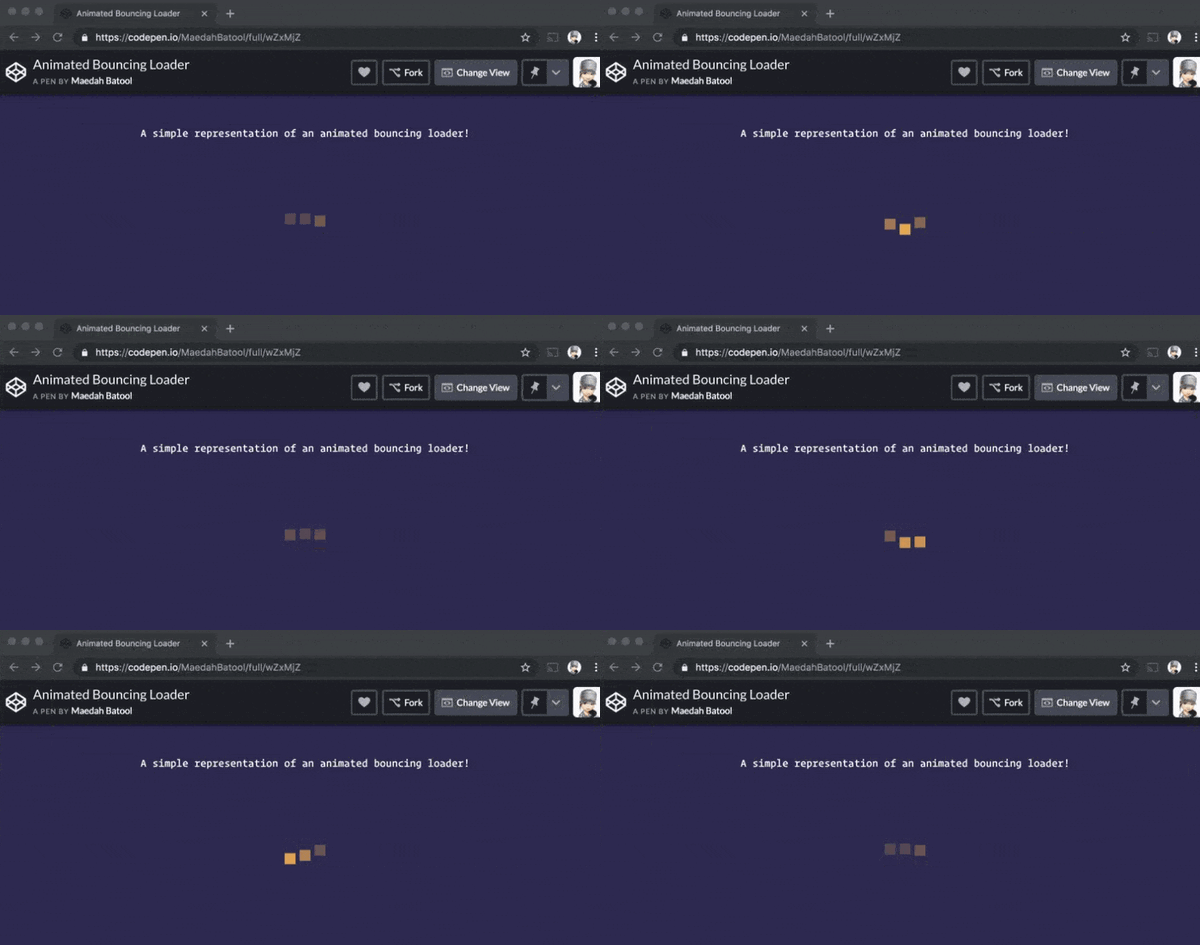
Let’s say you don’t want an element to slide in. You want it to bounce in for a grander entrance. In that case, you can use the CSS bounce animation. Coding this animation requires a few animation subproperties, including the timing and delay function, to be configured to make the element’s bounce feel more natural.
This animation is particularly common on loading pages, as shown in the example below.
CSS Fade-in Animation
Using CSS, you can add the fade-in animation to images and text on your site. Below you’ll see an image gradually appear from the top of the screen. This animation is particularly effective with this image because it mimics the motion of a boat lazily drifting down a river.
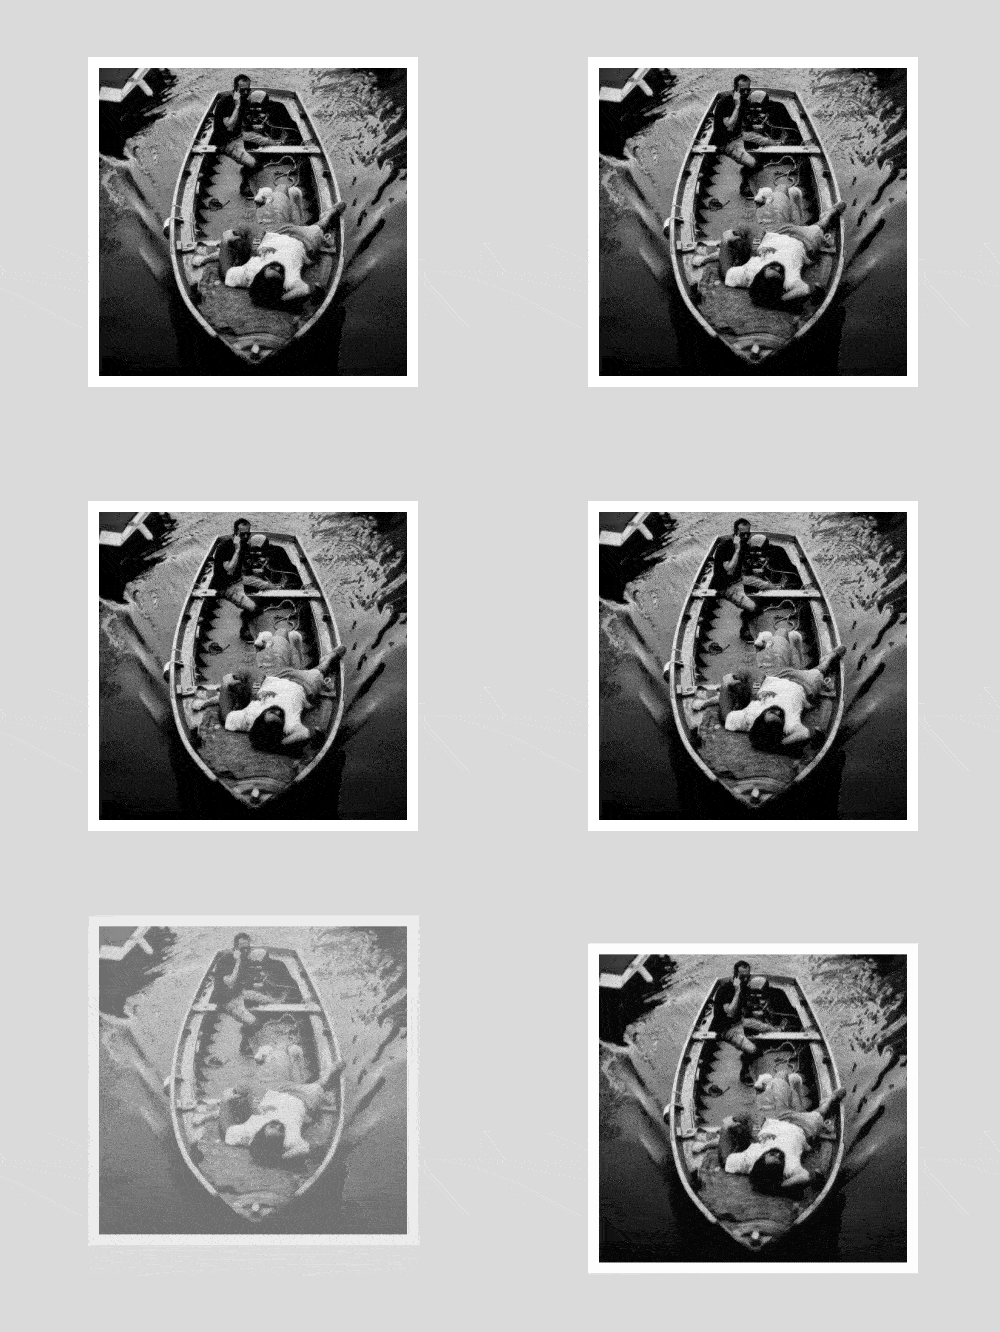
For more interactivity, you can design the image or text to fade-in when a mouse hovers over the element or as a visitor scrolls. Please note that the latter will require both CSS and Javascript because it’s more complicated.
CSS Hover Animation
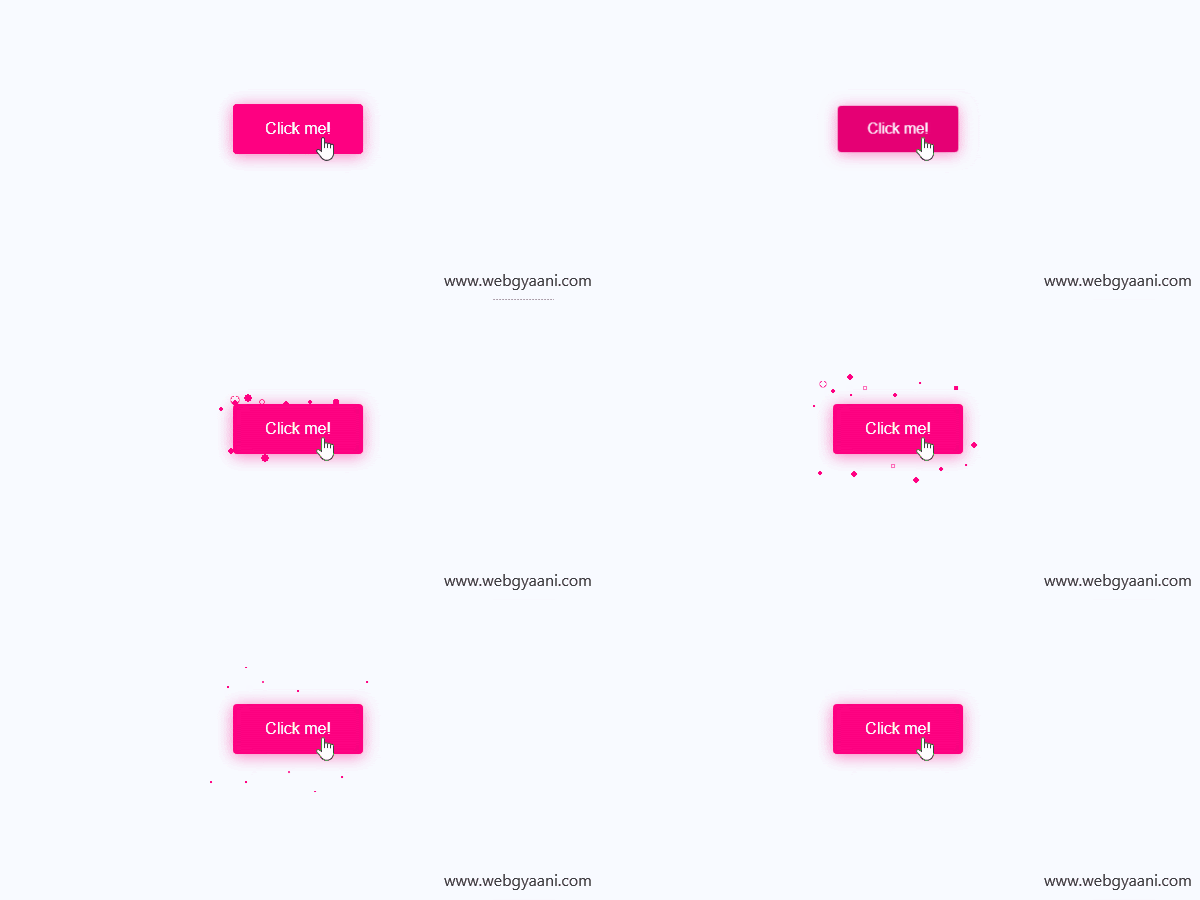
To enhance your site’s interactivity, you can create a CSS hover animation. This type of animation occurs when a site visitor hovers over an element on the page. You can have elements zoom, flip, rotate, or even stop playing on hover. In the example below, the CTA button changes in size and lets off some sparks when the visitor hovers.
Infinite Loading Animation
When visiting some sites, you’ll watch them slowly load: usually the title comes first, then the plain body text comes, then the images, and so on. On other sites, that process will be hidden and instead, you’ll see an animation.
The infinite loading animation is just one of the five website loading animations you can make in CSS to help reduce the user’s perception of waiting. Since this type of animation lets visitors know the site is loading without specifying how long they’ll have to wait, this is perfect when load time is unknown.
Here’s a creative one by designer Hoang Nguyen.
 Parallax Scrolling
Parallax scrolling is a visual technique in which elements in the background move at a different speed than the foreground as you scroll. This creates an illusion of depth or a “faux-3D effect” that’s intended to make your visitor’s browsing experience more interesting.

Now that we're familiar with different types of CSS animations, let's walk through the process of creating one. Before we dive into the tutorial, let's take a closer look at the fundamental element of a CSS animation: the @keyframes at-rule.
Keyframe CSS
In CSS, keyframes are used to specify how an animated element should appear throughout the animation cycle.
At least one keyframe must be defined in a CSS animation, but it's most common to see at least two. Typically, they describe the start and end of the animation. Additional keyframes can be defined to describe any intermediate steps between the start and end of the animation cycle.
Keyframes are specified using the @keyframes at-rule. Let's take a look at the syntax of this at-rule.
@keyframes at-rule
The @keyframes at-rule is written as follows:
Note that the @keyframes rule must have the same value as the animation-name property. This allows the browser to match an animation to its keyframes declaration.
The rule must contain at least one keyframe to describe how the animated element should render at a given time during the animation sequence. Keyframe selectors can use percentages to specify when they take place along the animation cycle. If they are specifying 0% (the start of the animation cycle) or 100% (the end of the animation cycle), then they can use the keywords from or to instead.
Let’s look at an example. Say the animated element is a div, its animation name is “slide-right,” and its animation cycle is four seconds.
Here’s the CSS for the animated div:
To control how the div renders at a given time during the animation sequence, you can add a @keyframes at-rule with two or more keyframe selectors.
Let’s say you want to add three keyframe selectors. The first selector defines that at the start of the animation, the left margin of the div is 0px. The second selector defines that at the midway point of the animation cycle (or at 2 seconds), the left margin is 100px. The third selector defines that at the end of the animation (or at 4 seconds, the margin is 200px. Here’s how that rule is written:
Here's the result:
See the Pen by HubSpot (@hubspot) on CodePen.
CSS Animation Tutorial
You can create CSS animations from scratch with only a bit of code.
CSS animations are made up of two parts: keyframes and animation properties. So to create a CSS animation, you have to define its keyframes and animation properties. Let's look at how below.
Step 1: Define your animation's keyframes.
The first part of a CSS animation is a set of keyframes. Since keyframes indicate the start and end of the animation, as well as any intermediate steps, they use percentages. These percentages indicate at which point in the animation sequence they take place.
Say you want to style an element so it slides in from the right side of the browser window, like so.
 But let's say you want the animated element to be a paragraph (the <p> element) instead. For this slide-in animation, there are just two keyframes.
The first occurs at 0% or the first moment of the animation sequence. Both the left margin and width of the <p> element are configured so that it’s drawn from the right edge of the browser. The second keyframe occurs at 100% (i.e. the last moment of the animation sequence). The left margin and width of the <p> element are configured so that, once finished its animation, the paragraph is flush against the left edge of the content area.
Take a look at the code below.

Let’s say we want the <p> element to do something between the start and end of the animation. We might, for example, add another keyframe so that the font size of the paragraph increases as it moves from right to left and then decreases back to its original size by the end of the sequence.
In that case, the code will look like this:
The animation would now look like the following.

With a firmer grasp of keyframes, we can now turn our attention to the second part that makes up CSS animations: animation properties.
Step 2: Define your animation-name and animation-duration properties.
Animation properties assign the keyframes to a specific element and define how it is animated.
You may have noticed that the code snippets above included the following two properties:
- animation-duration
- animation-name
These two properties are required for any animation to take effect. We’ll briefly discuss these below.
Animation Name
The animation-name property specifies the name of the keyframe. That's why in the examples above the value of the animation-name property — slidein — matched the name after @keyframes.
When naming your animation, you can use letters a to z, numbers 0 to 9, underscores, and dashes.
If you have multiple keyframes describing the animations to apply to an element, then you'll need to define multiple values for the animation-name property. You can separate these with a space and comma.
Animation Duration
The animation-duration property specifies the length of time of the animation sequence. While the animation could play on loop forever, it should take however many seconds or milliseconds are specified in the animation-duration property to complete one cycle.
The property can be defined with zero or any positive value. Negative values are invalid. Below are some examples.

Step 3: Define other animation properties you need.
In addition to the animation-name and animation-duration properties, there are other animation properties you can use to create more complex and custom animations. Let's define each below.
Animation Timing
The animation-timing function sets the pace of the animation. To specify the timing of your animation, you can use the predefined values ease, linear, ease-in, ease-out, and ease-in-out. You can also create custom values using the cubic-bezier curve for more advanced timing options.
CSS Animation Easing
If no other value is assigned, the function will be set at ease by default. Ease starts out slow, speeds up, then slows down. Below is an example.

Set at linear, the animation has the same speed from start to end. With ease-in, the animation has a slow start. With ease-out, it has a slow end. Ease-in-out means the animation has both a slow start and a slow end.
Animation Delay
Using the animation-delay function, you can specify when the animation starts. Milliseconds and seconds are allowed, as are positive and negative values. A positive value will delay the animation sequence whereas a negative value will start the animation immediately, as if that amount of time has already gone by.
If you set the value at 2s, for example, then the animation will start 2 seconds after it is loaded. If you set the value at -2s, then the animation will start two seconds into the animation cycle.
In the example below, a negative animation delay causes each circle to begin immediately at a different state in the animation cycle.

Animation Iteration Count
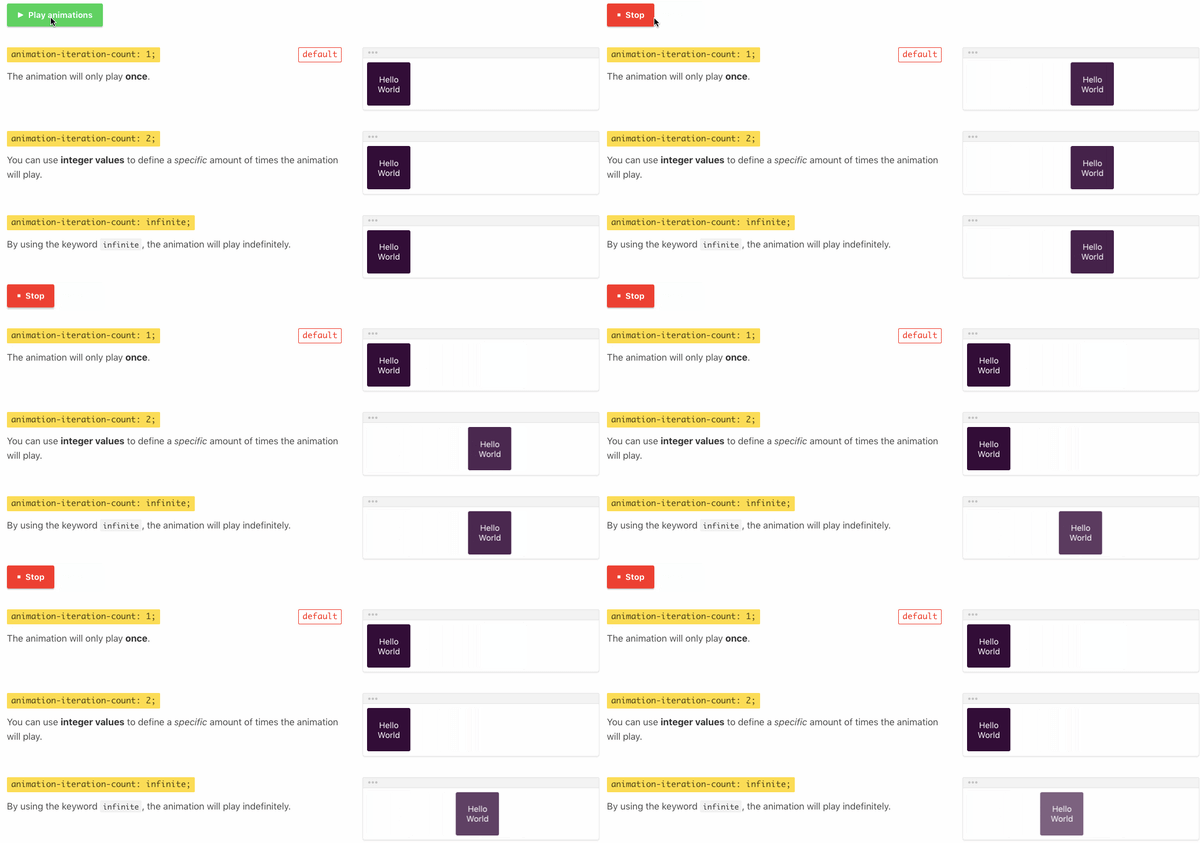
The animation-iteration-count property specifies the number of times that the animation will play. You can use a number value to have it repeat a certain number of times.
You can set it to initial to use the default value (1), which means the animation will play through its sequence once. You can set it to inherit to use the same value as its parent element. Or you can set it to infinite to have it repeat indefinitely. Any CSS animation with its animation-iteration-count set to infinite is considered a CSS loop animation.
Take a look at the demo below which shows three versions of the same animation, each with their animation-iteration-count property set at different values.
Animation Direction
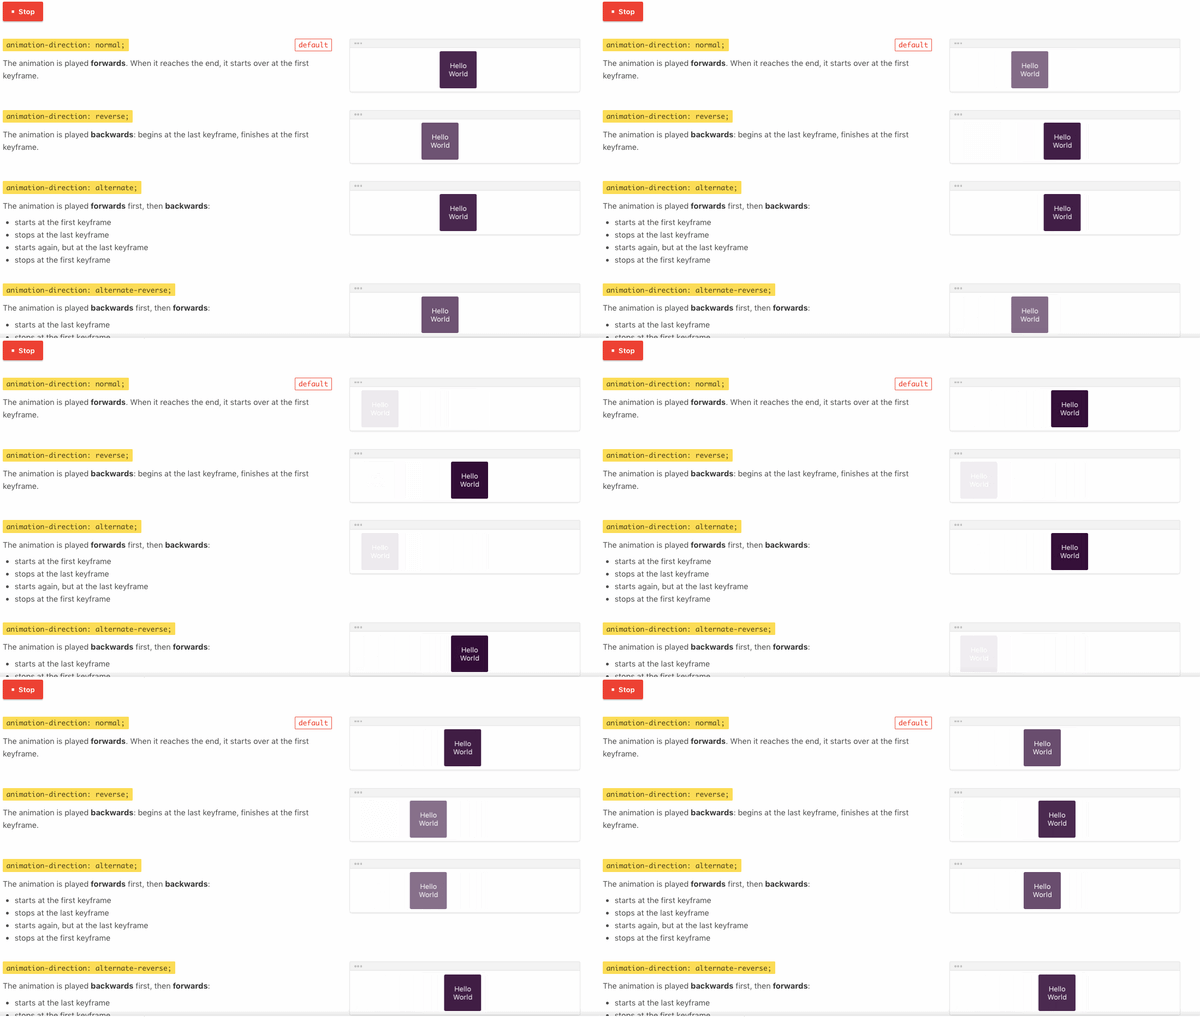
The animation-direction property defines the direction of the animation. If you use the normal or default value, then the animation will play forwards. If you use reverse, it will play backwards.
To have the animation reverse directions every cycle, you can use the alternate value (the animation will play forwards first, then backwards) or the alternate-reverse (the animation will play backwards first, then forwards).
Take a look at the demo showing each direction below.
Animation Fill Mode
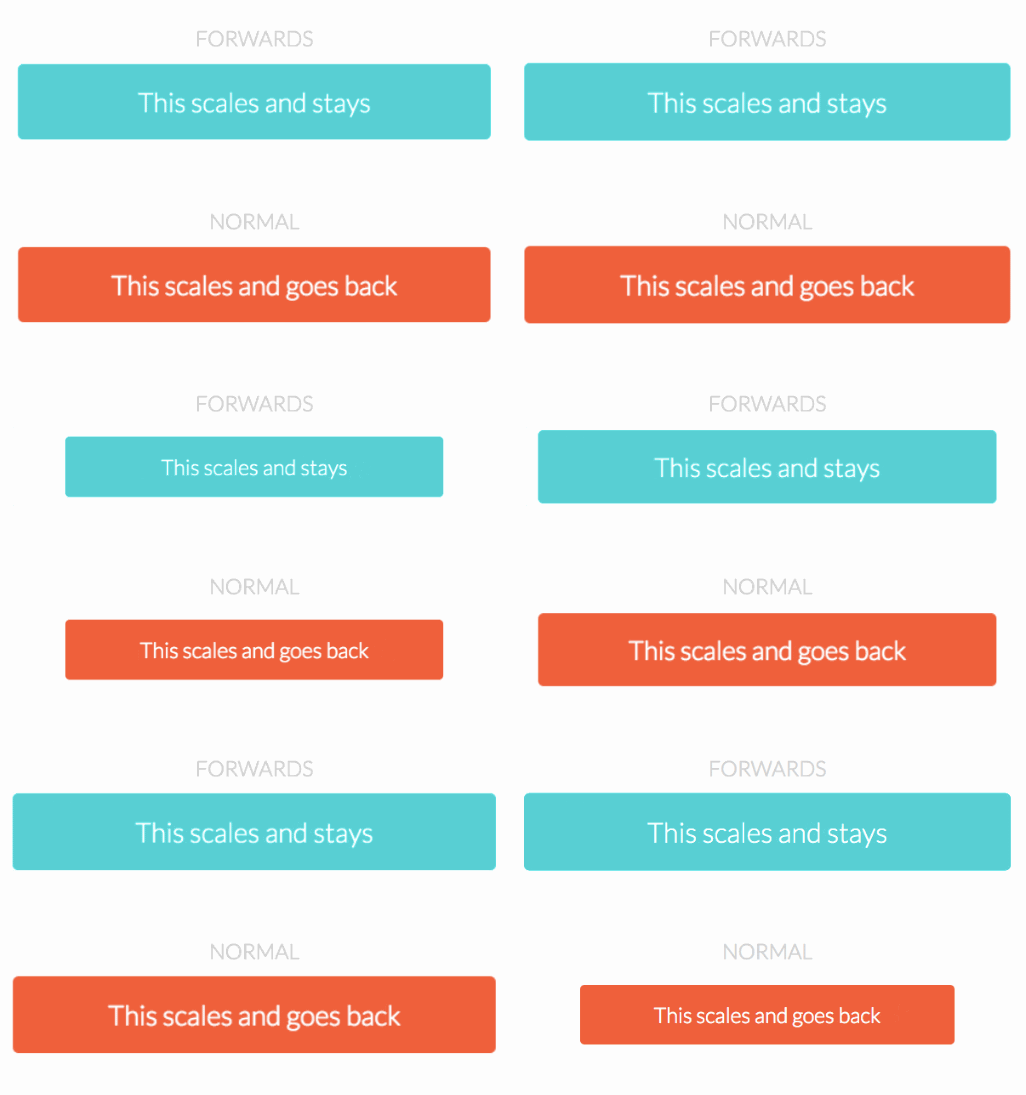
Using the animation-fill-mode function, you can have the animation styles applied before or after the animation plays.
There are four possible values you can set this function to:
- If you set the property value to normal, then styles will only be applied to the animated element when it’s playing.
- If you set it to forwards, then the animated element will retain its style values defined by the last keyframe.
- If you set it to backwards, then the element will take on the style values defined by the first keyframe before it begins playing.
- If you set it to both, the animation’s style values will be applied before and after the animation plays.
Below is an example of an animation with its animation-fill-mode property set to forwards and the default value (normal).
Animation Play State
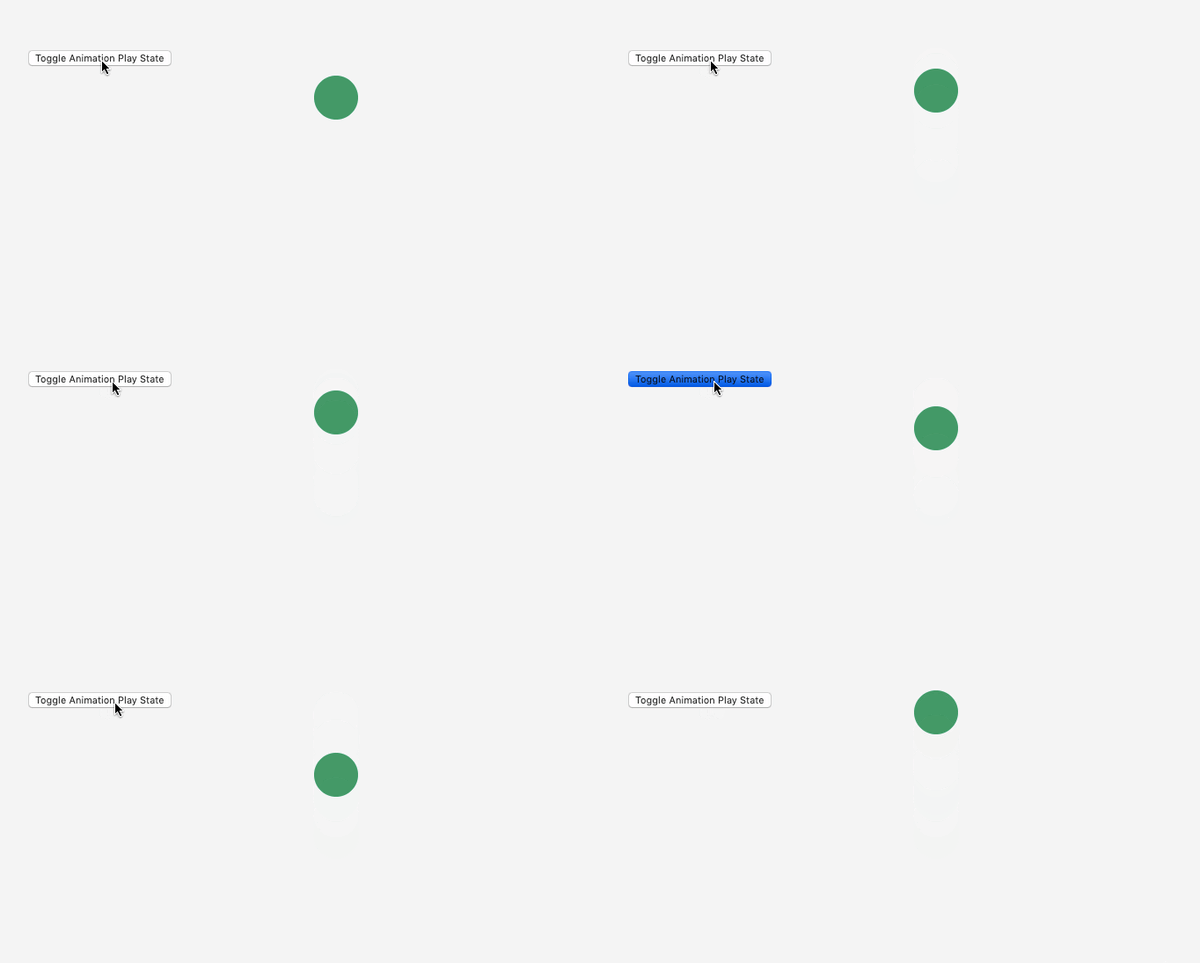
With the animation-play-state property, you can pause and resume the animation sequence. By default, this property is set to running but you can set the property value to paused. Resuming a paused animation will play the animation from where it was paused, instead of starting over.
Now that you have a better understanding of the different parts that make up an animation, you can create your own from scratch — or use a tool to help simplify the process.
CSS Animation Generator
A CSS animation generator can help simplify — and even automate — parts of the process of creating CSS animations. Using one will still require some familiarity with keyframes and animation properties — but it will reduce the complexity and require you to write less code.
Let's take a look at the sleekest and easiest-to-use options.
Animista

Animista is a free application that allows you to customize pre-designed CSS animations. You can click on an animation type at the top of the screen (this will be your animation name), then specify all the animation sub-properties in the left sidebar. Most are drop-down menus to make customizing your animation as easy as possible. When you're ready, you can click the Generate Code icon and paste it into your web pages or projects.
CSS Animations Generator

Similar to Animista, CSS Animations Generator allows you to customize the animation sub-properties for an animated element (but not the keyframes). When you're ready, you can copy the code for the animated element and @keyframes at-rule and paste it into your web pages or projects.
Keyframes App
 Designed to look and function like video-editing software, Keyframes is another free application that allows you to create basic or complex keyframe animations with a visual timeline editor. You can add "steps" using the timeline at the bottom of the screen and define different animatable properties in the right sidebar — these will be your keyframes. You can also change the duration, iteration count, and other sub-properties at the bottom of the screen. Then when you're ready, you can click the Get CSS button and paste that code into your web pages or projects.
Ready to create CSS animations from scratch or with one of the generators above? In that case, you may run into some issues. Let's look at some ways to troubleshoot if your animations aren't working as you expect.
CSS Animation Not Working
Beginner developers and experienced ones may run into issues when creating CSS animations If yours isn’t working at all or as you intended, try checking for these common issues.
1. The animation-name property isn’t defined.
The animation-name property is required. Otherwise, the animation won’t render.
2. The animation-duration property isn’t defined.
The animation-duration property must also be set.Otherwise, the default value is set to zero seconds so the animation won’t render.
3. No @keyframes at-rule is defined.
Animations are only executed when animation properties are applied, so they require explicit values for the properties being animated. These values are specified using keyframes. If these are not specified in a @keyframes at-rule, then the animation will not occur.
4. The name of your @keyframes at-rule doesn’t match the name of your animation.
The name of the @keyframes at-rule must match the value of the animation-name property. Otherwise, the browser won’t be able to match the animation with its keyframes declaration and the animation won’t render.
5. The animation-fill-mode property is not set.
By default, CSS animations revert an element back to its pre-animated state once the animation cycle finishes. This can make the animation look broken. To avoid this, you can define the animation-fill-mode.
6. The CSS property you’re attempting to animate isn’t animatable.
Some CSS properties aren’t animatable, which means they can’t be used in animations (or transitions). Check out our list of animatable CSS properties for the property you’re trying to animate. If it’s not on there, you’ll need to use another CSS property to achieve a similar effect.
7. CSS animations are not supported on your browser version.
If your CSS animation isn’t working, the problem might be your browser and not your code. While CSS animations work on most modern mobile and desktop browsers, older browsers or older versions of browsers don’t. In that case, you’ll need to switch or update your browser.
8. Values for the CSS shorthand property are in the wrong order.
CSS shorthand is ideal for writing cleaner CSS — but it can be more difficult to write since the order of values matters. There’s no strict order for every single sub-property, but some do matter. For example, the first “time” value will be assigned to the animation-duration property and the second will be assigned to the animation-delay property so you shouldn’t mix up those values. Here is the typical order for the values for the shorthand animation property: animation-name, duration, timing-function, delay, iteration-count, direction, fill-mode, play-state.
For a complete list of reasons your animations may not be working at all or as you intended (plus examples!), check out CSS Animations Not Working? Try These Fixes.
Now that we know how to create CSS animations from scratch or with a generator and how to troubleshoot any issues, let's look at some examples for inspiration.
1. 7up Lemon Lemon
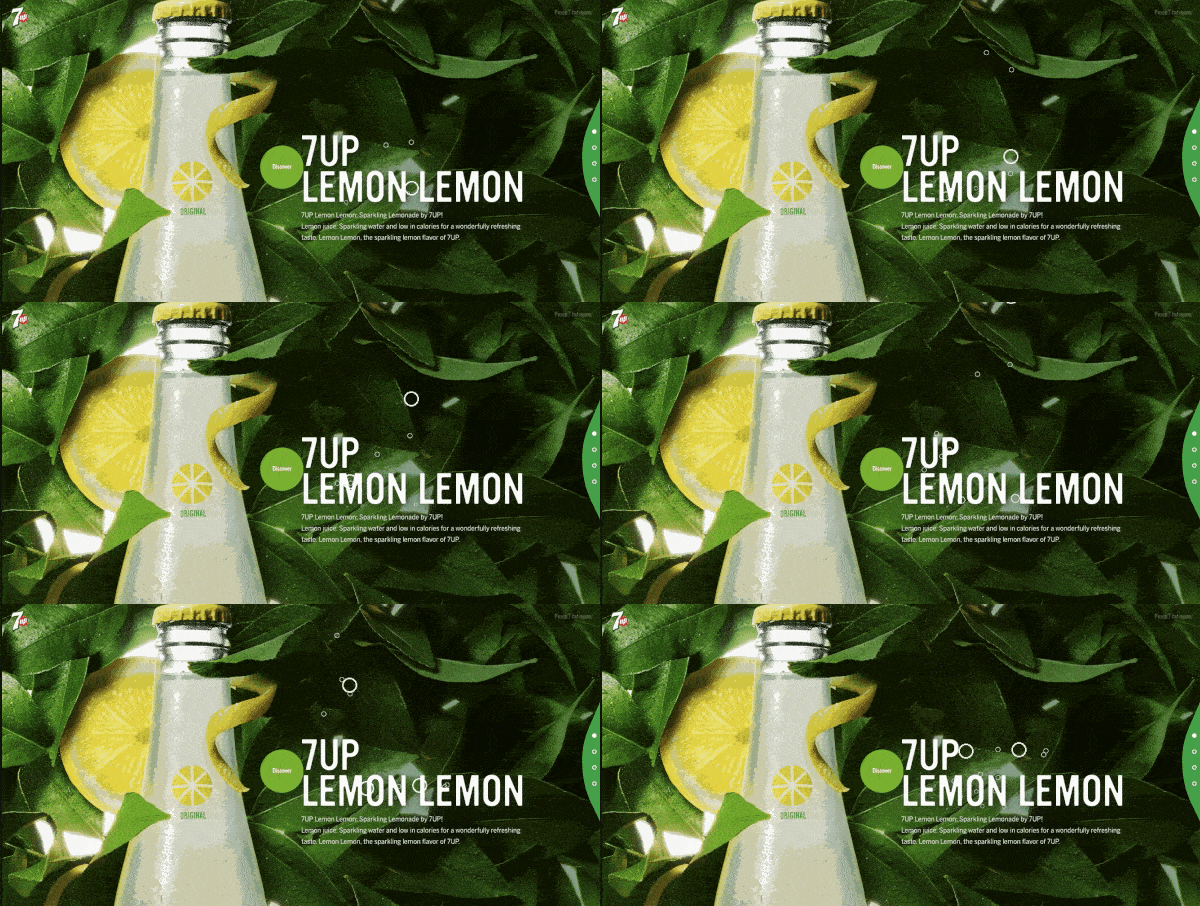
In 2017, PepsiCo released a new drink called 7up Lemon Lemon. To promote the premium sparkling lemonade, the 7up site was redesigned using CSS animation. Combining the fade-in and wobble animation, developers made the page fizz like the beverage. The page has since been redesigned.
2. 2016 Kikk Festival
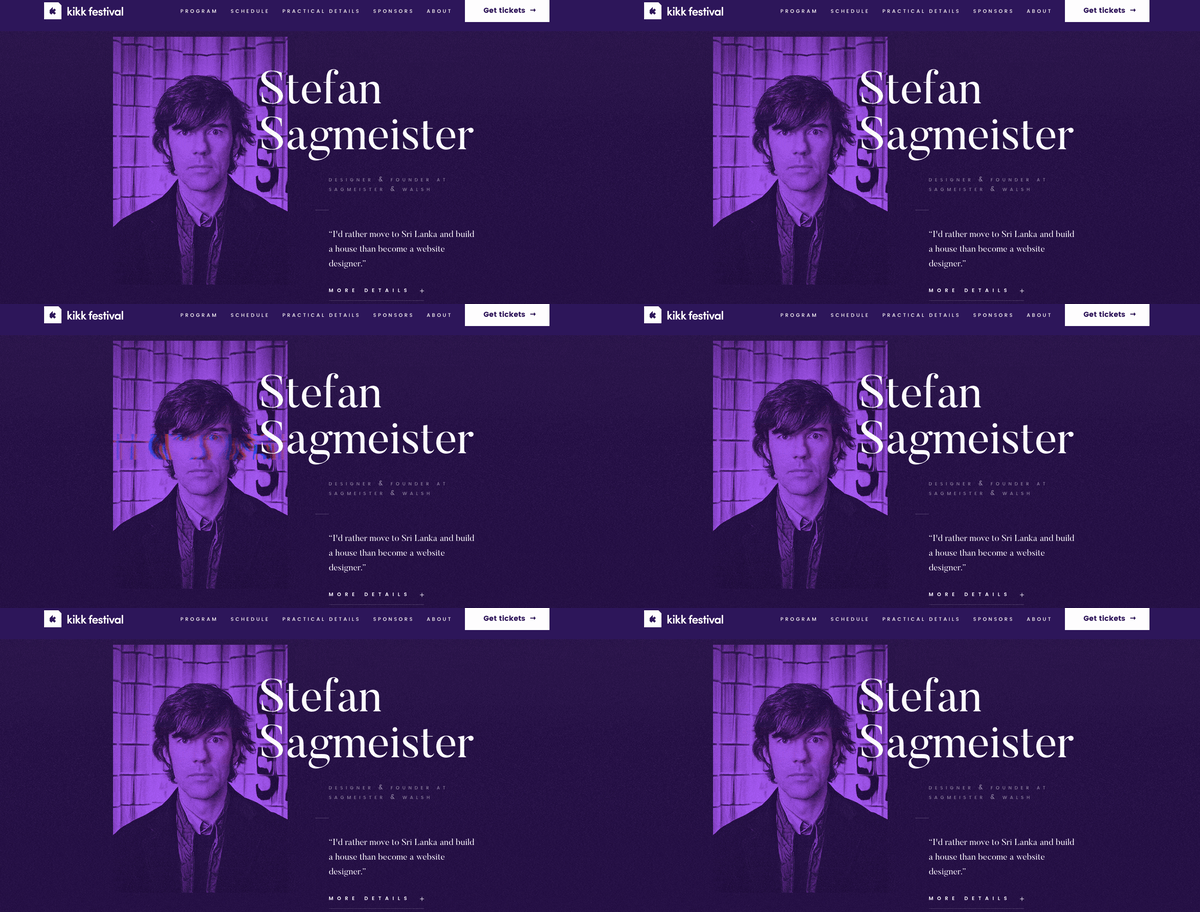
Each year, the agency dogstudio rebrands the Kikk Festival’s website. In 2016, dogstudio redesigned the site using CSS animation to create image and page glitches that represented the festival’s theme of “interference.”
3. Apple iPad Pro
To promote the iPad Pro in 2019, Apple took an interesting spin on parallax scrolling. Scrolling horizontally instead of vertically, you could observe the text, images, and other visual elements moving around at different speeds. These CSS animations kept visitors engaged as they scrolled through the page to learn more about the product. The page has since been redesigned.

4. In Pieces
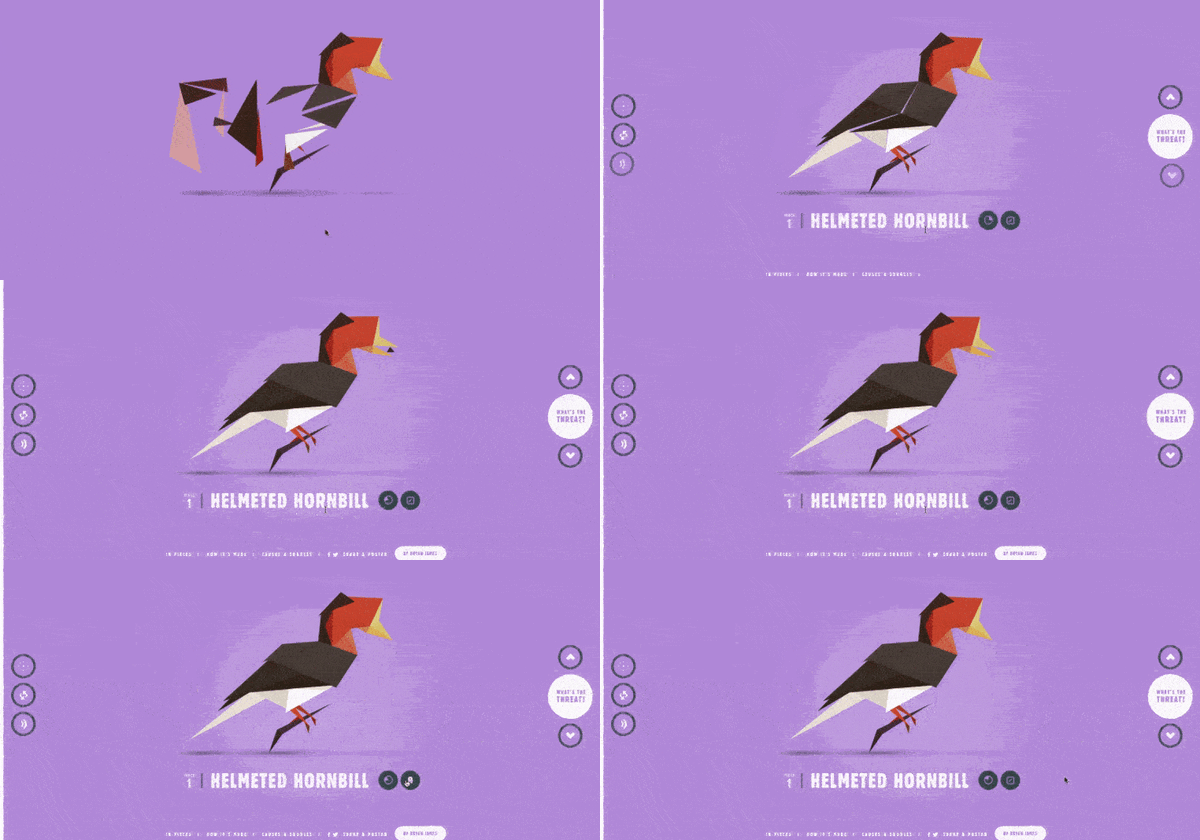
Bryan James, a designer based in the UK, created an interactive exhibition called “Pieces” that profiles 30 endangered species. Using CSS animations, James designed the site to have the same 30 pieces arranging and rearranging themselves into the shape of each animal as you scroll through the exhibit.
5. Jeans for Refugees
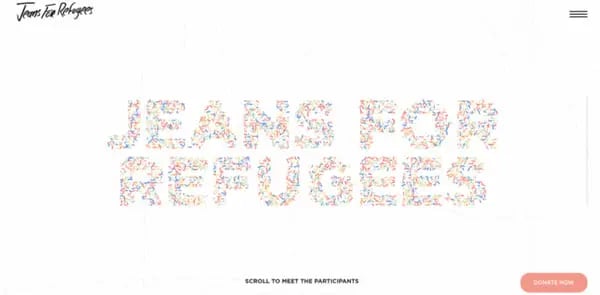
Jeans for Refugees is a global fundraising initiative that artist Johny Darde created to help refugees around the world. The agency Lilo created the Jeans for Refugees site pro bono to support the initiative. The agency used CSS animations to make elements that look like paint strokes form and re-form into words on the page.
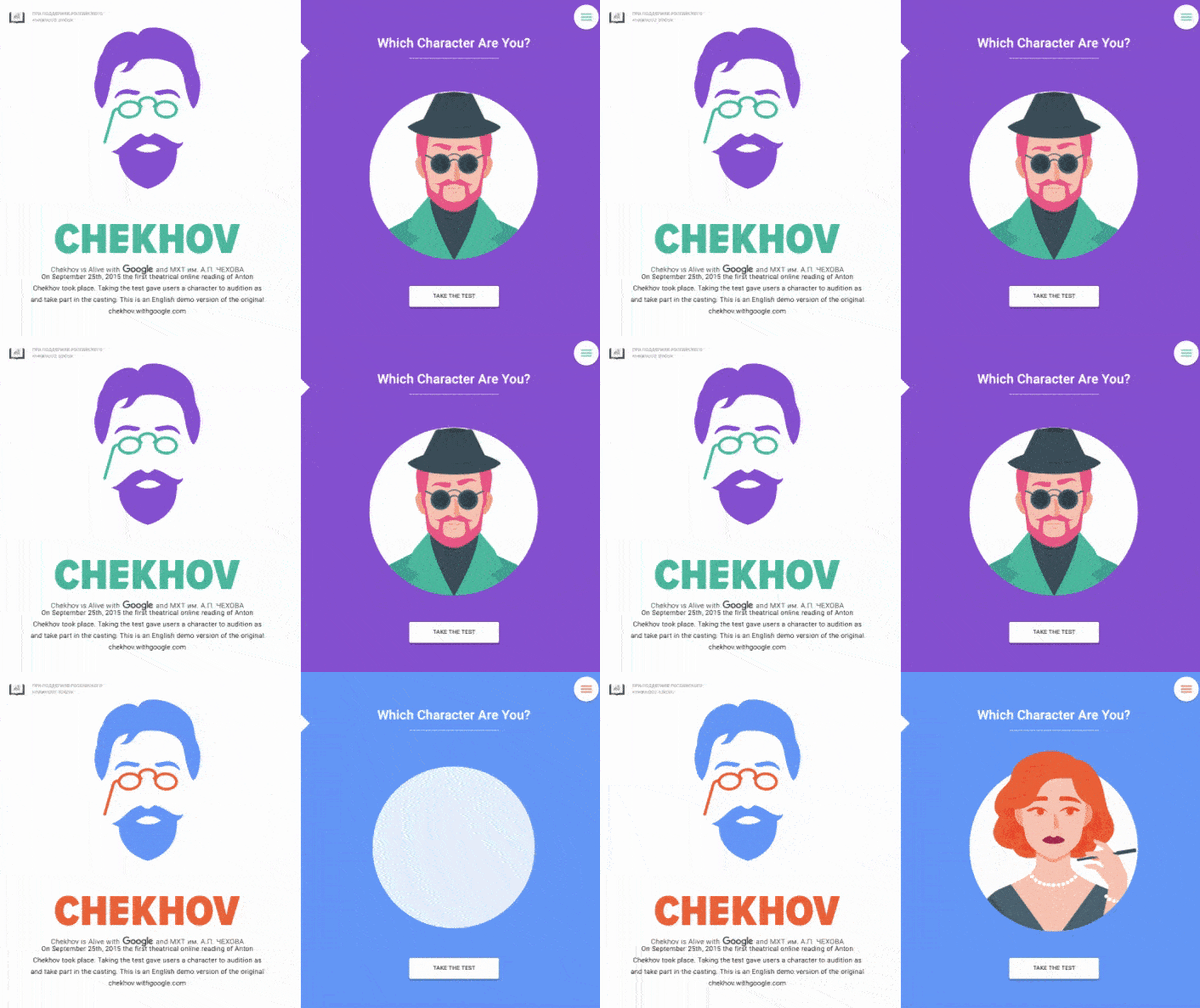
6. Chekhov Is Alive
Using color and fade-in, among many other CSS animations, developers were able to bring 30 of Anton Chekhov's most famous characters to life. Originally created so that users could audition to play a part in a live Google broadcast of Chekhov's stories in 2015, this personality test let people find out which Chekhov character they most closely resembled. It's no longer live.
7. MY / STATIC / SELF
The homepage of John Iacoviello’s personal portfolio is a testament to his skills as an award-winning programmer. Although the glitch effect applied to the central object (is it a stereo system? Hard drive?) is the most obvious, you might also notice that the bounce and rotate animation are being used.

8. Portion
Portion is a premier online marketplace for artists and collectors to connect and easily and securely sell or purchase art using Blockchain technology. While the entire website's design demonstrates the company's purpose and values — take the transparent auction house on the homepage, for example — you get this impression right away thanks to the CSS loading animation. This animation of Portion's brand logo — a clear and simple structure of connected lines that looks like an inverse crown — invokes the ideas of regality, connectedness, and blockchain.

9. Travelshift
As a travel website, Travelshift has a unique navigation system with horizontal scrolling, several transitions, and parallax sections. These animations and effects make the reader feel immersed in the images so that they get a taste of the adventures they could have if they booked a trip with Travelshift.

10. Soletanche Bachy
The Solentanche Bachy’s website showcases the construction project of a new metro station in Signapore. CSS slide-in and rotate animations, among other effects, turn the website into an interactive blueprint for those who are interested in the location, design, and engineering of this station.

11. Ember House
When Ember House redesigned their site two years ago, they wanted to show that they were different from other financial consulting companies because they cared about their clients’ well-being. To convey this idea, the Behance agency focused on the idea of an ember as the starting point of a good campfire. Using a combination of slide-in, wave, and rotation animations, they made it look like embers were floating across the screen. They also used CSS text animation to underline key parts of the messaging like “feel good” and “warm up to your wealth.”

12. Locomotive
Locomotive is a Canadian-based agency that aims to push new ideas and stand out among other agencies without taking themselves too seriously. This is embodied by its use of CSS animations, particularly the bounce animation, across its website. The top of its web pages look almost like text written on lined paper — but with a playful twist. The lines bounce to keep readers engaged as the rest of the content on the page loads.

13. Volcan
Several scrolling effects keep visitors engaged on the Volcan site. One is a CSS text animation triggered as the reader scrolls down the page. It looks as if the paragraph is being shaken like a towel, and then laid flat on the page.

14. Wide Eye
Wide Eye is a creative agency that works with changemakers and visionaries to create designs, branding, and digital products that will help them do the most good. This combination of social activism and innovative design is demonstrated by the text animation on its homepage. The text first slides in from the left. Then new words slide in and out to complete the sentence. The effect is engaging, emotional, and eye-catching — the three e’s that Wide Eye hope to capture in every digital experience.

15. Annatwelve
Annatwelve’s website showcases its collection of nine luxury fragrances designed for those who are sick of what’s “obvious” and want “something more.” To appeal to this demographic, the site has a unique horizontal navigation menu with each of the fragrances as a main navigation option rotated 90 degrees to the left. When you hover over one of the fragrances, the others fade from solid white to a much more transparent white. As a result of these hover and color animations, it almost looks like a spotlight is shining on the fragrance name you’re hovering over.

Now that we've checked out some examples of CSS animations on real websites, you'll be able to identify other examples on the internet. To avoid a common misconception, let's differentiate between CSS transitions and animations.
CSS Transition vs. Animation
Though often grouped together, CSS animations are different from CSS transitions. One major difference is that CSS transitions require a trigger — like a visitor clicking on an element, for example. Animations, on the other hand, don't require triggering. By default, an animation will automatically begin its sequence when the page loads. (It’s important to note that some developers will use jQuery or implement another way of triggering an animation, but they don’t need to).
Another major difference is that transitions can only move from an initial state to a final state. You cannot specify any intermediate points like you can with an animation.
Nor can you have a transition loop or repeat backwards. That’s because, while animations have the animation-iteration-count and animation-direction property, transitions don’t have properties that specify how many times they can run or what direction they can run in. As a result, a transition runs only once when triggered.
Now that we have a better understanding of what CSS animation is (and is not), let’s take a look at a specific subset called 3D transforms.
CSS 3D Animation
CSS 3D animation — commonly referred to as 3D transforms — opens up a new realm of graphic design. With 3D transforms, front-end developers can add a new dimension to traditional websites to enhance their design.
For example, consider the translate function. Translate moves an element from point A to B. In 2D, you can use translate to move an element along the horizontal X-axis or the vertical Y-axis. In the example below, the black ball moves across the X-axis.

Using a 3D transform function, however, you can position an element along the Z-axis. Since this axis runs front to back in 3D space, you can move an element closer to the viewer and then farther away.

As with any animations, 3D transforms should be more than just eye candy. When used wisely, they can solve interface challenges and enhance the visitor experience. When used without strategic purpose, they can be distracting and clutter your interface.
Bringing Your Site to Life
From subtle transitions to a completely illustrated site, you can find animations on most websites today. Making 3D effects and interactive details part of your web design strategy can improve the visitor experience and differentiate your site from competitors.
Editor's note: This post was originally published in March 2020 and has been updated for comprehensiveness.
CSS Animation


![Creative and unique CSS animation examples that bring websites to life [+ code]](https://53.fs1.hubspotusercontent-na1.net/hubfs/53/how-to%20(1).png)

